Calibrating ALS
Steps
1.
Connect the phone to
Phoenix
, start the
Phoenix
software, and set the phone (e.g. on the table) so that
the ambient light visible to ALS is stable. The light quide of the ALS is located on the upper part of the
phone’s front cover, right next to the secondary camera.
2.
Scan product on Phoenix (CTRL+R)
3.
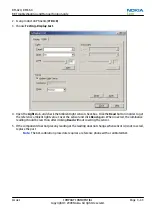
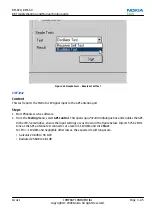
Choose Testing
→
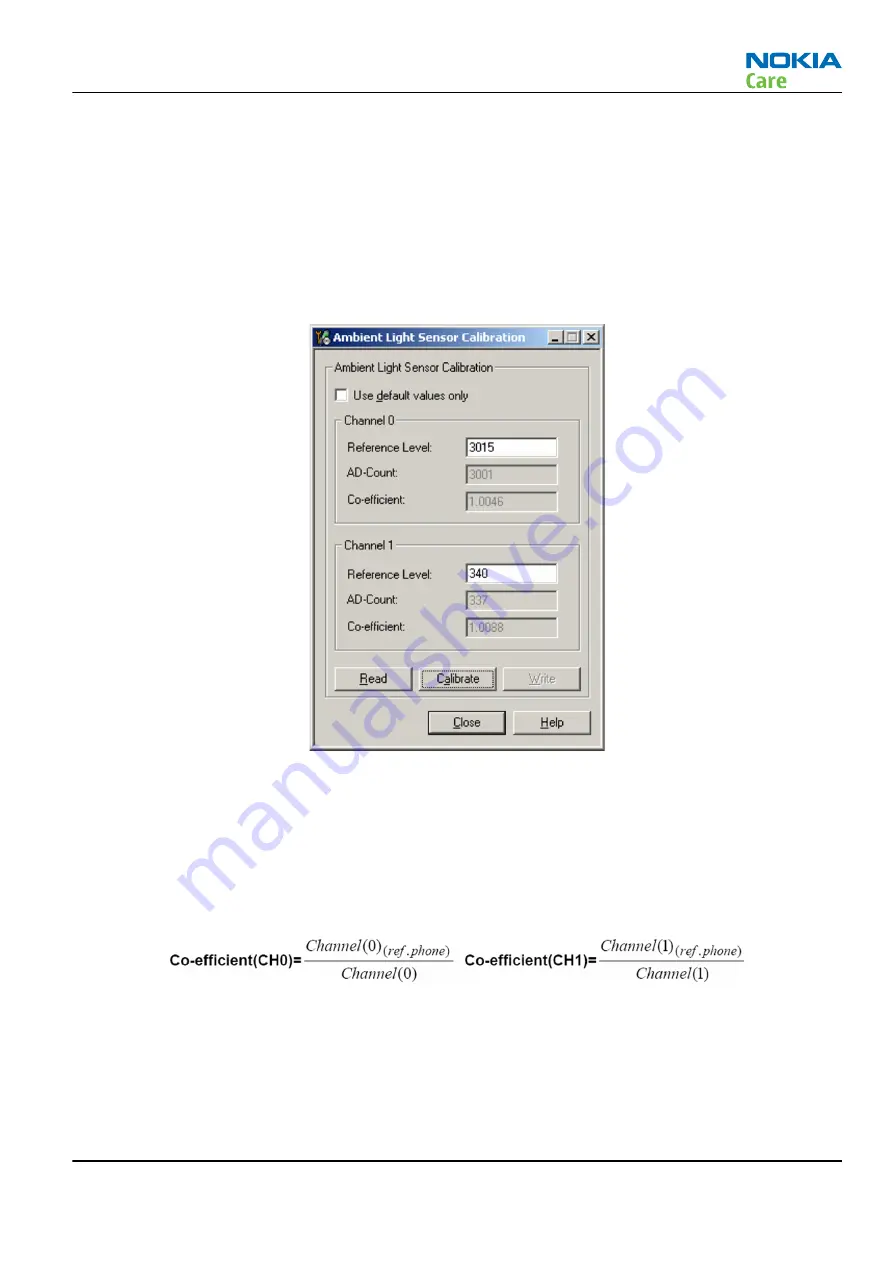
Ambient Light Sensor Calibration.
4.
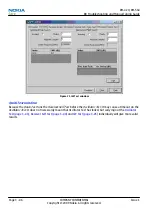
Uncheck the Use default values only check box, click the Read button to get the AD-Count values for
Channel 0 and Channel 1, and write them down.
Note:
In the example graphic the reference phone values are: Channel 0=3001 and Channel 1=337
5.
Repeat steps 1-4 for the phone to be calibrated.
Note:
Make sure the phone to be calibrated is located in the same place as the reference phone was
when luminance reading was taken.
6.
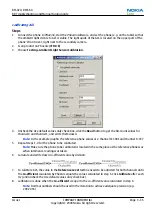
Calculate and write down co-efficient value by division:
7.
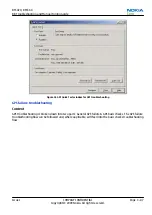
To calibrate ALS, the value in the Reference Level textbox needs to be adjusted for both channels until
the Co-efficient calculated by Phoenix equals the values calculated in step 6. Click Calibrate after each
try (and uncheck the Use default values only check box).
8.
Calibration is done when the Co-efficient is equal to the co-efficient value calculated in step 6.
Note:
Decimal numbers should be used in the iteration to achieve adequate precision (e.g.
200.2455)
RM-424; RM-564
BB Troubleshooting and Manual Tuning Guide
Issue 1
COMPANY CONFIDENTIAL
Page 3 –35
Copyright © 2009 Nokia. All rights reserved.
Содержание 6720 classic
Страница 133: ...4 RF Troubleshooting Nokia Customer Care Issue 1 COMPANY CONFIDENTIAL Page 4 1 Copyright 2009 Nokia All rights reserved ...
Страница 179: ...6 System Module Nokia Customer Care Issue 1 COMPANY CONFIDENTIAL Page 6 1 Copyright 2009 Nokia All rights reserved ...
Страница 209: ...Glossary Nokia Customer Care Issue 1 COMPANY CONFIDENTIAL Page Glossary 1 Copyright 2009 Nokia All rights reserved ...

