48
48
48
48
48 - FORM NO. 56041519 - CMAX
™
28ST, 34ST / I-MAX 28C, 32C / BA 750ST, 750C / BA 850ST
WET V
WET V
WET V
WET V
WET VACUUMING
ACUUMING
ACUUMING
ACUUMING
ACUUMING
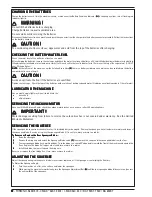
Fit the machine with optional attachments for wet vacuuming.
1
11
11
Disconnect the squeegee hose from the Squeegee (8).
(8).
(8).
(8).
(8).
2
22
22
Attach suitable wet pick-up tools to the hose. (Available from Nilfisk-Advance).
3
33
33
Turn the Master Key Switch (B)
(B)
(B)
(B)
(B) ON, next press and hold the Vacuum Button (E)
(E)
(E)
(E)
(E) until the indicator light turns green. The vacuum motor
will run continuously until the button is pressed again to turn it OFF. NOTE:
NOTE:
NOTE:
NOTE:
NOTE: If the control repeatedly gives a full indication when the tank
is not full, the automatic shut-off feature can be disabled, have a qualified service technician refer to the service manual to perform this
function.
AFTER USE
AFTER USE
AFTER USE
AFTER USE
AFTER USE
1
11
11
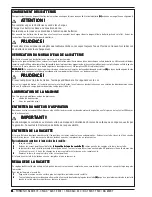
When finished scrubbing, press and hold the Scrub OFF Button (H)
(H)
(H)
(H)
(H) until the display (A)
(A)
(A)
(A)
(A) reads “0” and then press again, this will
automatically raise, retract and stop all the machine systems (brush, vacuum & solution). Raise the squeegee (17)
(17)
(17)
(17)
(17), then drive the machine
to a service area for daily maintenance and review of other needed service up keep.
2
22
22
Turn the Master Key Switch (B)
(B)
(B)
(B)
(B) OFF and remove the key.
3
33
33
To empty the solution tank, pull the Solution Drain Hose (4)
(4)
(4)
(4)
(4) off the elbow. Direct the hose to a designated “DISPOSAL SITE”. Rinse the
tank with clean water. Inspect the solution hoses; replace if kinked or damaged.
4
44
44
To empty the recovery tank, take the Recovery Drain Hose (5)
(5)
(5)
(5)
(5) off its hanger. Direct the hose to a designated “DISPOSAL SITE” and remove
the plug (hold the end of the hose above the water level in the tank to avoid sudden, uncontrolled flow of waste water). Rinse the tank
with clean water. Inspect the recovery and vacuum hoses; replace if kinked or damaged.
5
55
55
Remove the brushes or pad holders. Rinse the brushes or pads with warm water and hang it up to dry. Allow buffing pads to dry completely
before using again.
6
66
66
Remove the squeegee, rinse it with warm water and hang it up to dry.
7
77
77
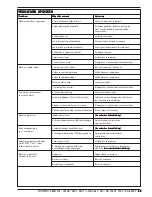
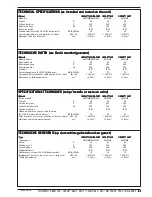
Check the maintenance schedule below and perform any required maintenance before storage.
MAINTENANCE SCHEDULE
MAINTENANCE SCHEDULE
MAINTENANCE SCHEDULE
MAINTENANCE SCHEDULE
MAINTENANCE SCHEDULE
Maintenance Item
Maintenance Item
Maintenance Item
Maintenance Item
Maintenance Item
Daily
Daily
Daily
Daily
Daily
Weekly
Weekly
Weekly
Weekly
Weekly
Monthly
Monthly
Monthly
Monthly
Monthly
Yearly
Yearly
Yearly
Yearly
Yearly
Check / Clean Tanks & Hoses
X
Check / Clean the Brushes/Pads
X
Check / Clean the Squeegee
X
Charge the Batteries
X
Check / Clean Vacuum Shut-Off Float
X
Clean Hopper (19)
(19)
(19)
(19)
(19) on Cylindrical System
X
Check Each Battery Cell(s) Water Level
X
Inspect Scrub Housing Skirts
X
Inspect and Clean Solution Filter (18)
(18)
(18)
(18)
(18)
X
Check Hand Brake For Wear & Adjustment (optional)
X
Clean Solution Trough on Cylindrical System
X
Lubricate the Machine
X
*Service the Vacuum Motor
X
*Have your Nilfisk-Advance Dealer check the carbon motor brushes once a year or after 300 operating hours.
8
88
88
Store the machine in a clean, dry place.
Содержание BA 750C
Страница 62: ......
Страница 63: ......
Страница 64: ......
Страница 72: ...www nilfisk advance com 2005 Printed in USA ...


