Wireless Cable/DSL Router
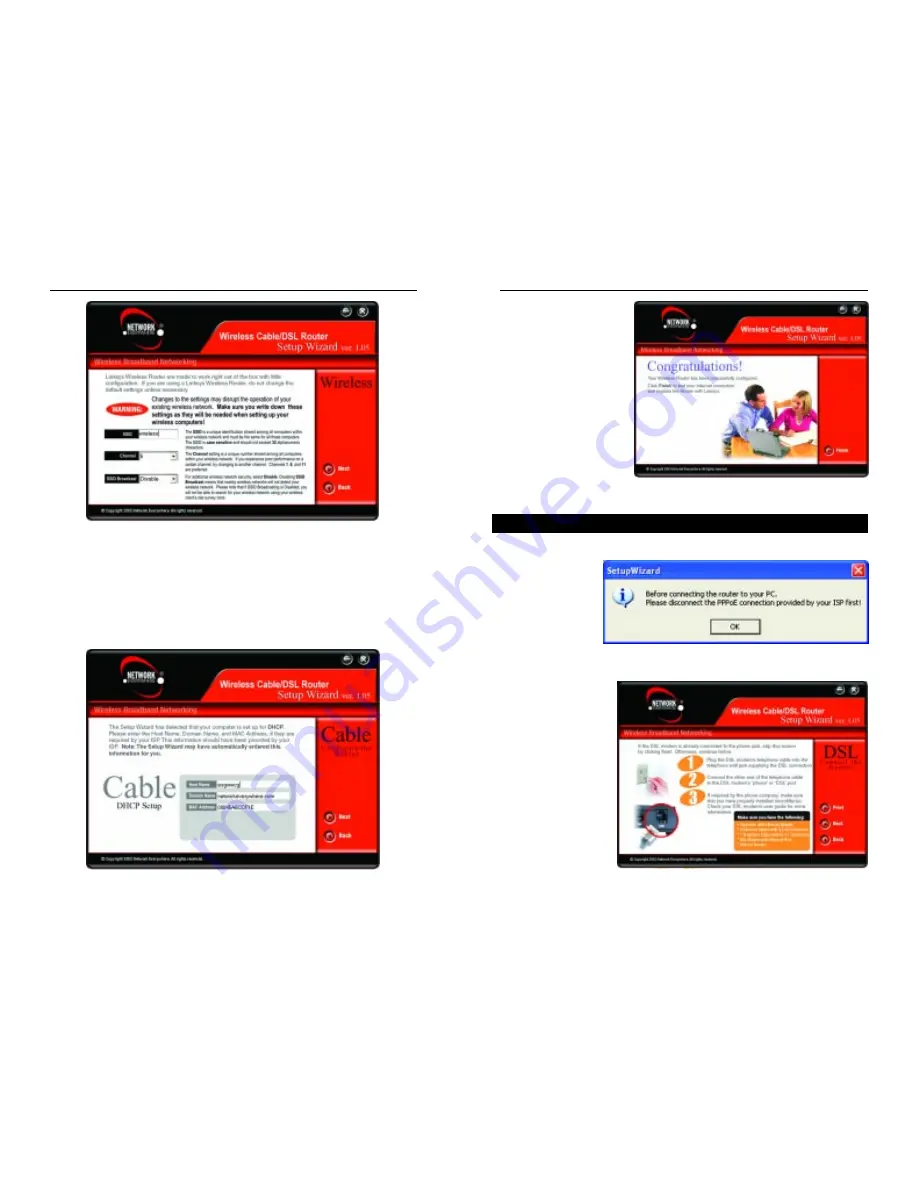
Configuration is complete
and the Router is set up
when you see the final
screen, shown in Figure 5-
9. Click the Finish button
to close the Setup Wizard.
To set up any further com-
puters to connect to the
Router, run the Setup
Wizard again and choose
Set Up Additional
Computer(s). To fine-tune
the Router’s performance,
you can continue to Chapter 6: The Router’s Web-based Utility.
When you first select DSL as your ISP, you will see a warning screen regard-
ing PPPoE (shown
in Figure 5-10). If
you have a PPPoE
connection, follow
these directions. If
your connection is
not PPPoE, disre-
gard these direc-
tions.
The next screen, shown
in Figure 5-11, will ask
you to verify that your
modem is connected
properly. Verify the
connection and click
the Next button to con-
tinue. If you wish to
step back in the setup
process, click the Back
button. To print this
screen, click the Print
button.
22
Network Everywhere
®
Series
Document and save these settings for future reference and click the Next but-
ton to continue. If you wish to step back in the setup process, click the Back
button.
The following screen will detect your modem’s IP settings and configure the
Router with these settings. (The screen shown in Figure 5-8 is what you would
see if you see if you had a DHCP server.) Click the Next button to continue. If
you wish to step back in the setup process, click the Back button.
21
Figure 5-7
Figure 5-8
Figure 5-9
Setting Up the Router with a DSL Connection
Figure 5-10
Figure 5-11
Содержание NWR04B
Страница 1: ......


