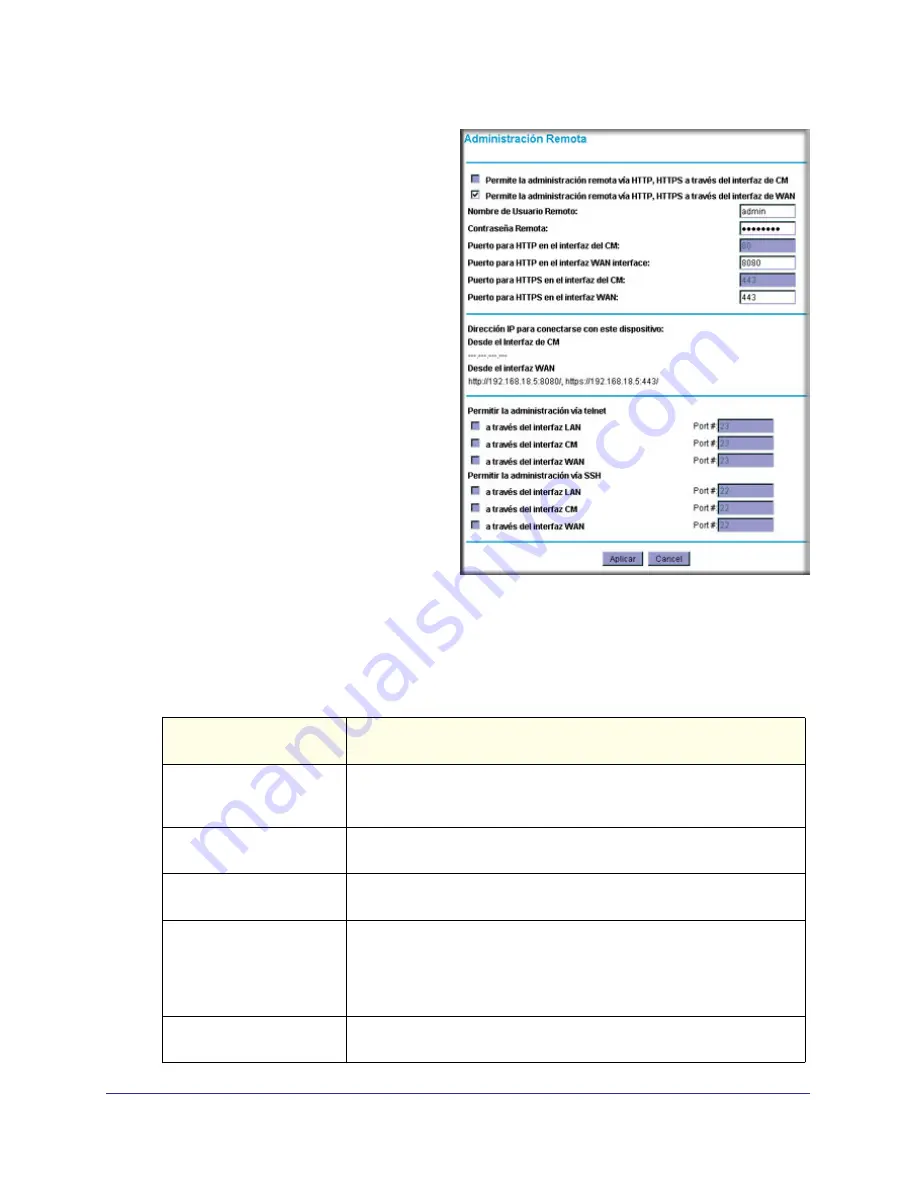
Advanced Settings
40
NETGEAR Wireless Cable Gateway CG3100Dv3
2.
Select one of the
Allow Remote
Management
checkboxes.
3.
Fill in the
Remote User Name
and
Remote Password
fields.
4.
Specify the port numbers to access the
gateway remotely in your browser when
you connect. To specify the port
numbers:
a.
From a remote location, start a
browser.
b.
In the Address or Location field,
enter the Internet IP address of
this gateway (NOT the LAN IP
address), followed by a colon and
the port number, as follows:
http://ip_address:pn ||
https://ip_address:pn
where:
ip_address is the Internet IP
address of this gateway.
pn is the port number assigned on
this screen.
c.
You will be prompted for the password for this gateway.
5.
If you want the ability to reset to factory default settings remotely, and then log in again
remotely, select the
Allow Remote management after Factory Default Reset
checkbox.
6.
Click
Apply
to save your changes.
Remote Management
Settings
Description
Allow Remote Management
(HTTP/HTTPS) CM interface
If selected, remote management is enabled, and connection from the
Internet to this gateway with HTTP and HTTPS is possible. The correct port
number must be used when connecting
Allow Remote Management
(HTTP/HTTPS) CM interface
If selected, remote management is enabled, and connection from the
Internet to this gateway with HTTP and HTTPS is possible.
Remote User Name and
Remote Password
Enter the User Name and Password that will be used from the remote PC to
manage the gateway. Use a very secure password.
Port Number fields
Web browser access normally uses the standard HTTP service port 80.
NETGEAR recommends that you use a different port number for remote
management, as using port 80 will prevent the use of a Web Server on your
LAN, and can be more readily discovered by hackers. Use the default
(8080) or choose a port number between 1 and 65535.
Revert to factory default
settings
Allow Remote management after Factory Default Reset


