32
5. Press
to save the job with the entered settings under the specified job number
and name.
To name a job, see 3.9.7 ”Job Name” on page 38.
6. Press
to perform a test run with the new job settings (see ”Perform a
Note
A new selected job number starts with default settings.
3.9.1
Job Settings
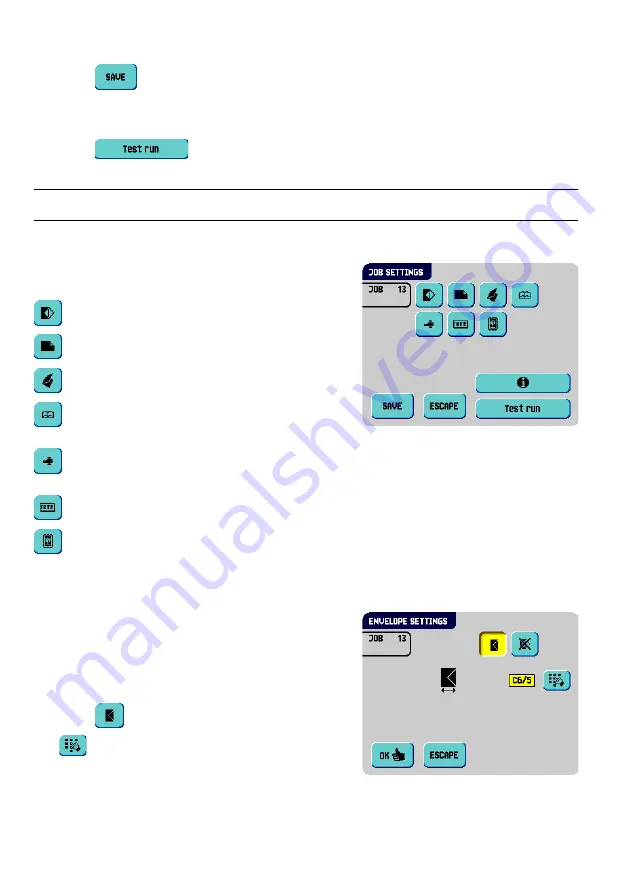
From the “job settings” menu the following settings
are available:
3.9.2
Envelope Settings
In this screen the properties of the used envelopes
must be entered.
In the top of the screen, two selection buttons are
displayed, from which one can be selected. The
selected settings button will be highlighted yellow.
•
Press
to select an envelope size. Use the
button to enter the applicable dimensions.
It is also possible to select ISO standard
envelopes or dimensions in inches (depends on
the installation settings).
Envelope settings (see 3.9.2 ”Envelope
Settings” on page 32)
Document settings (see 3.9.3 ”Document
Settings” on page 33)
Fold settings (see 3.9.4 ”Fold Settings” on
page 34)
Optical Mark Recognition (OMR) settings (if
installed) (see 3.9.5 ”Optical Mark
Recognition Settings (Option)” on page 36)
Double feed control settings (see
3.9.6 ”Double Feed Control Settings” on
page 37)
Job name settings (see 3.9.7 ”Job Name” on
page 38)
Mailing/Franking settings (if installed) (see
3.9.8 ”Mailing (Franking) Settings (Option)”
on page 39)


