


NV-HMI-7XX User Manual
93
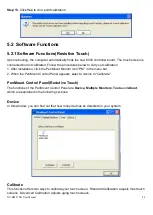
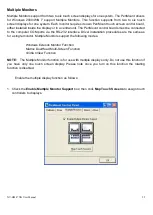
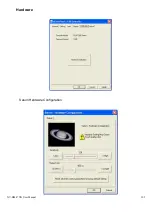
2. When the mapping screen message appears, click
OK.
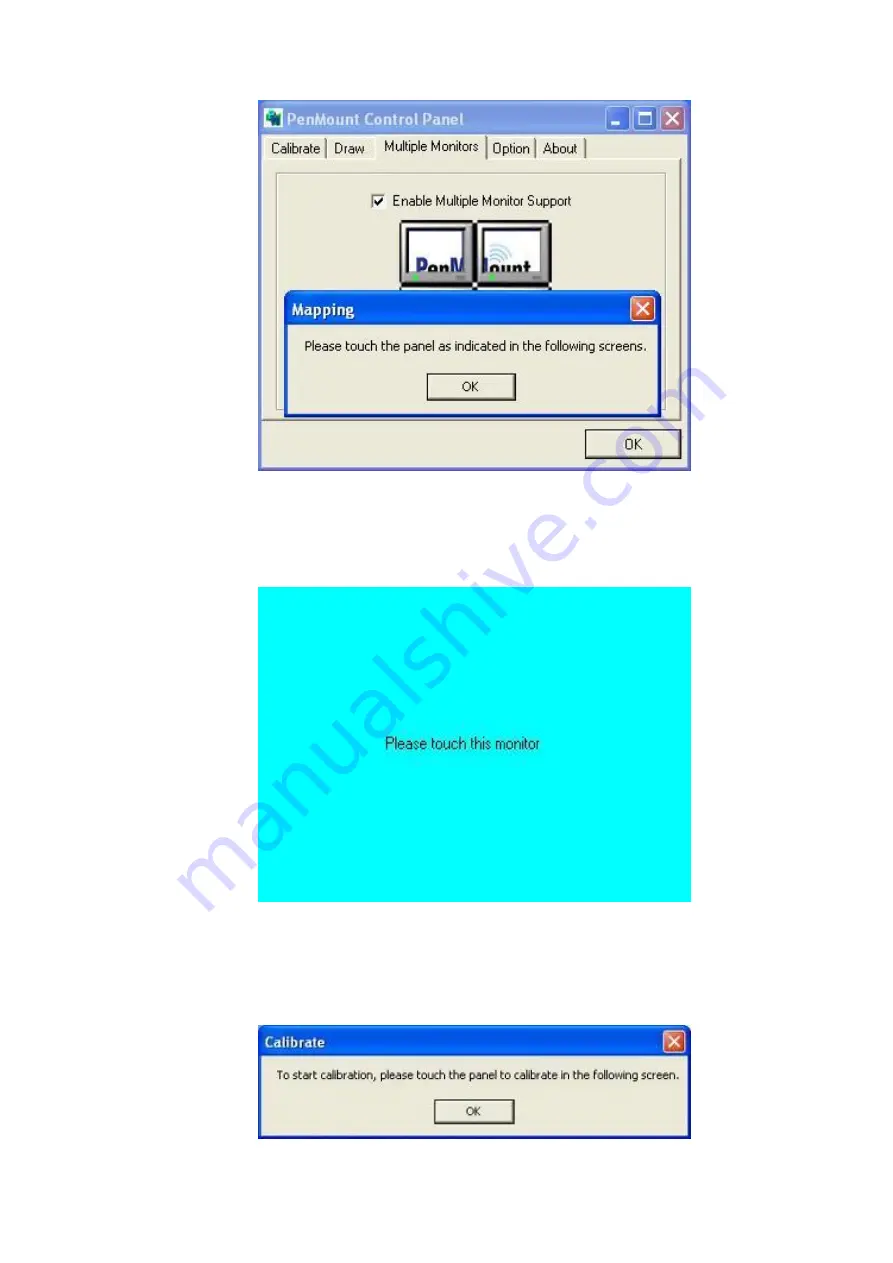
3. Touch each screen as it displays
“Please touch this monitor”. Following this sequence and
touching each screen is called
mapping the touch screens.
4. Touching all screens completes the mapping and the desktop reappears on the monitors.
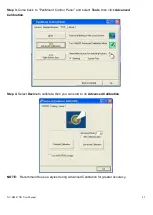
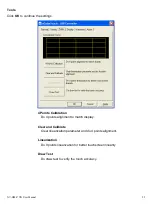
5. Sele
ct a display and execute the “Calibration” function. A message to start calibration appears.
Click
OK.
Содержание NV-HMI-717P
Страница 9: ...NV HMI 7XX User Manual 9 1 2 Dimensions Figure 1 1 Dimensions of NV HMI 717...
Страница 10: ...NV HMI 7XX User Manual 10 Figure 1 2 Dimensions of NV HMI 721...
Страница 12: ...NV HMI 7XX User Manual 12 Figure 1 5 Rear View of NV HMI 721 Figure 1 6 Rear View of NV HMI 721...
Страница 14: ...NV HMI 7XX User Manual 14 Step 4 There is a SD hole in the side of machine You can replace SD card from there...
Страница 49: ...NV HMI 7XX User Manual 49 3 3 Main Settings...
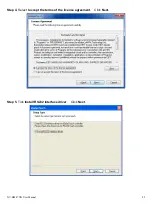
Страница 69: ...NV HMI 7XX User Manual 69 Step 3 Read license agreement Click Yes Step 4 Click Next...
Страница 77: ...NV HMI 7XX User Manual 77 Step 2 Select Resistive Touch Step 3 Click Next to continue...
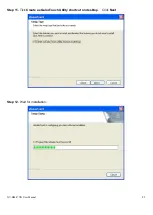
Страница 79: ...NV HMI 7XX User Manual 79 Step 6 Wait for installation Then click Next to continue Step 7 Click Continue Anyway...
Страница 81: ...NV HMI 7XX User Manual 81 Step 2 Select Projected Capacitive Step 3 Click Next to continue...
Страница 84: ...NV HMI 7XX User Manual 84 Step 9 Go to C Program Files eGalaxTouch Click Next Step 10 Click Next...
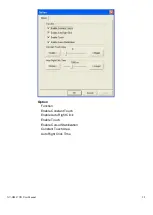
Страница 102: ...NV HMI 7XX User Manual 102 Hardware Saturn Hardware Configuration...
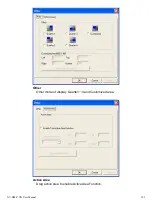
Страница 103: ...NV HMI 7XX User Manual 103 About To display information about eGalaxTouch and its version...


