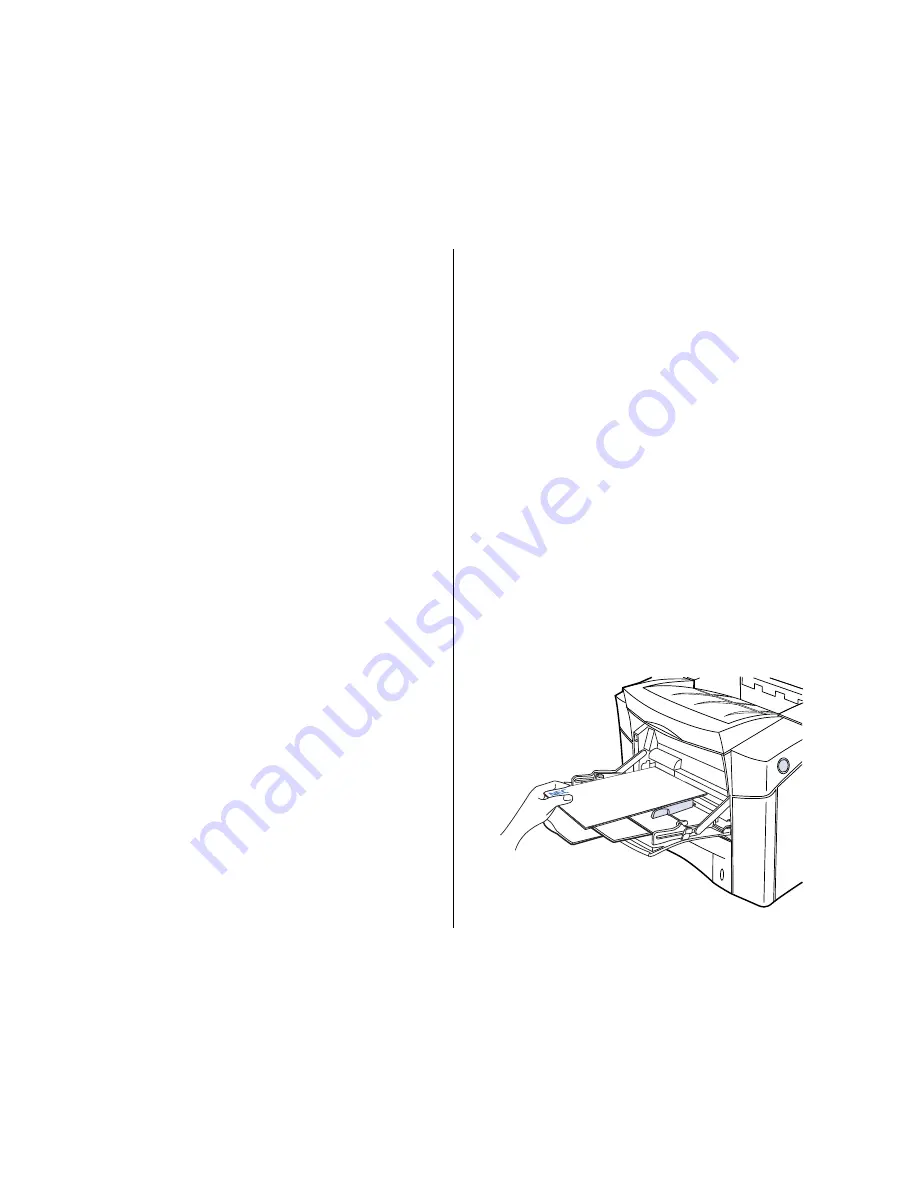
Printing Envelopes
71
USING THE PRINTER
Printing Envelopes From the Printer Driver
1.
Format your envelopes in your computer application.
2.
Set your application to print width-wise on the envelope
and select the Multipurpose Tray (Tray 1) or optional 500-
sheet 2nd Cassette (Tray 3) as your destination. You
cannot print envelopes from the standard 500-sheet
Cassette (Tray 2).
note:
You cannot print 15mm from the left edge of the
envelope. Nor can you print 10mm from the top, bottom
or right edge.
From Windows 95/98
—open the print Properties dialog
box and select Landscape in the Paper tab. Then select
Tray 1 or 3 from the Paper Source option in the Paper tab.
From Windows NT
—open the print Properties dialog
box and select Landscape in the Paper tab. Select the
Advanced tab and select Tray 1 or 3 from the Paper
Source options.
From Windows 3.X
—open the Printer Setup dialog box
and select Landscape in the Orientation option. Select
Tray 1 or 3 from the Paper source options. Click OK to
close the Setup dialog box. Choose the Print command
from the File menu and click OK.
From the Macintosh OS
—choose Page Setup from the
file menu, select the Landscape orientation icon, and
click OK. Select Print from the File menu, choose Tray 1
(Manual), Tray 1 or Tray 3 from the Paper source pop-up
menu, and click Print. If you select Tray 1 (Manual) as the
paper source, you will be alerted to insert an envelope
each time you print.
note:
Choose
Thick Paper
in the printer driver or on the
Operator Panel if the envelope is made of paper above
24lb.
Printing Envelopes Manually From the
Operator Panel
Follow the directions below to print envelopes manually
from the Multipurpose Tray.
1.
From the default Ready state Press the Go/Continue
button to take the printer offline.
2.
Press the Menu button until the message
PRINTING
MENU
appears on the display.
3.
Press the Item button until
SOURCE AUTO*
appears on
the display.
4.
Press the Value + button until the message
SOURCE
TRAY 1-M
appears on the display.
5.
Press the Select/Cancel button. An asterisk appears after
the selection:
SOURCE TRAY 1-M*
.
6.
Press the Item button until the message
PAPER LETTER*
appears.
7.
Press the Value+ button until the message
PAPER COM
10
(or chosen envelope size) appears.
8.
Press the Select/Cancel button. An asterisk appears after
the selection:
PAPER COM 10*
9.
Press the Go/Continue button to bring the printer back
online.
10. Feed the envelopes in the Multipurpose Tray one at a
time. Press the Go/Continue button for every envelope.
Содержание SuperScript 1800
Страница 1: ...S U P E R S C R I P T 1 8 0 0 USER S GUIDE July 1999 808 878290 012A ...
Страница 6: ...vi SuperScript 1800 User s Guide ...
Страница 10: ...4 SuperScript 1800 User s Guide ...
Страница 26: ...20 SuperScript 1800 Series User s Guide ...
Страница 80: ...74 SuperScript 1800 User s Guide ...
Страница 86: ...80 SuperScript 1800 User s Guide ...
Страница 112: ...106 SuperScript 1800 User s Guide ...
Страница 124: ...118 SuperScript 1800 Series User s Guide ...


