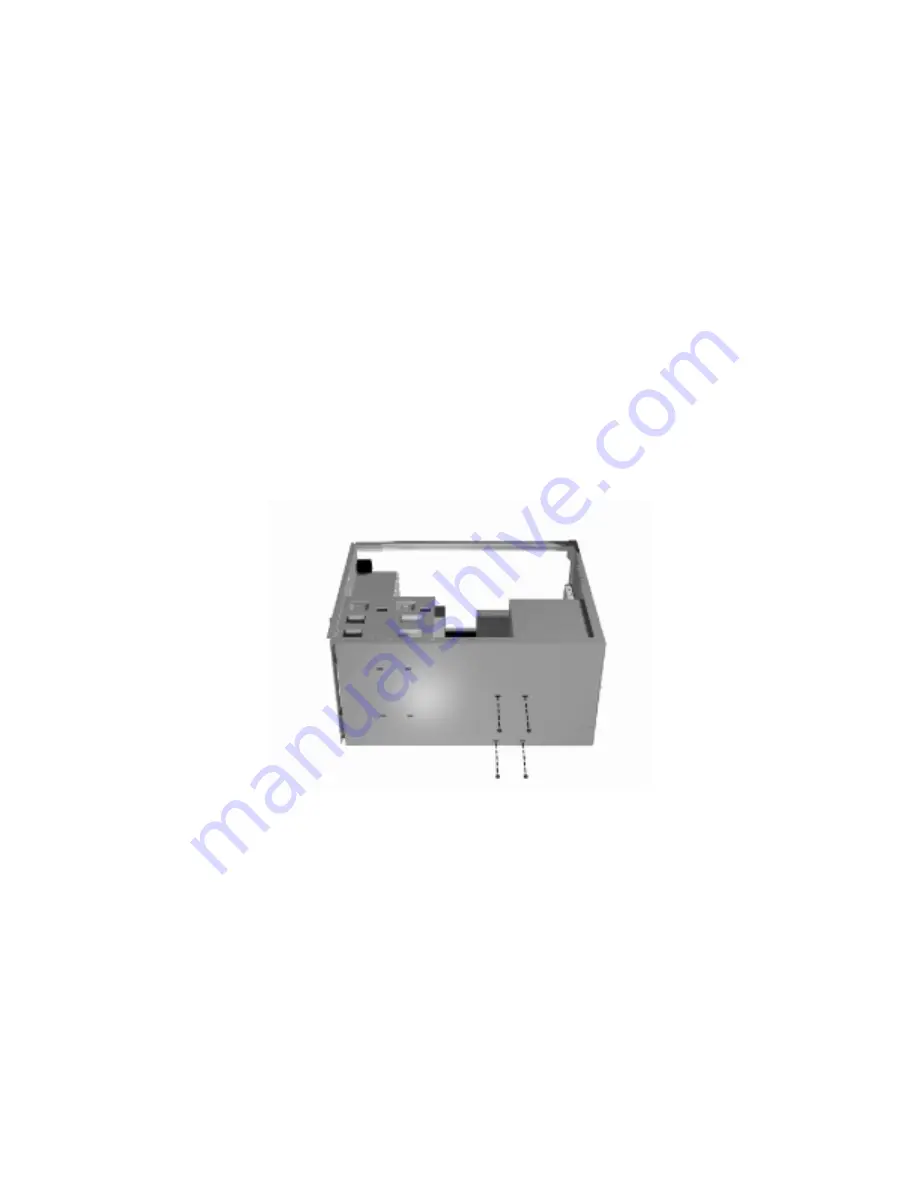
Connect the IDE and power cable to the hard disk as follows:
Carefully place the system unit on its side with the open side facing up.
Locate the four holes on the bottom of the hard disk.
Hold the hard disk with the holes facing the floor of the system unit and the connectors facing the front of the
unit.
Connect the IDE and power cable to the hard disk (see "Cabling an IDE Device").
Install the hard disk in the drive slot as follows:
Locate the four holes on the bottom of the system unit (see Figure 3-23).
Position the hard disk in the hard disk drive slot.
Align the four holes on the bottom of the hard disk with the holes in the system unit.
Secure the hard disk with the four screws that come with the hard disk.
Figure -23 Securing the Hard Disk
Carefully lift the system unit back up into its upright position.
Replace the power supply in the system unit. Reconnect any disconnected cables. Secure the power supply
with the four screws removed earlier.
Replace the system unit cover. Run Setup to set the new configuration (see Section 2).
Installing a 5 1/4-Inch Device
Install an accessible device into the device slot as follows.
Follow the preinstallation instructions that came with the device, such as setting jumpers and switches.
Содержание READY ES PRO
Страница 17: ......
Страница 34: ...Turn on the serial device and the computer Figure 31 Connecting an RS 232C Cable...
Страница 59: ...Figure 5 15 Illustrated Parts Breakdown 980428mc...
Страница 66: ......


