If possible, use anti-static devices, such as wrist straps and floor mats.
Always hold a chip or board by its edges. Avoid touching the components on the chip or board.
Take care when connecting or disconnecting cables. A damaged cable can cause a short in the electrical
circuit. Misaligned connector pins can cause damage to system components at power-on.
When installing a cable, route the cable so it is not pinched by other components and is out of the path of the
system unit cover. Prevent damage to the connectors by aligning connector pins before you connect the
cable.
When disconnecting a cable, always pull on the cable connector or strain-relief loop, not on the cable.
Removing the Cover
The following subsections describe how to remove the system unit cover.
WARNING: Before removing the system unit cover, turn off the power and unplug the system power cable.
Power is removed only when the power cable is unplugged.
Turn off the computer.
Disconnect the keyboard, mouse, monitor, and any other external options (such as a printer) from the rear of
the computer.
Label all cables to make reinstallation easier.
CAUTION: Electrostatic discharge can damage computer components. Discharge static electricity by touching
a metal object before you remove the system unit cover.
If there is a cover lock, unlock it and remove it from the system unit.
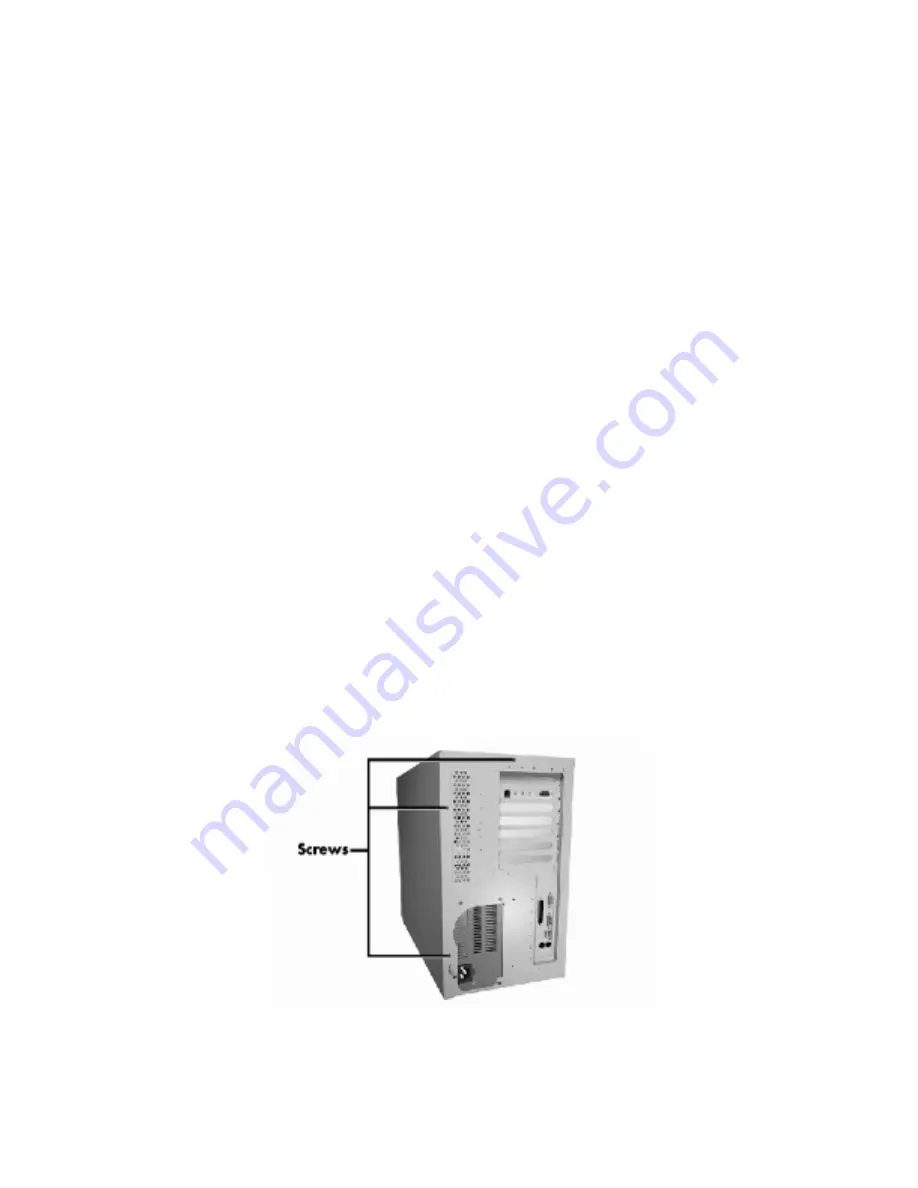
Remove the three screws from the back of the system unit.
Figure -1 Removing the Cover Screws
Release the cover by pulling it about an inch away from the front panel. (The cover fits tightly. You might
need to press the front edge of the cover to release it from the front panel. Also try pressing your thumbs
Содержание READY ES PRO
Страница 17: ......
Страница 34: ...Turn on the serial device and the computer Figure 31 Connecting an RS 232C Cable...
Страница 59: ...Figure 5 15 Illustrated Parts Breakdown 980428mc...
Страница 66: ......


