


5-90 Installing Options
4.
From the front of the system, slide the device, connector
end first, into the device bay. Slide it in far enough for
access to the connectors at the rear of the device. If
necessary, remove the top cover for better access to the
device connectors (see “Removing the Minitower Top
Cover”).
5.
Connect the device cables (see “Connecting Device
Cables” and “Cabling Storage Devices”).
6.
If necessary, slide the device toward the rear of the
chassis until it snaps in place.
7.
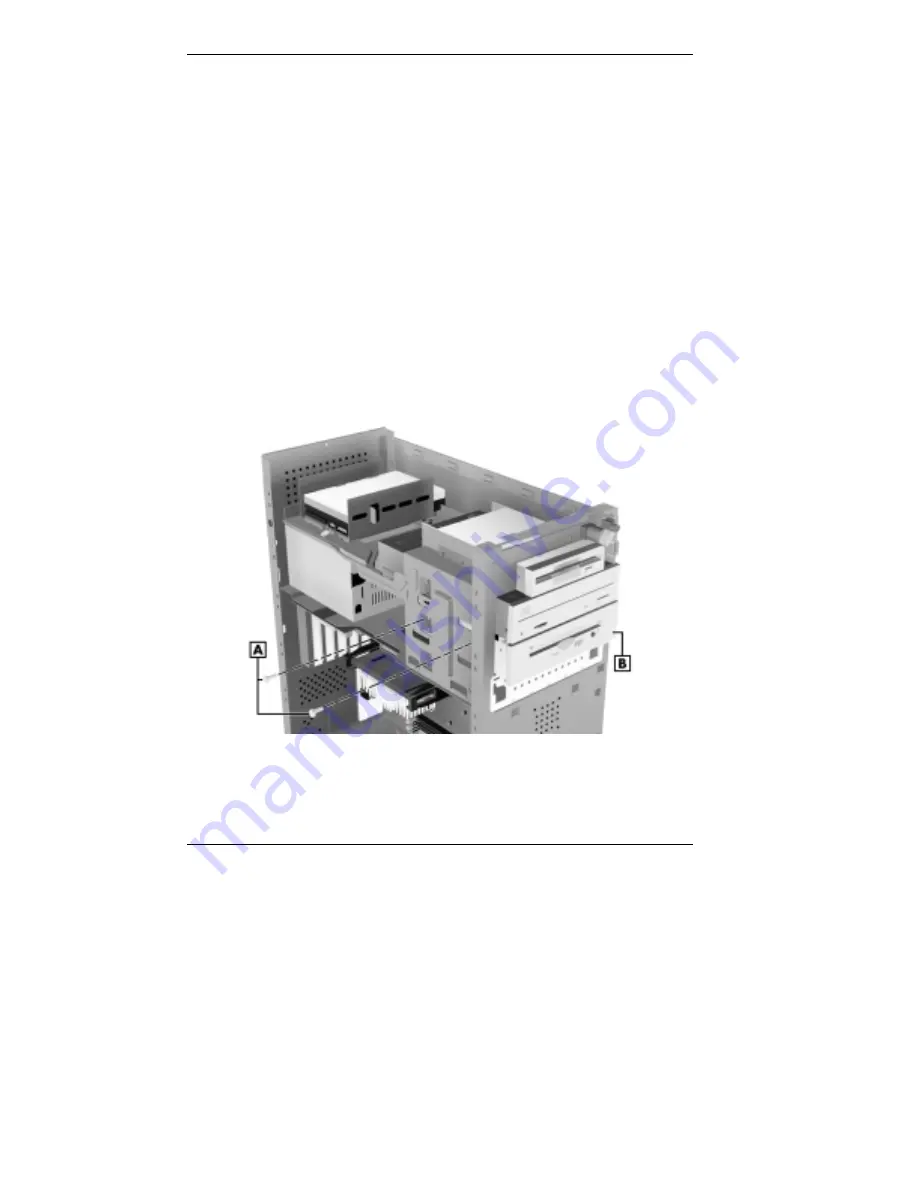
Secure the device to the bay with two screws (see the
following figure).
Securing a 5 1/4-inch device — minitower
A – Screws (2)
B – Device
Содержание POWERMATE ES 5250 - S
Страница 13: ...1 Reviewing System Features Front Features Rear Features Inside Features Stand Speakers System Features ...
Страница 37: ...2 Setting Up the System Cable Connections Startup Shutdown Power Saving Operation System Care More Information ...
Страница 123: ...Installing Options 5 7 Releasing the small desktop cover A Slots C Tabs B Tabs D Metal Securing Rail ...
Страница 216: ...6 Solving System Problems Solutions to Common Problems How to Clean the Mouse Battery Replacement ...


