24
USB
LAMP
STATUS
SOURCE
AUTO ADJUST
3D REFORM
SELECT
3. Projecting an Image (Basic Operation)
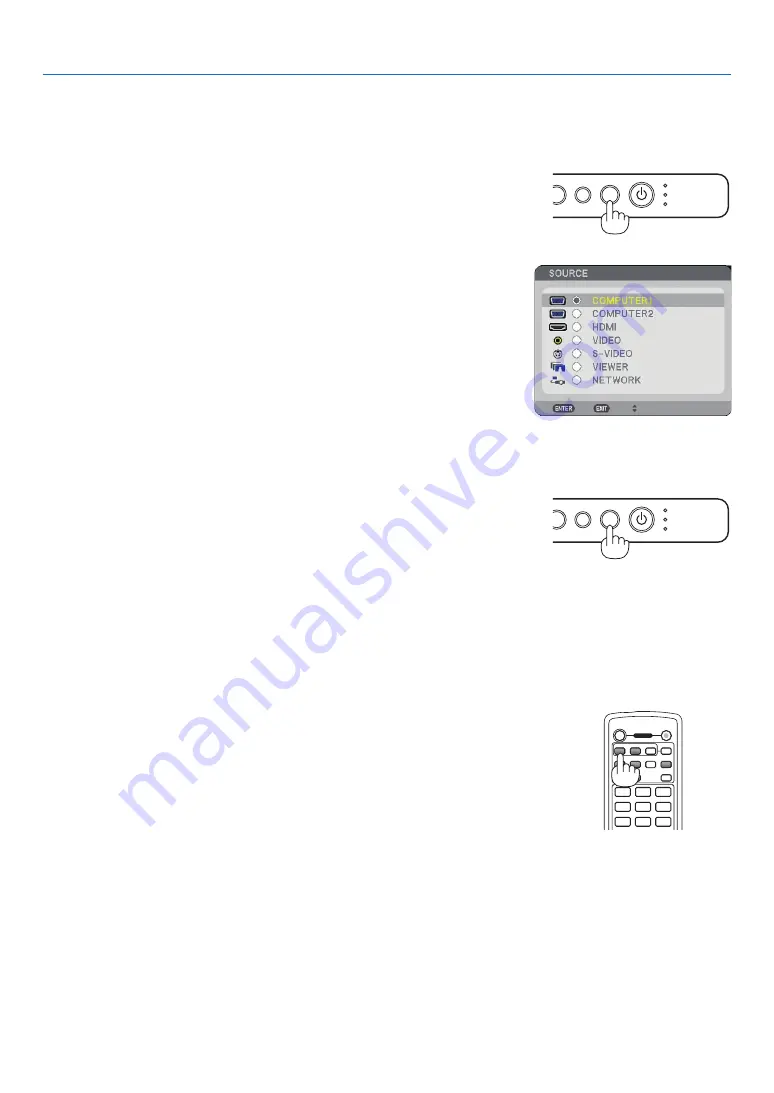
Selecting a Source
Selecting the computer or video source
Detecting the Signal Automatically
Press and hold the SOURCE button for a minimum of 1 second, the projector
will search for the next available input source. Each time you press and hold the
SOURCE button for a minimum of 1 second, the input source will change as fol-
lows:
COMPUTER1
→
COMPUTER2
→
HDMI
→
VIDEO
→
S-VIDEO
→
VIEWER
→
COMPUTER1
→
...
If no input signal is present, the input will be skipped. When the input source
you wish to project is displayed, release the button.
Using the Remote Control
Press any one of the COMPUTER 1/2, HDMI, VIDEO, S-VIDEO, VIEWER or
NETWORK buttons.
Selecting from Source List
Press and quickly release the SOURCE button on the projector cabinet to dis-
play the Source list. Each time the SOURCE button is pressed, the input source
will change as follows: “COMPUTER 1/2”, “HDMI”, “VIDEO” (VCR), “S-VIDEO”,
“VIEWER” (slides on a USB memory) or “NETWORK” (LAN port [RJ-45] or in-
stalled USB wireless LAN unit).
To display the selected source, press the ENTER button.
USB
LAMP
STATUS
SOURCE
AUTO ADJUST
3D REFORM
SELECT
VIEWER NETWORK
HDMI
3
1
2
OFF
ON
COMPUTER
VIDEO
S-VIDEO
VIEWER NETWORK
HDMI
PIP
MAGNIFY
VOLUME
PICTURE
LAMP MODE
ASPECT
AV-MUTE
3D REFORM
FREEZE
ID SET
LENS SHIFT
FOCUS
/ZOOM
HELP
PAGE
MENU
L-CLICK
R-CLICK
EXIT
COMPONENT
AUTO ADJ.
1
3
2
4
6
5
7
9
8
0
CLEAR
ENTER
UP
DOWN
POWER
ID
ID
Содержание NP901W
Страница 1: ...Portable Projector NP905 NP901W User s Manual ...
Страница 166: ... NEC Display Solutions Ltd 2008 7N951182 ...


