3-22 Setting Up Your Server
TURNING ON THE SERVER
Power on your system as follows.
1.
Make sure all external devices, such as a video display, keyboard, and mouse (optional)
have been connected, and the power cords are connected.
2.
Power on the video display and any other external devices.
NOTE:
If the server power cord(s) is connected to a power control
unit such as an UPS (Uninterruptible Power Supply), make sure that the
power control unit is powered on.
3.
Open the front bezel.
4.
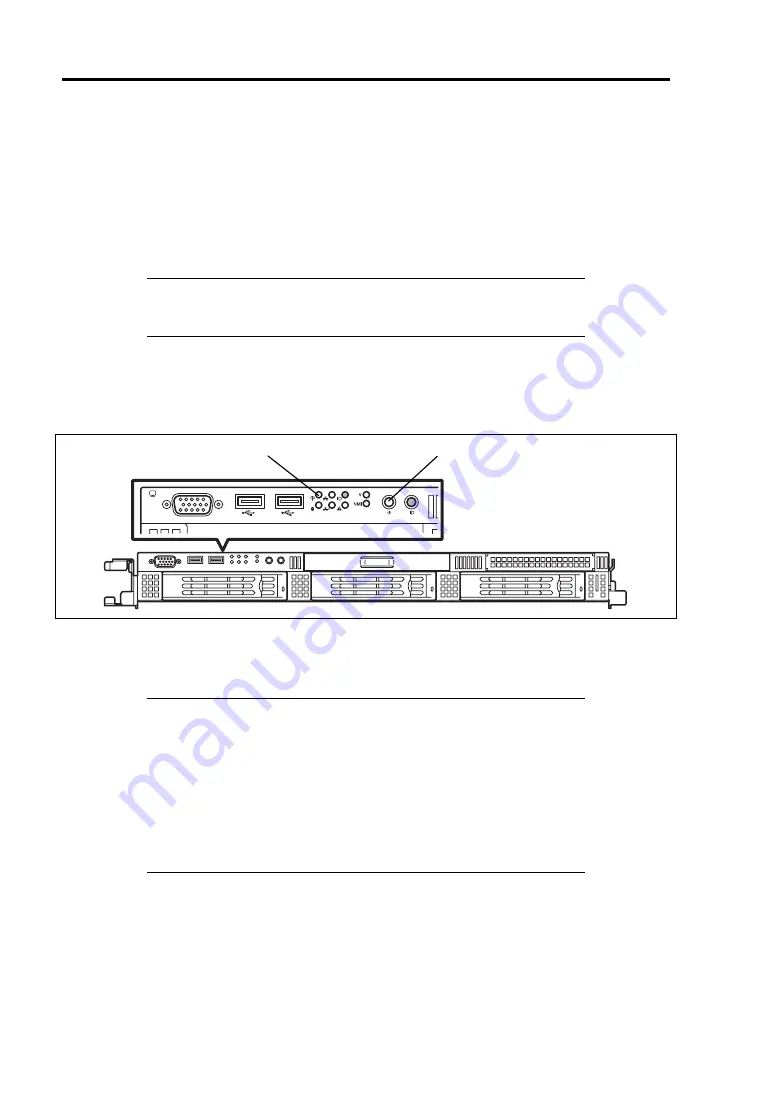
Press the POWER switch.
The POWER LED on the front of the server comes on.
1
2
After a few seconds your system begins the internal Power-On Self Test (POST). POST
automatically checks the system board, CPU module, memory, keyboard, and most
installed peripheral devices.
IMPORTANT:
Always allow POST to complete before powering down your
system.
The server management logic on your system board monitors and
logs system voltage changes. When powering down your system
you may experience a 30-second delay from the time you press the
push-button power on/off switch on the front panel and your system
powering down. This is normal system operation and is required by
the server management logic.
If you have problems powering on your system, see Chapter 8.
After you have successfully powered on your system, insert the NEC EXPRESSBUILDER DVD
into the optical disk drive, restart the system and follow the screen prompts to run NEC
EXPRESSBUILDER.
POWER switch
POWER LED
Содержание NEC Express5800 Series
Страница 20: ...Notes on Using Your Server 1 3 3 5 inch disk model ...
Страница 87: ...3 24 Setting Up Your Server This page is intentionally left blank ...
Страница 264: ...6 10 Installing and Using Utilities 4 Click Parameter File Creator Parameter File Creator will appear ...
Страница 268: ...6 14 Installing and Using Utilities Windows Server 2003 ...
Страница 296: ...7 14 Maintenance This page is intentionally left blank ...
Страница 350: ...8 54 Troubleshooting When you use a remote console 6 Each tool is selected and it starts ...
Страница 438: ...9 82 Upgrading Your Server This page is intentionally left blank ...
Страница 450: ...C 2 IRQ This page is intentionally left blank ...
Страница 474: ...D 24 Installing Windows Server 2008 R2 4 Activate Windows The Windows activation is complete ...
Страница 504: ...E 28 Installing Windows Server 2008 4 Activate Windows The Windows activation is complete ...
Страница 564: ......
Страница 566: ...H 2 Using a Client Computer Which Has a CD Drive This page is intentionally left blank ...
Страница 576: ...I 10 Accessing Power and Performance Data This page is intentionally left blank ...
Страница 580: ...J 4 Product Configuration Record Table This page is intentionally left blank ...


