9
General Purpose Input Output (GPIO):
The GPIO control allows the user to step through the Secondary image sizes as described on page 8, swap the
Primary and Secondary images or display a Record indicator in the upper left corner of the display.
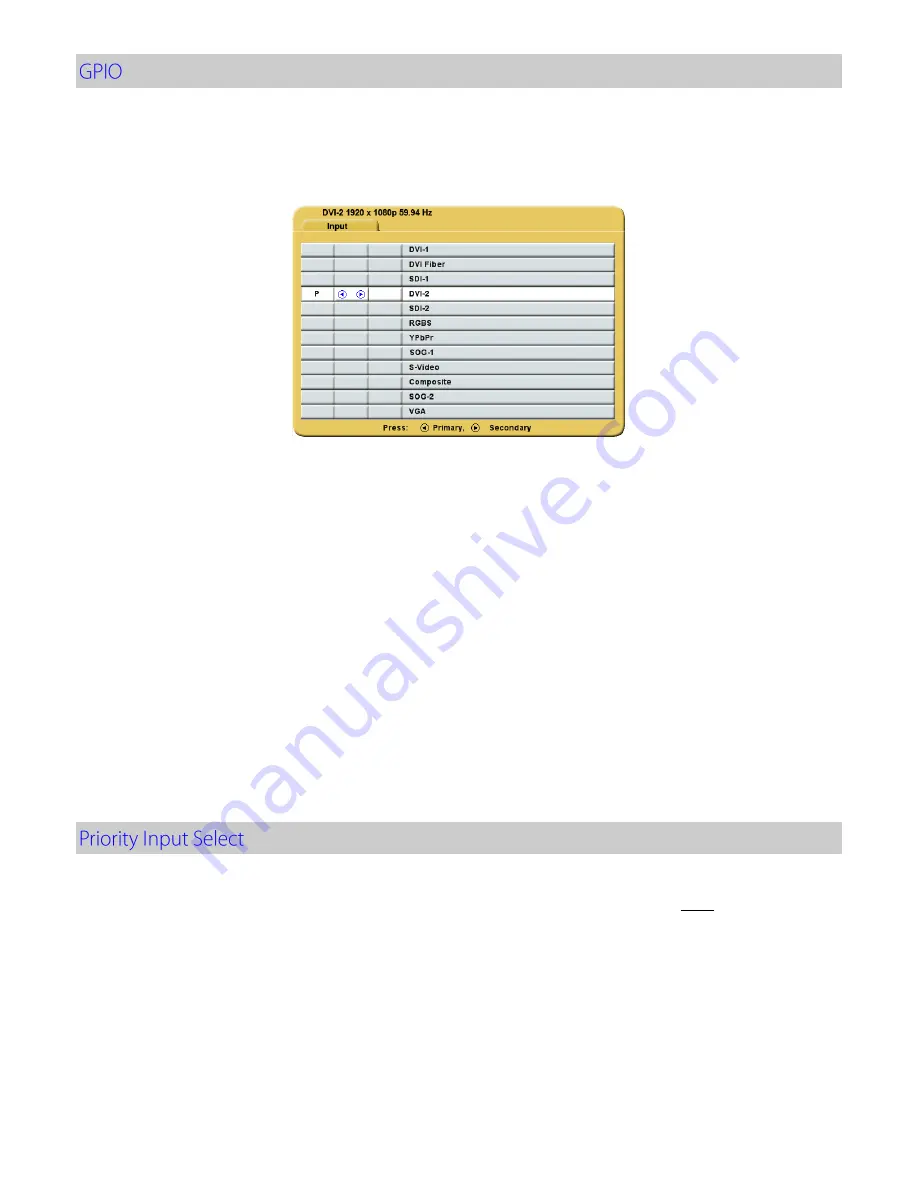
Refer to the Input Menu shown below when setting up the Primary and Secondary inputs.
GPIO Primary / Secondary Source Setup:
1. Press the
INPUT
button twice to open the
Input Menu.
2. Press the
SCROLL
button to highlight the input that will be designated as
Primary
.
3. Select it by pressing the
◄
button a
P
appears
in the column to the left of the cursor
.
4. After the
Primary
input is chosen you may designate a
Secondary
input.
5. Press the
SCROLL
button to highlight the input that will be designated as
Secondary
.
6. Select it by pressing the
►
button an
S
appears in the column to the right of the cursor. The selected
Secondary
input appears as a small PIP in the upper right corner of the display.
7. The
Secondary
input may be cleared by highlighting it using the
SCROLL
button and pressing the
►
button
again.
Using GPIO Control Fixture:
1. Connect an appropriately wired fixture to the
GPIO
connector.
2. Press the fixture’s
PIP Size
button.
3. The display will cycle through the PIP sizes. See page 8 for the sequence.
4. Press the fixture’s
Swap
button. The
Primary
and
Secondary
images swap locations
5. Press the fixture’s
Record
button, the
Record
indicator is displayed until the
Record
button is released.
Note:
GPIO connector pin out is on page 19.
Setup:
By default the
Priority Input Select
feature is enabled with the Primary (DVI) and Secondary (SDI) inputs preselected.
If the
Priority Input Select
feature has been disabled, then a secondary input (pages 7 and 8) must be selected before
the feature may be re-enabled. After selecting the secondary (PIP) input, press and hold the
INPUT
button for 3
seconds. When the
Priority Input Select
feature becomes active, a “
Priority Input Select On
” message appears in the
middle of the screen for about 2 seconds, the PIP image is placed behind the primary, the
PIP +
and
-
(
◄
and
►
)
buttons are disabled, and the
SWAP
button remains enabled. When
Priority Input Select
is enabled, holding the
INPUT
button down for 3 seconds disables it.
Operation:
When
Priority Input Select
is enabled and the primary signal is lost, the secondary input becomes the displayed
image. If the primary signal is restored, its image becomes the displayed image again, and the secondary image is
placed behind the primary image. If both the primary and secondary signals are lost, the monitor alternately scans
the primary and secondary inputs until a signal is detected on one of them. When a signal is detected on the primary
or secondary input, its image is displayed on the monitor.
Содержание Radiance G3
Страница 1: ...Radiance G3 26 USER MANUAL ENGLISH ...
Страница 2: ......
Страница 4: ......
Страница 8: ......
Страница 25: ...17 ...
Страница 29: ...21 ...
Страница 32: ...24 ...
Страница 33: ...25 ...
Страница 34: ...26 0 01 0 12 0 12 0 23 0 1 0 38 0 38 0 73 1 1 2 1 2 2 3 10 3 8 3 8 7 3 100 12 12 23 ...
Страница 35: ......


