


Page 2-8
VR-Link Technical Instruction Manual
Issue 0.6
Section 2 Pre-install, Installation, Setup & Configuration
2.6 SETUP LINK
2.6.1 Connected Equipment
Settings
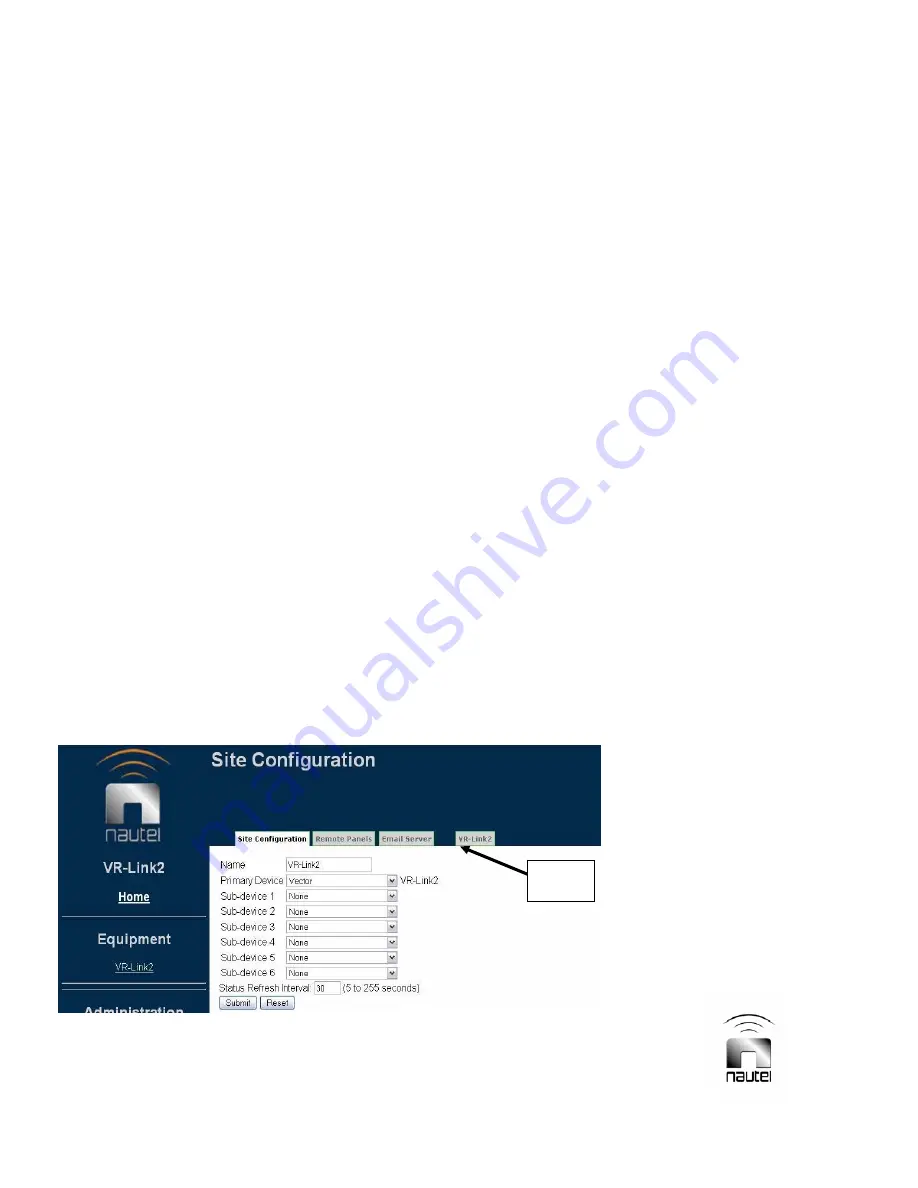
See Figure 2-8. All equipment which is to be
controlled and monitored by the Netburner
must be set up in this dialog. The primary
device MUST be the transmitter or system
controller that the Netburner is connected to.
Select Vector from the Primary Device drop-
down menu. Click
Submit
to add the device.
When equipment (or new device) is added, it
is assigned a tab in the navigation bar and a
hyperlink under Equipment on the left hand
side of the page. Clicking on the device’s
assigned tab allows it to be configured using
the dialog illustrated in Figure 2-9.
Enter the Status Refresh Interval (between 5
and 255 seconds). This setting determines
how often the VR-Link updates the Status
pages. Ensure that connection speeds are
sufficient for the desired refresh rate.
There are eight configurable information
pages available (scroll down to see all
pages), and each page can contain up to 16
channels of equipment data.
Selecting the Customize link on any page in
the list allows modification of the channel
data, as shown in Figure 2-10.
Selecting the device hyperlink under
Equipment displays this information in a page
by page format using selectable tabs (e.g.,
System Summary, Presets, Meters, etc.).
Each page of equipment data can be named
and any available equipment data can be
assigned to any channel. There are factory
default page names that are linked to tabs,
and channel names (e.g., RF Power, System
Control, Active Faults).
Choose the drop down box on any channel to
see the list of available equipment data.
Some data are complex (indicated in bold
text) in that they can be selected as a single
type but will show as multiple data. An
example is
Active Faults
, which will show
any and all faults.
Click on
Submit
(bottom of screen) to save
changes, or
Reset
(bottom of screen) to
restore previously saved settings.
Figure 2-8: Device Setup Page
DEVICE
TAB
Содержание VR-Link
Страница 2: ......
Страница 8: ......
Страница 10: ......
Страница 26: ......
Страница 42: ......
Страница 47: ...VR Link Technical Instruction Manual Page 6 3 Section 6 Parts Lists Issue 0 6...
Страница 48: ...Page 6 4 VR Link Technical Instruction Manual Issue 0 6 Section 6 Parts Lists...
Страница 49: ...VR Link Technical Instruction Manual Page 6 5 Section 6 Parts Lists Issue 0 6...
Страница 50: ......
Страница 54: ......


