17
6.6
Start Up Procedure
o
Make sure that all of the connections, described above, have been made.
o
Turn on the water ball valve and check for leaks. Check the faucet connections,
Open the pressure relief valve located on the carbonator tank by lifting the RED
lever (vertical). Keep it open until water flows from the valve then close it (RED
lever horizontal).
o
Slowly open the CO
2
canister’s valve completely and adjust the pressure from
the regulator between 60 and 65 psi. Check for leaks.
o
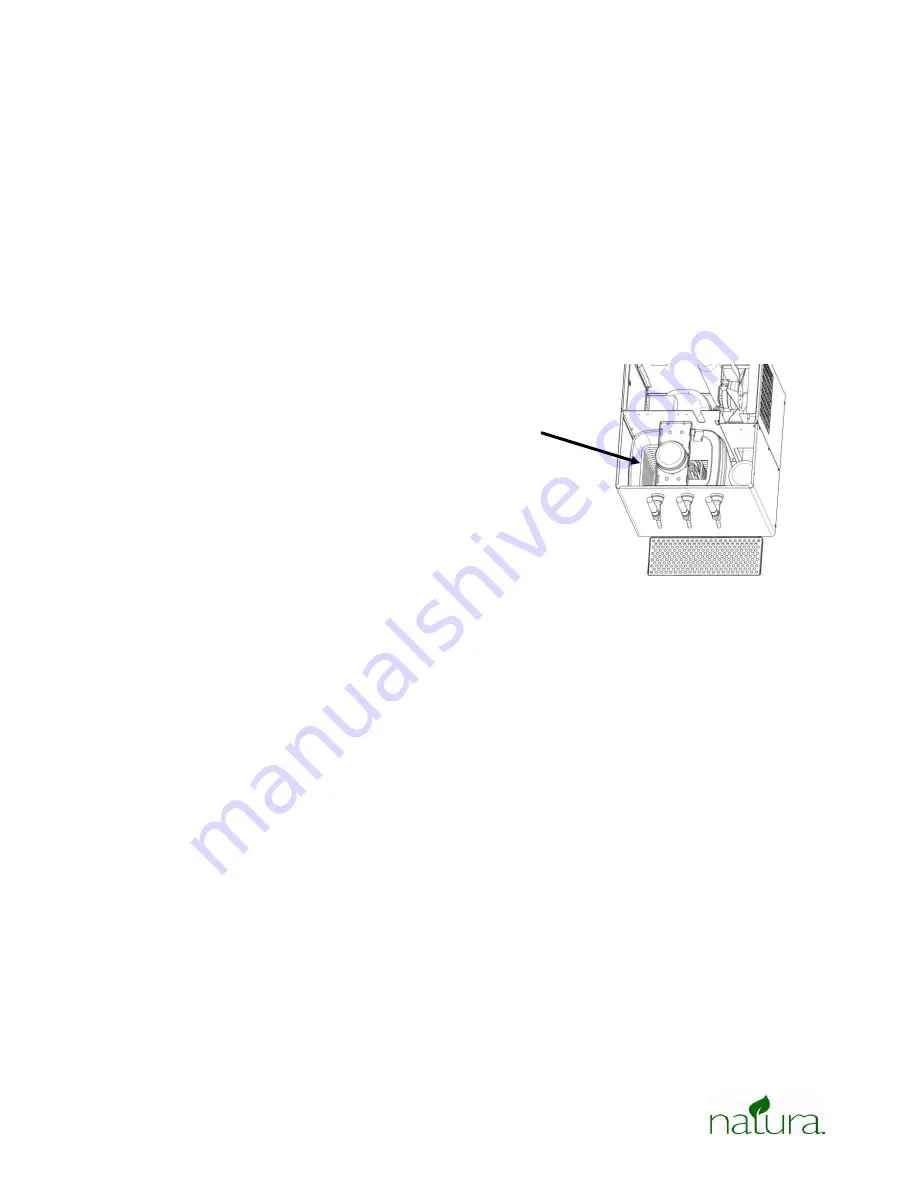
Fill the insulated bucket with distilled or de-ionized water. Remove the left side
of the bucket lid. Carefully pour in enough water to cover the tops of the copper
coil. Leave at least 1 inch distance from the top to the water level. Replace the
lid.
o
Replace the top and secure with the two screws.
o
Plug in the refrigeration unit to any suitable electrical outlet.
o
Turn-on the power switch of the unit. The switch will “LIGHT” to indicate that
power is ON.
o
Set the cold control to full cold (full clockwise rotation of the dial or screw).
o
Before using the machine, allow it to finish at least one refrigeration cycle
(about 3-4 hours, assuming that the thermostat is positioned to number 8
setting or the screw is adjusted to the FULL clockwise rotation).
6.7 Equipment Settings
o
Set the CO2 Pressure to 60-65 psig. Regulate the balance of pressure and
output of CO
2
by using the T handle on the regulator. Turning clockwise, the
pressure increases. Turning counter-clockwise will cause the pressure to
decrease (Diagram 6).
o
When the indicator on the pressure gauge begins to fall into the red and white
section, it is time to refill or replace the CO
2
canister. Do not let the indicator fall
to the section that is completely red (RESERVE) as it will disrupt the supply of
sparkling or carbonated water.
o
Incoming water pressure should be between 30 psi and 100 psi supplied to the
water pressure regulator.
Fill bucket to
cover coils


