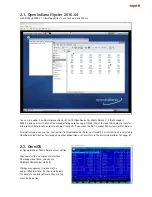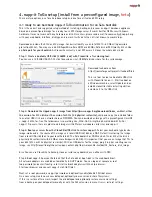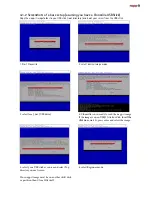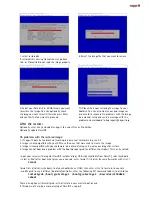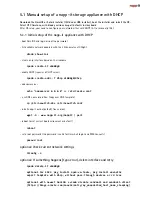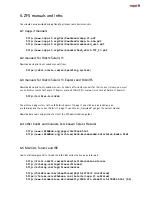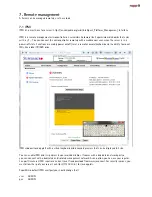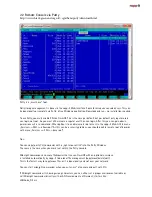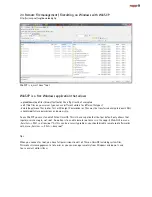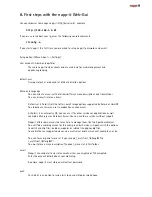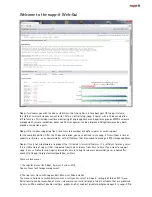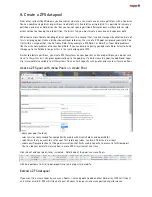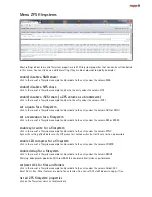
7. select restoredisk
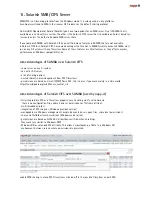
8. Select the Imagefile that you want to restore
If restoredisk is missing (savedisk only), go back
to 4. as Clonezilla did not read the image properly.
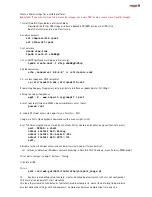
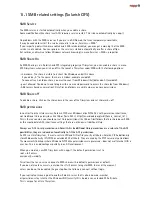
9. Select your Sata disk (> 60 GB) where you want
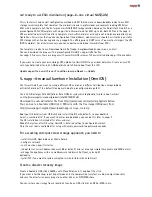
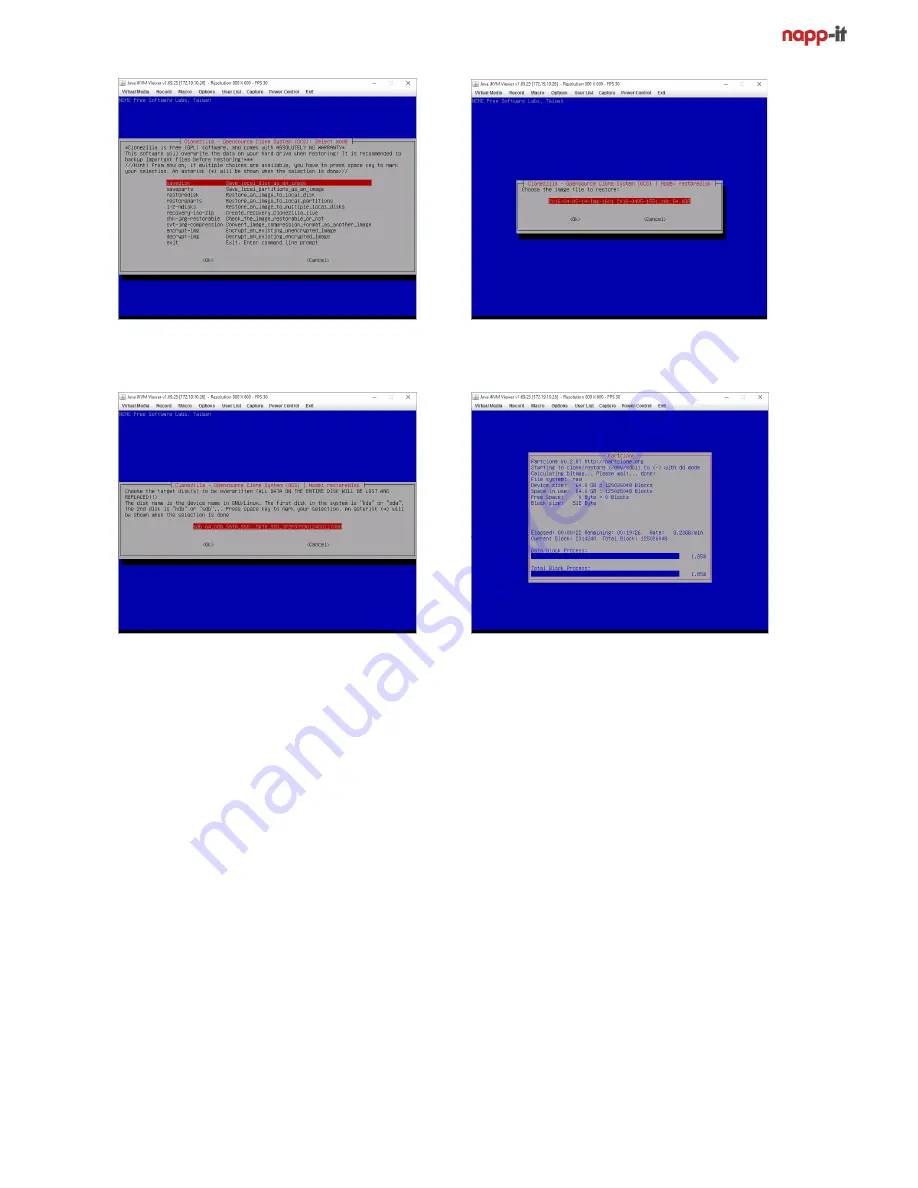
10. Clonezilla is now restoring the image to your
to restore the image. You can optionally check
bootdisk. You can also create your own images as
the image on next screen. Otherwise press Enter
a source for a recovery. On problems with the image,
and confirm that you want to proceed.
do a manual setup and send a message with the
problem
and
mainboard
to
After the restore:
Optionally enter a key and update napp-it to newest Free or Pro edition.
Optionally update OmniOS
On problems with the restored image:
1. If napp-it boots, but network not working: do a manual network setup, see 5.2
2. Image is not compatible with your SSD, use the ones that were used to create the image
3. Image is incompatible with your hardware: do a manual setup and create your image for restore
4. Image cannot boot due a problem with the bootmanager grub (ex different controller). This can be solved:
- boot your server with a regular OmniOS installer disk or USB stick (available from OmniTi), select keyboard
- select 3=Shell after boot, what gives you a console, enter format ti list disks (cancel afterwards with ctrl-C)
format
format lists all disks, write down id of your bootdisk ex c1t0d0, then enter ctrl-c to to return to console
- modify grub to use a different bootdisk/ controller, enter the following CLI command (add s0 to disk-id) ex
installgrub /boot/grub/stage1 /boot/grub/stage2 /dev/rdsk/c1t0d0s0
reboot
There is an option with installgrub -m that installs a new master boot record
If this does not help, do a manual setup of napp-it.
Содержание ZFS Storage
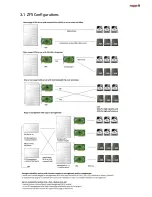
Страница 8: ...3 1 ZFS Configurations...
Страница 45: ...Example Map Chenbro 50 x 3 5 Bay...


