4
CHARGE YOUR IBR-ITAB
The model
IBR-ITAB
iBridge
®
wireless tablet keypad contains
a rechargeable battery that must be charged at its wall-
mounted charging station, or at an IBR-ITABSTAND desk-
mounted charging station.
Caution:
Use ONLY the charger that came with your
IBR-
ITAB
when charging. Do NOT attempt to connect a charger to
the USB port. The USB port is used for data transfer only,
NOT for charging.
Place the IBR-ITAB into the wall-mounted charging station. If
using the IBR-ITABSTAND desk mounted charging station, be
sure to plug the other end of the charging station into a stan-
dard electrical outlet. While the battery is charging, the
Back /
Power Button
charging indicator lights red.
Caution:
Before assembling, charging, or using your device
for the first time, please read the important legal and safety
information packaged with your IBR-ITAB. Any attempt to re-
move or replace your battery may damage the product. The
battery should only be replaced by a Napco-approved service
facility.
TURNING ON YOUR IBR-ITAB
Press and hold the
Back / Power Button
until the
screen displays startup text, indicating the IBR-ITAB
has turned on and will begin the startup process. Af-
ter a short time a popup appears; tap "
Napco RCM
Application
" to continue.
Note:
To automatically start the
Napco RCM Application
,
check the
Use by default for this action
checkbox before
tapping the "
Napco RCM Application
" selection.
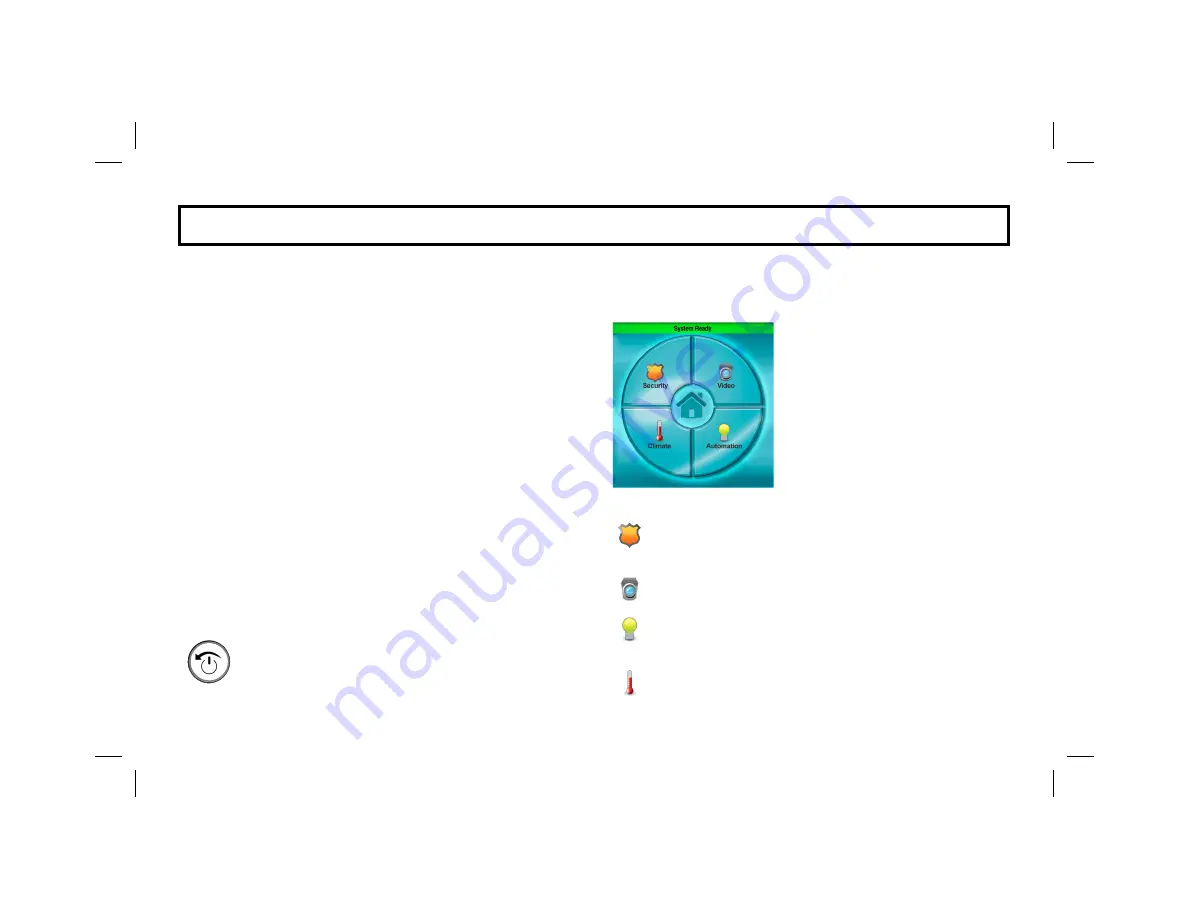
After a few seconds, the IBR-ITAB
Napco Security Application
Home
Screen
appears. From this
screen, tap any of several buttons,
including:
Security
: Tap to display the status of your Napco alarm
system. Allows the control of all system operations, just
like a standard wired keypad.
Video
: (optional) Tap to discover and view the camera
transmissions in your system.
Automation
: (optional) Tap to control the home auto-
mation system components (see
Overview
page 6) in-
cluding lighting and other devices.
Climate
: (optional) Tap to control the home automation
thermostats and other climate control devices (see page
34).
G E T T I N G S T A R T E D
Home Screen


