ABOUT THE ON-SCREEN DISPLAY (OSD)
The VISO TWO employs a self-explanatory on-screen display “menu” that
will appear on the connected video monitor/TV. These are required during
the setup process (and are useful in day-to-day operation), so be sure to
connect the monitor/TV before proceeding with setup.
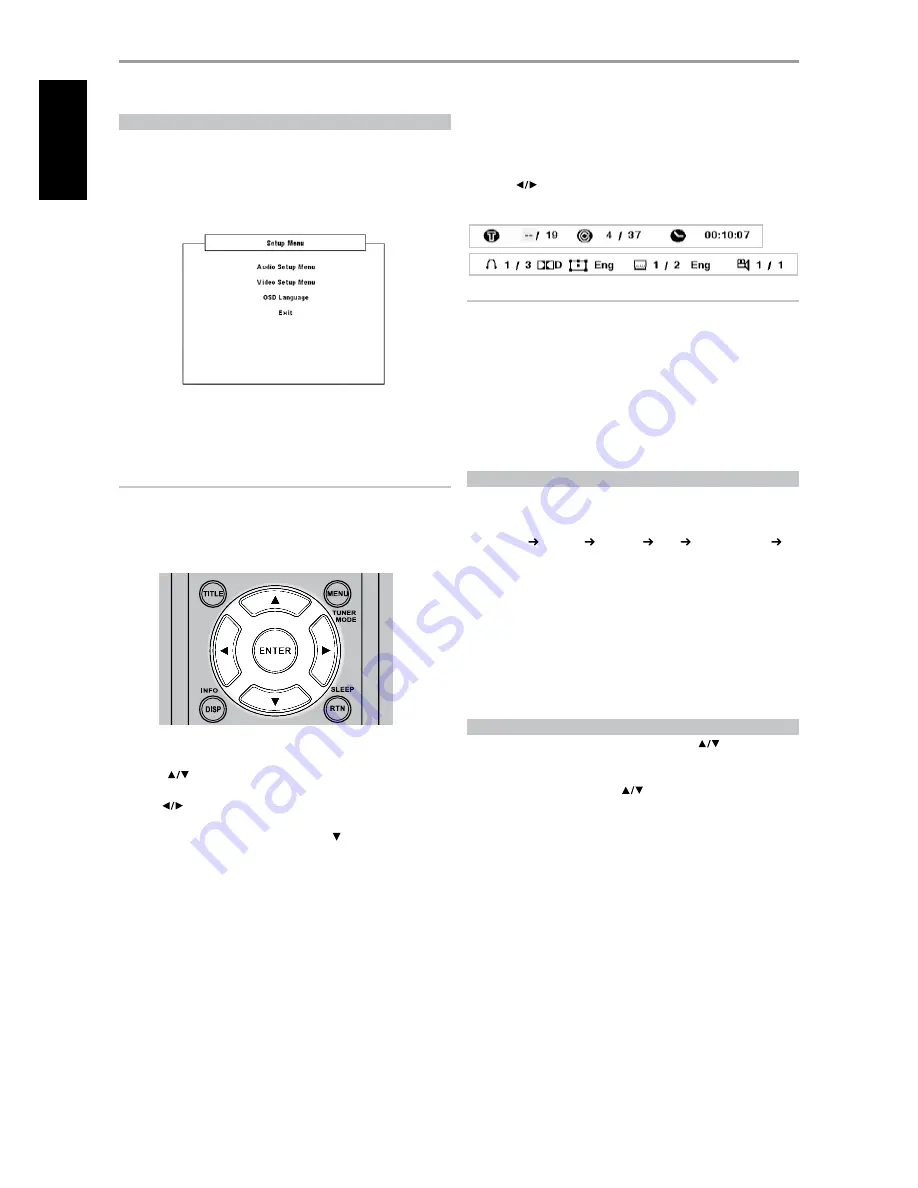
diSplaY the viSo two Setup menu
At any source mode, press the HTR 6’s [SETUP] button for the Setup Menu
OSD to appear. With the use of the HTR 6’s navigation buttons, you may
select various menus. If the Setup Menu does not appear, check your
applicable video connections.
NOTE
The Setup Menu will not appear if a headphone is plugged-in at the
front panel’s PHONES jack. Unplug the headphone for the Setup Menu
to appear when HTR 6’s [SETUP] button is pressed.
navigating the Setup menu oSd and making changeS
To navigate through the Setup Menu OSD options, please do the following
using the HTR 6 remote control:
1
Press [
] keys to move up or down the menu selections.
2
Press [ENTER] to select a menu.
3
Use [
] or [ENTER] keys to select through the options of a particular
menu.
4
To save a menu item that you have set up, use [ ] key to scroll down and
select the particular menu’s “Save & Exit” option. Press [ENTER] to save the
settings and at the same time exit the menu. Select “Do not Save & Exit” if
you choose not to implement the settings you have set up.
To exit the Setup menu or from a menu option without saving, press
HTR 6’s [SETUP] key.
diSplaY diSc oSd
You can display the general disc playback status on the TV screen. Some
items can be changed using the menu. To use the on-screen display:
1
Press the HTR 6’s [DISP] during playback.
2
Press [
] to select an item. The selected item is highlighted.
3
Key-in the desired the number button or press [ENTER] as applicable.
NOTES
• The display feature may not be available for all disc media and is media
dependent.
• Display disc OSD does not apply to audio only discs like CD and MP3/
WMA/JPEG files as they are already presented in their respective menu
screens.
• The front panel and HTR 6’s [DISP] button toggles between title/chapter/
time (or group/track/time for DVD-A discs) and audio/subtitle/angle
display configurations.
• If no button is pressed for about 10 seconds, the on-screen display
disappears.
SELECTING SOURCES
You can choose your desired source by rotating the INPUT SELECTOR knob
to select through the following:
Internal DVD Cable/Sat VCR (iPod) Front AM/FM/XM (DAB)
then back to Internal DVD.
The same source can be directly selected using the HTR 6 remote control.
1
Set HTR 6’s DEVICE SELECTOR to “AMP”.
2
Press your desired source’s corresponding numeric keypad allocation. The
orange label directly above the appropriate numeric keypad is the Source
allocated for such key – example: “1” for DVD, “2” for CAB/SAT and so on.
When you change sources, the VFD will show the new input in its upper
line display.
ADJUSTING THE VOLUME
In addition to the Volume knob, use the HTR 6’s [VOL
] to adjust
the “master volume” of the VISO TWO raising or lowering the channels
altogether. A momentary keypress will change the master volume by 1 dB
increments. If you hold down [VOL
] the master-volume change will
“run-on” until the key is released.
Since recordings vary considerably in overall average level, there is no
imperative to listen at any particular master-volume setting. A setting of -20
dB may sound “as loud” from one CD or DVD as -10 dB does from another.
The VISO TWO will power-up from Standby mode at whatever master
volume setting it was last used; however, if the prior setting was greater
than –15 dB, the VISO TWO will power up at –15 dB. This prevents
inadvertently beginning a session at excessive volume.
SETUP
Setting up the viSo two
1
EN
G
LIS
H
FR
A
N
Ç
A
IS
ES
PA
Ñ
O
L
IT
A
LIA
N
O
D
EU
TS
CH
N
ED
ER
LA
N
D
S
SV
EN
SK
A
РУ
СС
К
И
Й


