PAGE 44 — PRO SERIES WALK-BEHIND TROWELS • OPERATION MANUAL — REV. #0 (9/21/17)
3. Clean the foam element in warm, soapy water or a
nonflammable solvent. Rinse and dry thoroughly. Dip
the element in clean engine oil and completely squeeze
out the excess oil from the element before reinstalling.
Engine Oil
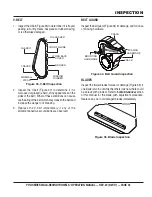
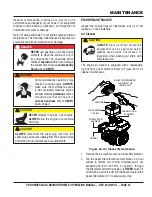
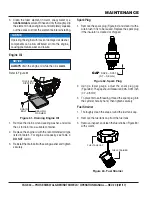
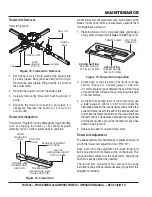
Refer to Figure 61.
Figure 61. Draining Engine Oil
1. Remove the drain bolt and sealing washer, and allow
the oil to drain into a suitable container.
2. Replace the engine oil with the recommended oil type
listed inTable 5. For engine oil capacity, see Table 2.
DO NOT overfill.
3. Reinstall the drain bolt with sealing washer and tighten
securely.
NOTICE
Operating the engine with loose or damaged air cleaner
components can allow unfiltered air into the engine,
causing premature wear and failure.
NOTICE
ALWAYS drain the engine oil while the oil is warm.
DRAIN
BOLT
SEALING
WASHER
OIL FILLER
DIPSTICK
Spark Plug
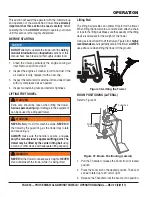
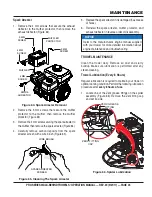
1. Remove the spark plug (Figure 62) and clean it with a
wire brush if it is to be reused. Replace the spark plug
if the insulator is cracked or chipped.
Figure 62. Spark Plug
2. Using a feeler gauge, adjust the spark plug gap
(Figure 62). The gap should measure 0.028–0.031 inch
(0.7–0.8 mm).
3. To prevent cross-threading, thread the spark plug into
the cylinder hole by hand, then tighten securely.
Fuel Strainer
1. Thoroughly clean the area around the fuel tank cap.
2. Remove the fuel tank cap from the fuel tank.
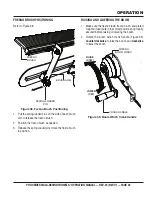
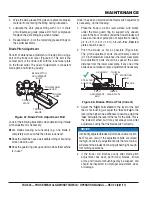
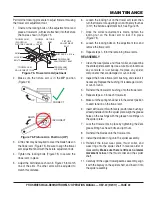
3. Remove, inspect, and clean the fuel strainer (Figure 63)
with solvent.
Figure 63. Fuel Strainer
GAP
:
0.028 – 0.031 in.
(0.7 – 0.8 mm)
FUEL TANK CAP
FUEL STRAINER
MAINTENANCE


