background image


4. 

Specifications  

*All specifications are subject to change. 

All MP Systems equipment ships with identification label. The label is located by main 
disconnect on front of the system. 

The label contains  


Pump Type 


Serial Number 


Build Date 


Operating voltage (208-230VAC

(optional 480V)


FLA/ Largest Load for determining power service requirements  

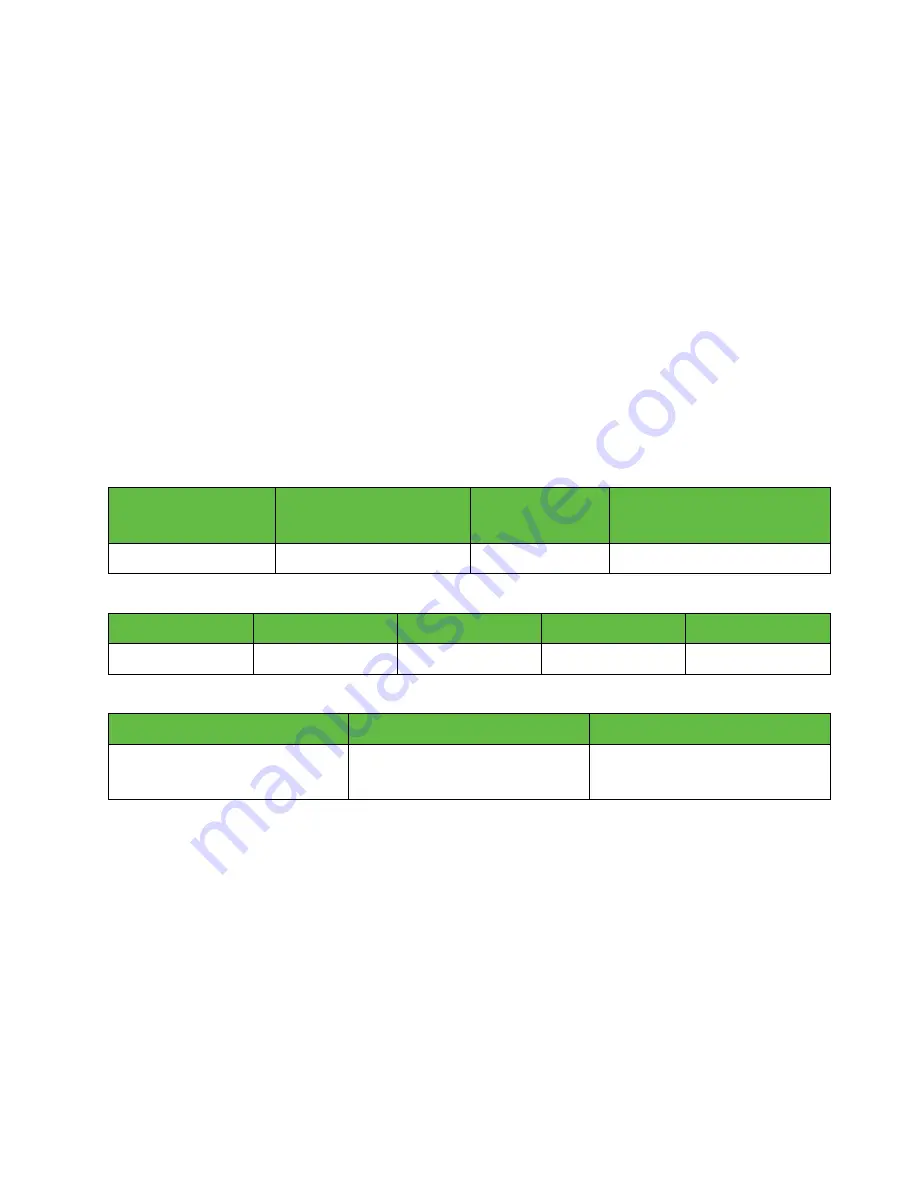
4.1 Electrical Specifications 

All power for motors and hydraulics is derived from CDR Series power input source. 

Main Power: 3 Phase @ 60Hz 

Model 

FLA @ 

208-230 VAC 

FLA @ 

480 VAC 

kVA 

CDR80 

8.5* 

4.0* 

3.2 


Motor 

HP 

RPM 

208-230 VAC 

460 VAC 

Feed Pump  

3450 

8.5A 

4.0 


Control Power  

Control Signal 

Alarm Circuit 

208-230 VAC 

24vdc 

NC (Normally Closed) 

NO (Normally Open) 


Содержание CDR80

Страница 1: ...y Park Road East Granby CT 06026 USA Phone 1 877 689 1860 Email mpteam mp systems net INSTALLATION OPERATION MAINTENANCE MANUAL Cyclonic Debris Removal Series Pump Serial Number ________________ Date 7 28 2022 Revision 06 ...

Страница 2: ...sales team and manufacturing personnel MP SYSTEMS high pressure coolant systems accessories are low maintenance and longer lasting MP SYSTEMS prides itself on building and supporting a dependable product Our team works closely with CNC machine tool manufactures distributors and customers to provide excellent customer service These relationships facilitate superior application experiences Our goal ...

Страница 3: ...2021 K Quintin 03 Added quick start guide components updated with more information 4 26 2021 K Quintin 04 Updated quick start guide and install info Updated start stop mode of operation Updated PLC settings 2 23 2022 K Quintin 05 Updated quick start guide and install info Updated PLC screens Added Severe Duty components 6 14 2022 K Quintin 06 Updated Severe Duty section 7 28 2022 K Quintin ...

Страница 4: ......

Страница 5: ...ons 13 4 3 Floor Layout 14 5 Moving Storage 16 5 1 Delivery Checks 16 5 2 Transport Carriage 16 5 3 Storage 16 6 Installation 17 6 1 Install Kit Components 19 6 2 Recommended Tools for Installation 20 6 3 Electrical Installation 22 6 3 1 Selecting Voltage 22 6 3 2 Power Harness Installation 23 6 3 3 Control Signal Installation Optional Not Required 24 6 4 Plumbing Installation 25 6 4 1 Dip Tubes I...

Страница 6: ...7 2 Set Mode of Operation 33 7 3 PLC Alarm Displays 34 7 4 PLC Settings 35 8 Maintenance 39 9 Spare Parts 40 10 Warranty Information 41 ...

Страница 7: ...ccordance with authors rights MP SYSTEMS does not accept responsibility for any inaccuracies contained in this manual whether due to errors in printing or transcription It furthermore reserves the right to carry out such modifications to its products as it considers necessary and or useful without compromising their essential characteristics MP SYSTEMS does not accept responsibility for improper u...

Страница 8: ...angerous voltage Failure to heed this warning carries a risk of injury or death WARNING Indicates a possible danger situation Failure to heed this warning carries a risk of injury INFORMATION Indicates important information or advice on the use of the machine FLAMMABLE Indicates possible flammable material LOCK OUT TAG OUT Lock Out Tag Out CDR Series before service can be done ...

Страница 9: ...ng the instructions contained in this manual Always keep a copy of this manual near the machine Carry out routine maintenance operations with great care have worn or damaged parts replaced by qualified personnel and use original parts or those recommended by MP SYSTEMS To function correctly and for operator security the CDR Series must be operated with all panels in place and secured Dangerous vol...

Страница 10: ... protection when handling coolant cutting fluid 2 3 Prevention of Electrical Risks When power to the machine is switched on the machine is a source of danger especially if the basic safety rules are not followed To avoid any possible danger it is necessary to observe the following basic operation rules When making electrical connections to the CDR Series observe state and federal electrical codes ...

Страница 11: ...engineered hydro cyclone configuration at 80 gallons per minute It then deposits a concentrated slurry into an easily cleanable settling tank below and allows clean coolant to return to the machine tool tank When the CDR settling tank is full simply scrape out the debris into a bucket or chip hopper without having to interrupt production The CDR is designed for applications with the following crit...

Страница 12: ...kit to easily pull power from machine Auto start on power up feature or scheduled clock run function Hour counters for filter run time vs machine run time optional Cleanable pre filter Low Maintenance 2 Year Parts Warranty CDR Benefits Clean coolant lasts significantly longer Less wear tear on machine and components Greatly extend time between tank cleanouts Prevent unexpected coolant related shut...

Страница 13: ...re until manually removed Particles must stay in suspension long enough to get sucked up by the pump The CDR does a great job at capturing and filtering snow like debris that spreads evenly throughout the machine tank The CDR is for use with materials that have a specific gravity of 2x water or higher or a density 2g cm 3 or higher Cast Iron Aluminum Steel Alloys The CDR does not work well with pl...

Страница 14: ... 80GPM tank is circulated once every 2 min 30 sec The system should always be on and filtering when machining There are several ways to run the filter system most do not require any additional wiring Factory settings are to start stop the CDR by pressing the buttons on the HMI display A setting can also be enabled to allow the CDR to run automatically when powered up Another option is to run the f...

Страница 15: ... s are plugged and the coolant level in conveyor is piling up too high and debris is bypassing the conveyor These issues will need to be addressed before adding secondary filtration A properly working filtering conveyor is the best way to automatically remove a large amount of the chips being produced by most machining operations CDR typical installation time required 4 Hours A full installation k...

Страница 16: ...g voltage 208 230VAC optional 480V FLA Largest Load for determining power service requirements 4 1 Electrical Specifications All power for motors and hydraulics is derived from CDR Series power input source Main Power 3 Phase 60Hz Model FLA 208 230 VAC FLA 480 VAC kVA CDR80 8 5 4 0 3 2 Motor HP RPM 208 230 VAC 460 VAC Feed Pump 3 3450 8 5A 4 0 Control Power Control Signal Alarm Circuit 208 230 VAC...

Страница 17: ...4 Height 48 Standard 66 Tall 48 Standard 66 Tall Weight 500 lbs 650lbs Capacity 15 gal settling tank 15 gal settling tank 5 gal filter tank Filter Volume Dimensions Rating Y Strainer Screen 38 in 3 2 5 8 x 7 12 Mesh 1 16 SD Extra Capacity Vessel 365 in 3 1 5 gallons 1 Size Basket 6 5 X 11 12 Mesh 1 16 ...

Страница 18: ...4 3 Floor Layout Standard CDR Dimensions ...

Страница 19: ... Severe Duty Models Only Extra Capacity Pre Filter Dimensions ...

Страница 20: ... not attempt to lift the machine with equipment that is inadequate or unsuitable especially with equipment that is too small for overall weight of machine Refer to Section 4 2 Mechanical Specifications for unit weight Only trained and licensed Fork Truck operators may transport this machine MP SYSTEMS is not responsible for any damage caused by unauthorized use WARNING Do not transport machine wit...

Страница 21: ...of debris from the machine tank and spread out across a piece of paper There should be no individual particles larger than 1 32 the thickness of a credit card If there is this indicates a tear in the filter screen or the screen s are plugged and the coolant level in conveyor is piling up too high and debris is bypassing the conveyor These issues will need to be addressed before adding secondary fi...

Страница 22: ...d their locations Next feel around the tank for any baffles walls and screens Draw a simple top down view of the tank and conveyor on a piece of paper In this drawing include all conveyor outlets baffles walls screens coolant pumps etc Last draw the flow path of coolant in the tank after it leaves the conveyor Doing this will greatly help identify the best possible place to locate the suction retu...

Страница 23: ...AVY HOSE CLAMP HC 2 TS HOSE CLAMP 2 1 HEAVY DUTY HOSE CLAMP HC 2 X 5 8 HOSE CLAMP 2 1 HOSE CLAMP HC 2 HOSE CLAMP 2 SELF TAPPING SCREWS FT 14X1 HSD 6 14 HEAVY DUTY ZIP TIES FTR BLACK TY 14 10 7 ZIP TIPES FTR BLACK TY 10 2 NITRILE BLACK HOSE Single Kit HH 2 NITRILE HOSE 14FT 1 POLYWIRE HOSE Double Kit HH 14FT 1 POLYWIRE 2 1 NITRILE BLACK HOSE HH 1 NITRILE HOSE 16FT 1 NITRILE BLACK HOSE HH 1 NITRILE ...

Страница 24: ...g hole in the tank can be used to pass the various pipes through the tank top This is not only quick and easy but also gives you a perfect window to be able to see what is going on in your tank for troubleshooting Sometimes this is simply not an option and a hole must be drilled in the tank If you find yourself in a pinch most hardware stores like Home Depot or Lowes will have the required hole sa...

Страница 25: ...p tube you are installing to help layout where the hole needs to be drilled as well as where the fasteners will need to go for the clamp Use a center punch to locate the holes and prevent drill drift 2 Use the appropriate size drill to make a pilot hole in the center of the cut NOTE Only the drill should be used at this point do not use the drill bit while attached to the hole saw When the drill b...

Страница 26: ...bserve the technical supply conditions imposed by the power supply company 6 3 1 Selecting Voltage Many large industrial facilities run on 480v 3phase 60Hz electricity Most machine tools in the United States require a step down transformer as the machine tools typically run on 200 10 VAC 208 230v is the standard voltage for MP Systems units Optionally 480V units can be purchased voltage cannot be ...

Страница 27: ...t hole and use supplied cord grip 2 Following local electrical codes install 3phase power to 208 230VAC line 480V optional The CDR is phased Red White Black Wire power cable in parallel with machine tool power Be sure to leave enough cable to properly ground the unit 3 Locate proper grounding point Attach using supplied ring terminals 4 Connect twist lock plug into receptable on bottom of CDR elec...

Страница 28: ...cable to reach the CDR electrical panel Connect the two ends of the 14pin connector together beneath the CDR e panel Remove pink jumper wire from inside CDR e panel if using this function Locate the green light output from the machine Cut wire and crimp female tab onto output wire close to output connect Connect MP wire 1 CDR Run Signal along with green light wire into male tab Connect both tabs t...

Страница 29: ...vs Single 2 explanation o The standard installation kit will come with two 1 1 4 suction inlets to accommodate lower coolant levels while running and help prevent air from being pulled into the pump o For dual inlets a minimum coolant depth of 4 while running coolant is required o A single 2 inlet can be used for deep tanks 14 with single conveyor outflow Only certain models of machines will get t...

Страница 30: ...rs the tank before the debris has a chance to settle If debris is allowed to settle it will remain in tank o They can usually be installed through a spare coolant pump opening or by removing an access panel on the tank In some applications a hole may need to be cut to route the hose through properly Refer to the hole saw guide for info on how to cut holes in sheet metal o In some scenarios the two...

Страница 31: ...ith a pre cut hole is provided to replace a generic coolant pump cover Use threaded pipe and larger 90 elbow on bottom to provide concentrated directional flow Be sure to feed threaded pipe through adapter plate before attaching bottom elbow Use pipe with angle cut on bottom for scenarios where directional flow is not desired o Be sure to tighten fittings so that when the hose and bracket are inst...

Страница 32: ...dip tube until after priming 1 Return hose should be routed and attached to return dip tube in a way that ensures the proper flow direction on the bottom of return tube Reference the directional mark on top 1 Overflow hose should be short and have a direct gradual slope down into the tank o Overflow hose MUST NOT be positioned higher than overflow port on settling tank o Overflow port on settling ...

Страница 33: ...ert operator when to empty the filter basket See label on side of CDR electrical panel for instructions or refer to manual If timer is not set or setting is too long the basket will overfill and hoses pump will clog 1 Remove the 2 hose connecting outlet of CDR pump to cyclone inlet manifold 2 Position filter vessel near front corner of CDR settling tank See image below 3 Install 2 hose from CDR pu...

Страница 34: ...nlet hose from the dip tube end so coolant fills both the hose and pump casting completely from inlet side You should be able to see coolant rising out of clear 2 pump outlet hose when full Filling one hose and holding it higher than pump inlet fittings will cause fluid to fill the second inlet hose for dual inlet setups Fill the CDR settling tank reservoir with coolant until fluid begins to drain...

Страница 35: ... hose height ensuring that air is not pulled into the system and returning to tank 4 Filter Discharge The apex of the filters all have a plastic skirt to direct flow downwards There should always be a steady low pressure ring of fluid discharging around the circumference of the bottom of skirt If one of more of the discharge skirts does not have a steady flow around the perimeter this usually indi...

Страница 36: ...t near the inlet dip tube and an excess of coolant height near the return dip tube it will create a counterflow back towards the inlet dip tube 7 Check run signal functionality If using auto start scheduled start or an external signal be sure to verify the system functions as intended ...

Страница 37: ...tional The CDR can be started and stopped by a scheduled RTC timer Ex 6am 6pm The CDR must be powered on for this function to work To configure enter PLC settings by pressing buttons 1 2 on PLC keypad Enter pass 0515 and press enter to cycle through screens Once you reach the appropriate screen Set current time Set current date Enable scheduled run by entering 1 Warning pump may auto start Set wee...

Страница 38: ...SCHEDULED RUN MODE SIG MACHINE SIGNAL RUN MODE ALARM DISPLAYS LOW PRESSURE Machine tank low on coolant add coolant Filter inlet pressure below set pressure Clean CDR Y Strainer Clean CDR SD Filter Basket Poor inlet pump conditions SETTLE TANK FAULT Settling tank level too high Settling tank may be full Scrape debris form settling tank Overflow hose improperly routed Air trapped in overflow hose ...

Страница 39: ...Enter current time in 24hr Format is HH MM SS DATE This screen is used to set the current date for the RTC Enter current date in DD MM YY format SCHEDULED RUN When turned on this feature can be used to automatically run the system during a set time of the day To enable change the setting from 0 to 1 and press enter The following screen will be used to enter the desired time frame for the system to...

Страница 40: ...aintenance Time will vary depending on application material removal rate pre filtration etc We recommend starting at a low time ex 20 hours and increasing time as needed depending on full the system is Enter the desired time in hours and press enter There is also a filter warning percentage that can be programmed on the next screen to alert the operator that the system requires maintenance but wil...

Страница 41: ...rm set point before the system alarms out This setting should not be changed unless discussed with MP Systems To change setting enter new time in seconds and press enter FLOAT ALARM DELAY If the CDR settling tank fluid height gets too high and the tank float rises it will begin a timer before alarming out and shutting the system down This setting should not be changed unless discussed with MP Syst...

Страница 42: ...rnal signal harness to run CDR When using an external signal to run the system there is an off delay that will continue to run the pump for a set amount of time after the external signal is removed This is done so the CDR can continue to run for a while and clean up the tank after a part cycle is finished The time is set in minutes and the default time is 5 minutes To change input new time in minu...

Страница 43: ...pull strainer screen out 4 Using proper PPE knock any loose chips into chip hopper 5 Clear screen using compressed air or water hose 6 Reinstall Y strainer screen and cap and hand tighten only CLEANING FILTER VESSEL BASKET SEVERE DUTY MODELS ONLY For machines that do not have a filtering conveyor a Severe Duty CDR is required that includes the additional of a filter vessel with a cleanable mesh ba...

Страница 44: ...urn system back on let pressure stabilize and visually inspect the discharge skirt making shirt there is an even ring of fluid around the edges REPLACING WORN HYDRO CYCLONES Depending on the abrasive nature of the particles going through the filters they may wear down over time and need to be replaced The filters are assembled from modular parts that can be replaced as needed Contact MP Systems fo...

Страница 45: ...arts warranty Warranty is void if proper installation specification and operational procedures are not followed Contact MP Systems directly for warranty claims MP Systems 34 Bradley Park Road East Granby CT 06026 Phone 877 689 1860 Fax 860 653 2877 Email mpteam mp systems net ...

Отзывы: