Step By Step WLAN Setup Example
A - 3
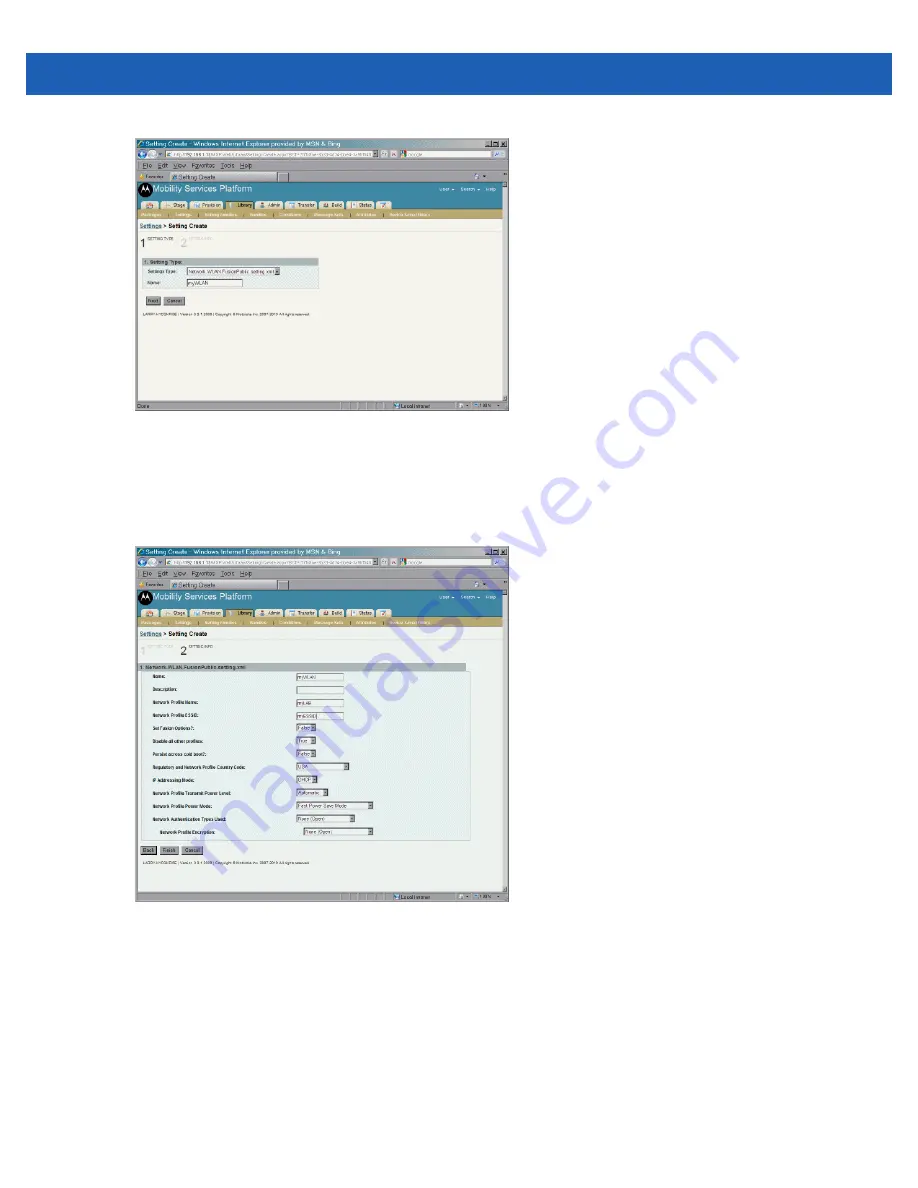
Figure A-4
Setting Create - Setting Type Screen
6.
In the
Settings Type
drop-down list, select
Network.WLAN.FusionPublic.setting.xml
.
7.
In the
Name
text box, enter a name for this setting type. Do not use spaces.
8.
Click the
Next
button. The
Setting Info
screen appears.
Figure A-5
Setting Create - Setting Info Screen
9.
The system displays a template designed for creation of settings of the type selected.
10.
In the
Name
text box, enter a name for the settings.
11.
In the
Network Profile Name
text box, enter a name for the network profile.
12.
In the
Network Profile ESSID
text box, enter a name for the network profile ESSID.
13.
In the
Set Fusion Options
drop-down list, select
True
. Selecting
True
expands the option fields.
Содержание SB1
Страница 1: ...SB1 SMART BADGE INTEGRATOR GUIDE ...
Страница 2: ......
Страница 3: ...SB1 INTEGRATOR GUIDE 72E 164712 01 Rev A December 2012 ...
Страница 6: ...iv SB1 Integrator Guide ...
Страница 14: ...xviii SB1 Integrator Guide ...
Страница 88: ...4 30 SB1 Integrator Guide ...
Страница 96: ...5 8 SB1 Integrator Guide ...
Страница 106: ...A 10 SB1 Integrator Guide ...
Страница 120: ...B 14 SB1 Integrator Guide ...
Страница 127: ...Index 3 ...
Страница 128: ...Index 4 SB1 Integrator Guide ...
Страница 129: ...Index 5 ...
Страница 130: ...Index 6 SB1 Integrator Guide ...
Страница 131: ...Index 7 ...
Страница 132: ...Index 8 SB1 Integrator Guide ...
Страница 133: ...Index 9 ...
Страница 134: ...Index 10 SB1 Integrator Guide ...
Страница 135: ......


