background image

8

English

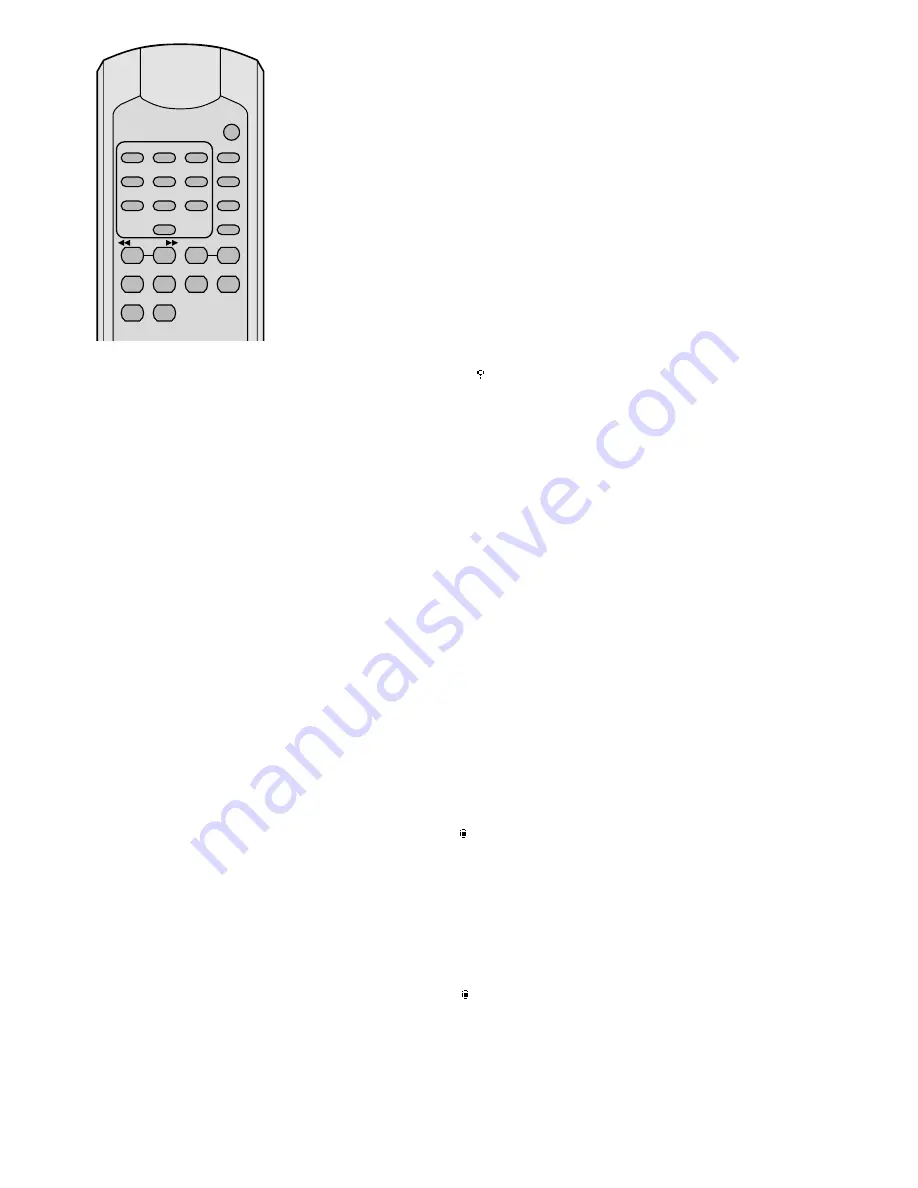
FOLDER

REPEAT FIND

REC

DEL

MUTE

FUNC

REV

−SKIP−CUE

PLAY

PAUSE

STOP

PROG

DISPLAY

ID3

1

4

5

6

7

8

0

9

2

3

4.3  Audio recordings

It is possible to make MP3 recordings from a 
unit connected to the jacks AUX INPUT (e . g . 
CD player) and to store them on a memory 
card or a USB flash drive .
1)  Make sure that the write protection of the 

memory card or USB flash drive is not en-
abled; if required, disable the protection .

2)  To select the jacks REC, press the button 

FUNC repeatedly until 

AUX

 appears on the 

display .

3)  Press the button REC (-ORD) . The display 

will show 

RECORD Waiting....

–  When a memory card is inserted 

or

 a 

USB flash drive is connected, recording 
will start after a few seconds .

–  When a memory card is inserted 

and


a USB flash drive is connected, 

Tar-

get [CARD]

 or 

[USB]

 will appear 

on the display . Use the buttons 

 




 / REV – SKIP – CUE  to  select  the  stor-

age medium to be used for recording . 
Then press the button REC (-ORD) again . 
Recording will start after a preparation 
period of a few seconds .

4)  During the recording, 

RECORD Ɗ [CARD]


or 

[USB]

 will appear on the display . To 

stop recording, press the button STOP /  

 .

Notes:


1 .  The unit will create the folder TMC_AUX on 

the storage medium for its own recordings . The 
following names will be assigned to the files re-
corded: 


REC_AUX .mp3 


REC_AUX001 .mp3  
REC_AUX002 .mp3  
etc .  


The date and the time of the files, however, are 
not correct . The folder name and the file names 
can be changed with a computer .

2 .  If a recording is distorted, reduce the volume of 

the unit connected . (The signal level at the jacks 
REC must not exceed 800 mV .)

4.4  Copying audio files or entire 

folders

Individual audio files or entire folders can be 
copied from a memory card to a USB flash 
drive or vice versa .
1)  Use the button FUNC to select the storage 

medium containing the titles to be copied 
(indication 

CARD

 or 

USB

) .

2)  Press the button REC (-ORD) . The display 

will briefly show 

RECORD

 . Then the mag-

nifying glass symbol   in the lower left cor-
ner will start flashing and, next to it, 

Dir


will be shown . The folder search function 
is activated .

3)  Use the buttons 






 / REV – SKIP – CUE 

to select the folder to be copied or the 
folder containing the file to be copied .

4)  To copy the folder selected, press the but-

ton REC (-ORD) again, or 


to copy a single file from the folder se-
lected, keep the button REV, CUE, 



 or 



 pressed until 

File

 is shown next to 

the magnifying glass symbol . Then briefly 
press the button REV, CUE, 



 or 



 to 

select the file to be copied . Press the but-
ton REC (-ORD) to start copying .

Notes:


1 .  The copy process can be stopped at any time with 

the button STOP / 

 .

2 .  The unit will create the folder TMC_M2M on the 

storage medium for its own recordings .

4.5  Deleting individual audio files

1)  Use the button FUNC to select the storage 

medium containing the file to be deleted 
(indication 

CARD

 or 

USB

) .

2)  Press the button STOP /  

 .

3)  Press the button DEL (-ETE) ; the display will 

briefly show 

DELETE

 . Then the magnify-

ing glass symbol   in the lower left corner 
will start flashing and, next to it, 

Dir

 will 

be shown . The folder search function is 
activated .

4)  Use the buttons 






 / REV – SKIP – CUE 

to select the folder containing the file to 
be deleted .

5)  When the folder has been found, keep 

the button REV or CUE, 



 or 



 pressed 

until 

File

 is shown next to the magnify-

ing glass symbol   . Then briefly press the 
button REV, CUE, 



 or 



 to select the 

file to be deleted .

6)  To delete the file, press the button 

DEL (-ETE) . The display will briefly show 

DELETE

 .

7)  To delete further files, repeat steps 3) to 5) .

Note:

 The process can be stopped at any time with 

the button STOP / 

 .

5  Specifications

Frequency range:  .  .  .  .  .  . 20 – 20 000 Hz
THD:  .  .  .  .  .  .  .  .  .  .  .  .  .  .  . <  0 .3 %
Channel separation:   .  .  . >  60 dB
Dynamic range:  .  .  .  .  .  .  . >  96 dB
S / N  ratio:   .  .  .  .  .  .  .  .  .  .  . >  60 dB
Audio input REC
  max . input level:   .  .  .  . 800 mV
 connection:  .  .  .  .  .  .  .  . RCA
Audio output LINE
  output level:   .  .  .  .  .  .  . 1 .2 V
 connection:  .  .  .  .  .  .  .  . RCA
Data rate 
for recordings: .  .  .  .  .  .  .  . 128 kbits / s
Power supply:  .  .  .  .  .  .  .  . 230 V/ 50 Hz
Power consumption:  .  .  . 50 VA  max .
Ambient temperature:  .   .  0 – 40 °C
Dimensions 
(W × H × D):  .  .  .  .  .  .  .  .  . 482 × 44 × 

265 mm,  1 RS

Weight:  .  .  .  .  .  .  .  .  .  .  .  .  . 3 .4 kg

Содержание DPR-110

Страница 1: ...TRONICS FOR SPECIALISTS BEDIENUNGSANLEITUNG INSTRUCTION MANUAL MODE D EMPLOI ISTRUZIONI PER L USO VEILIGHEIDSVOORSCHRIFTEN CONSEJOS DE SEGURIDAD RODKI BEZPIECZE STWA SIKKERHEDSOPLYSNINGER S KERHETSF R...

Страница 2: ......

Страница 3: ...R SPECIALISTS ELECTRONICS FOR SPECIALISTS ELECTRONICS FOR SPECIALISTS 3 Deutsch Seite 4 English Page 7 Fran ais Page 10 Italiano Pagina 13 Nederlands Pagina 16 Espa ol P gina 16 Polski Strona 17 Dansk...

Страница 4: ...keine Haf tung f r daraus resultierende Sach oder Personensch den und keine Garantie f r das Ger t bernommen werden Soll das Ger t endg ltig aus dem Betrieb genommen werden berge ben Sie es zur umwelt...

Страница 5: ...Anzeige CARD oder USB 2 Die Taste REC ORD dr cken Das Display zeigt kurz RECORD an Dann blinkt unten links das Lupensymbol und daneben wird Dir angezeigt Die Ordnersuchfunk tion ist aktiviert 3 Mit d...

Страница 6: ...ND 2 dr cken Anzeige Dir 2 Mit oder REV SKIP CUE den Ordner aussuchen 3 Mit PLAY den 1 Titel im Ordner starten Taste Funktion auf der Fernbedienung am Ger t REPEAT Wiederholfunktionen Zufallswiedergab...

Страница 7: ...accepted if the unit is used for other purposes than originally intended if it is not correctly connected or operated or if it is not repaired in an expert way If the unit is to be put out of oper at...

Страница 8: ...he display will briefly show RECORD Then the mag nifying glass symbol in the lower left cor ner will start flashing and next to it Dir will be shown The folder search function is activated 3 Use the b...

Страница 9: ...E pressed until the letter starts flashing select the ti tle with or REV SKIP CUE and then press the button PLAY to start the replay of the title Folder search 1 Press FIND twice Indication Dir 2 Sele...

Страница 10: ...dommages mat riels ou corporels r sultants si l appareil est utilis dans un but autre que celui pour lequel il a t con u s il n est pas correctement branch ou utilis ou s il n est pas r par par une pe...

Страница 11: ...ORD L af fichage indique bri vement RECORD Ensuite le symbole de loupe en bas gauche clignote et c t Dir est affich La fonction de recherche de dossier est activ e 3 Avec les touches REV SKIP CUE s le...

Страница 12: ...que la lettre clignote avec ou REV SKIP CUE recherchez le titre et d marrez la lecture avec PLAY Recherche de dossiers 1 Appuyez sur FIND 2 affichage Dir 2 S lectionnez le dos sier avec ou REV SKIP CU...

Страница 13: ...i ripara zione non a regola d arte dell apparecchio non si as sume nessuna responsabilit per eventuali danni consequenziali a persone o a cose e non si assume nessuna garanzia per l apparecchio Se si...

Страница 14: ...REC ORD Il display in dica brevemente RECORD Quindi in basso a sinistra si mette a lampeggiare il simbolo della lente d ingrandimento e di fianco si vede Dir attivata la funzione di ricerca cartella 3...

Страница 15: ...con PLAY avviare il titolo Ricerca cartelle 1 FIND 2 premere Indicazione Dir 2 Con o REV SKIP CUE scegliere la cartella 3 Con PLAY avviare il primo titolo della cartella Tasto Funzione sul telecomando...

Страница 16: ...NATIONAL GmbH Co KG Toda reproducci n mismo parcial para fines comerciales est prohibida na Lees aandachtig de onderstaande veiligheids voorschriften alvorens het toestel in gebruik te nemen Mocht u...

Страница 17: ...Przed obs ug urz dzenia nale y wcze niej zapozna si z nast puj cymi uwagami od no nie rodk w bezpiecze stwa Wi cej informacji dotycz cych obs ugi urz dzenia znajduje si w innych wersjach j zykowych n...

Страница 18: ...R INTER NATIONAL GmbH Co KG Mit n t m n k ytt ohjeen osaa ei saa j ljent milt n osin k ytett v ksi mihink n kaupallisiin tarkoituksiin Ge akt p s kerhetsinformationen innan en heten tas i bruk Skulle...

Страница 19: ...MONACOR INTERNATIONAL GmbH Co KG Zum Falsch 36 28307 Bremen Germany Copyright by MONACOR INTERNATIONAL All rights reserved A 0874 99 04 07 2018...

Отзывы: