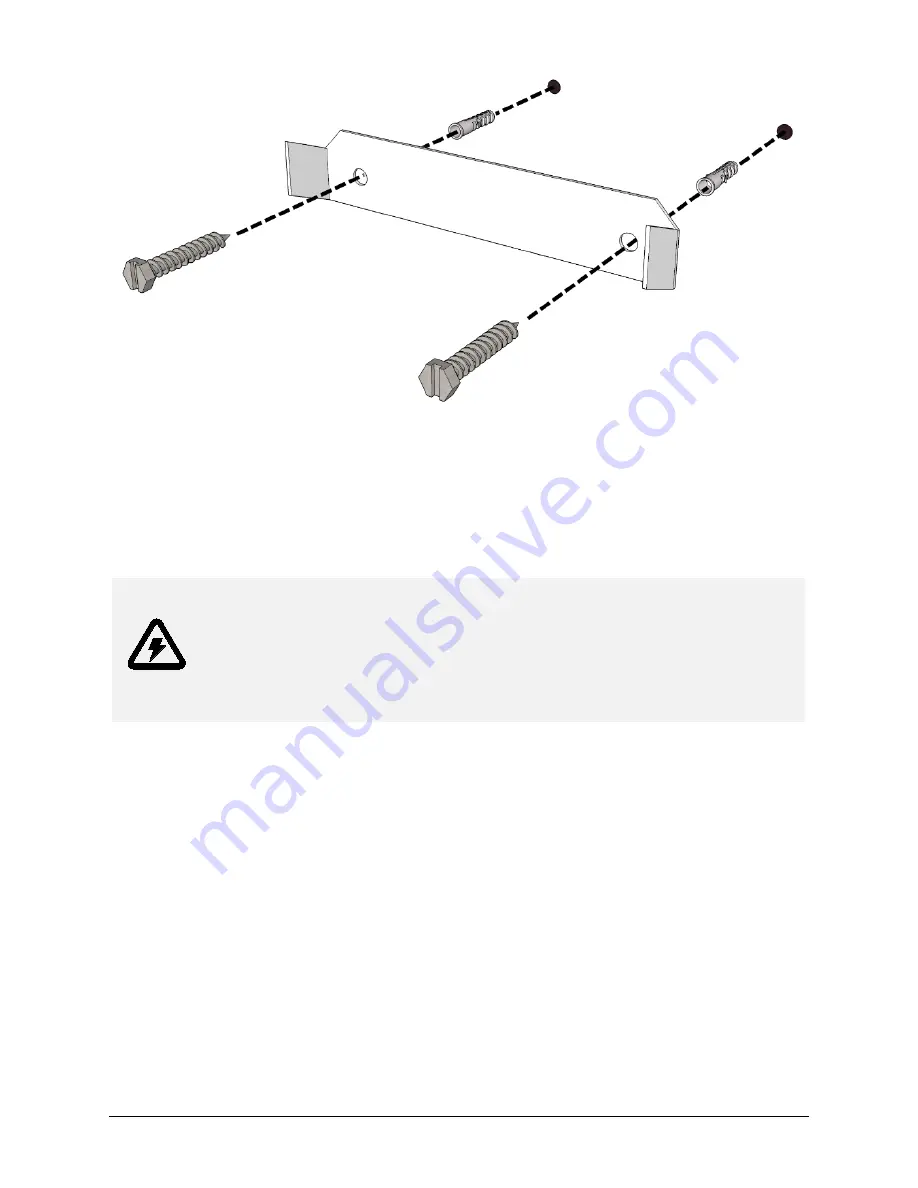
Figure 3: Wall mounting
4.1.3
Making the electrical connections
Once your Nomad has been mounted on the wall, you can begin making the electrical connections.
Follow these steps to make the task as simple as possible.
Caution:
Failure to follow these instructions carefully could increase the risk of
personal injury, death or damage to property or equipment.
Ensure that any electrical connections is dead before touching any potential live
wiring. Certain electrical connections must be appropriately trained person. If in doubt
about anything, contact MLT Inverters for assistance.
1.
Remove the screws that secure the removable bottom cover.
2.
The ‘Earth’ terminal inside the Nomad must be grounded to reduce the risk of electrical
shock and to ensure that external earth-leakage protection device can operate correctly.
3.
The ‘PV’ connections inside the Nomad will need to be connected into your solar array.
These connections should be made with an appropriately rated solar wire. Take care to
NOMAD USER MANUAL
PAGE
15
Содержание Nomad 80
Страница 1: ...NOMAD 80 User Manual...
Страница 2: ...2017 MLT Inverters 3rd Edition May 2017 NOMAD USER MANUAL PAGE 1...
Страница 11: ...Figure 2 Identifying parts of the Nomad PAGE 10 NOMAD USER MANUAL...
Страница 43: ...Appendix A Sample Single Line Wiring Diagram PAGE 42 NOMAD USER MANUAL...
Страница 44: ...NOMAD USER MANUAL PAGE 43...


