background image

ϰ

ƉƉĞŶĚŝdž


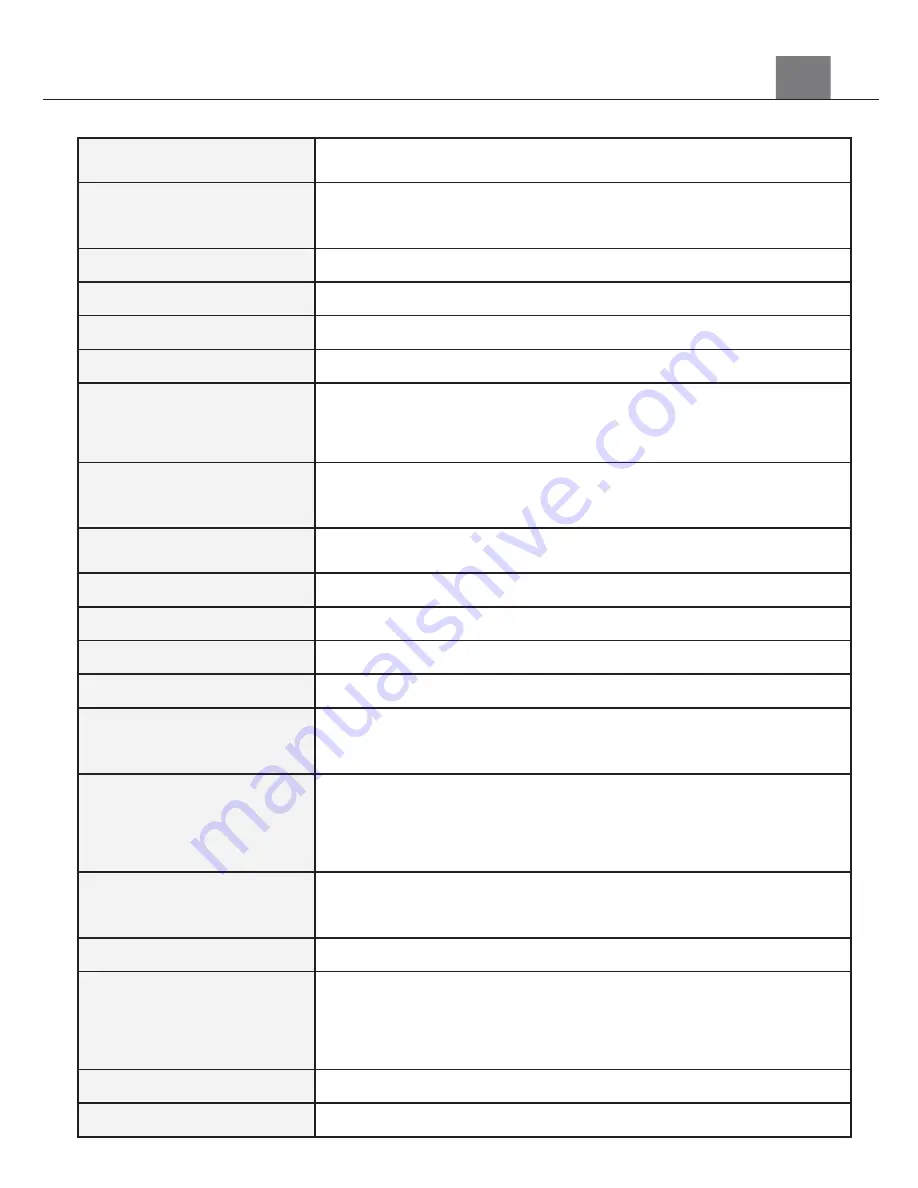
4.1 Technical Specifications

Model Number

Minolta MN200NV

Lens

Fixed Focus • f=7.5mm • F/3.2 • 3

7mm Front 

Threading for Lens Accessory Attachments

Zoom

16X Digital Zoom

Image Sensor

1/3.2" IMX179 Sony CMOS; 3288x2512 Pixels

Shutter Speed

1/60 ~ 1/30 sec

Shutter

Electronic • Anti

-Shake Image Stabilization

Pixels (photo)

JPEG:

24 MP • 20 MP • 16 MP • 12 MP • 10 MP • 8 

MP •7 MP • 5 MP • 3 MP • 2MP • 16:9 (7 MP) • 16:9 (2 

MP)

Pixels (video)

MOV:

1080p30fps • 720p60fps • 720p30fps • 

VGAp60fps

ISO Sensitivity

Auto 

• 50 • 100 • 200 • 400

LCD Monitor

262k 3.0 Inch 16:9 Wide LCD Screen

WiFi Connection

Yes

Assistive Light

Infrared LED (for shooting in dark scenery)

Power Saving Mode

OFF • 

1

Minutes • 

3

Minutes • 

5 Minutes

White Balance
Control

Auto • Daylight • Cloudy • Incandescent • Fluorescent 
H •

Fluorescent L

Scene Modes

Auto • Landscape • Portrait • Sport • Flower • 
Beach • Aquarium • Snow • Sunset • Night • 

Fireworks

Special Features

Loop Recording • Slow Motion • Time

-

Lapse • Photo 

Burst

Recording Media

SD • SDHC; Maximum: 

32GB

I/O Ports

5-pin Mini USB, USB 2.0 (high

speed) • Mini HDMI C 

Type •

Microphone (built-

in MIC) • Speaker • 

Microphone Input

(3.5mm) • Hot Shoe

Power

NP-120; 3.7v, 1000mAh, 3.7Wh

Dimensions

4.6 x 1.65 x 2.36 in. • 7.02 oz.

Содержание MN200NV

Страница 1: ......

Страница 2: ...erence will not occur in a particular installation If this equipment does cause harmful interference to radio or television reception which can be determined by turning the equipment off and on the us...

Страница 3: ...n traffic accident please do not use the camera while you are walking driving or riding a vehicle Please handle the camera strap with care and never place the strap around the neck of an infant or chi...

Страница 4: ...gh temperatures or moisture places Otherwise it may cause fire or electric shock Do not attempt to repair disassemble change or transform the adapter Avoid sudden changes in temperature which may caus...

Страница 5: ...z 1 1 Camcorder Interface Top View Bottom View Side View Front View Rear View...

Страница 6: ...nd out of a photo Photo In Photo Press to capture a photo In Video Press to pause and resume recording In Video Playback Press to pause and resume the video Record In Video Press to start and stop rec...

Страница 7: ...tery is low media stored on the memory card will not be erased Please insert the SD memory card by following the steps below 1 Open the memory card door on the bottom by lifting from the side that say...

Страница 8: ...USB plug into the camcorder s port and the larger end in to the included AC adaptor The status LED will light up Green when charging 3 Close the battery door 2 Insert the Li ion battery into the comp...

Страница 9: ...seconds to prevent memory corruption or loss 2 5 Switching Modes Press the MODE button to cycle between Video Photo Playback and Setup Modes The corresponding mode will be displayed in the top left c...

Страница 10: ...to a TV When connected the camcorder screen will turn off and the camcorder will function normally Use the TV as the camcorder monitor 1 Connect the small end of the HDMI cable to HDMI port on the cam...

Страница 11: ...8 Battery Level 4 Video Size Resolution 9 IR LED Light Indicator 5 Frame Rate 10 WiFi Indicator 2 9 Photo Mode Press the MODE button to switch to Photo Mode The meaning of each icon within Photo Mode...

Страница 12: ...the POWER IR button once to enable the IR LED light When the IR LED light is enabled the IR LED light indicator on the left of the screen will display in white To disable the IR light short press the...

Страница 13: ...preset resolutions and frames per second rates 1 In Video Mode press the MENU button 2 Select Movie Size using the UP or DOWN buttons and press the OK button to enter the Movie Size submenu 3 Press t...

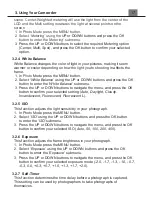
Страница 14: ...selected setting Auto Daylight Cloudy Incandescent Fluorescent Fluorescent L 3 1 5 Exposure This function adjusts the frame brightness in your video 1 In Video Mode press the MENU button 2 Select Expo...

Страница 15: ...hite Sepia Negative Red Green Blue 3 1 9 Slow Motion This function sets the frame rate of the recorded video to a much slower 10 frames per second 1 In Video Mode press the MENU button 2 Select Slow M...

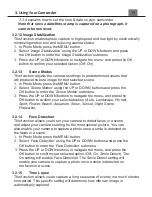
Страница 16: ...or DOWN buttons and press the OK button to enter the Time Lapse Duration submenu 3 Press the UP or DOWN buttons to navigate the menu and press the OK button to confirm your selected option Unlimited...

Страница 17: ...his function sets the photo resolution The higher the resolution the greater the photo quality and the larger the file size of the photo 1 In Photo Mode press the MENU button 2 Select Resolution using...

Страница 18: ...o navigate the menu and press the OK button to confirm your selected setting Auto Daylight Cloudy Incandescent Fluorescent Fluorescent L 3 2 5 ISO This function adjusts the light sensitivity in your p...

Страница 19: ...2 Select Sharpness using the UP or DOWN buttons and press the OK button to enter the Sharpness submenu 3 Press the UP or DOWN buttons to navigate the menu and press the OK button to confirm how sharp...

Страница 20: ...enu 3 Press the UP or DOWN buttons to navigate the menu and press the OK button to confirm your selected option Auto Landscape Portrait Sport Flower Beach Aquarium Snow Sunset Night Scene Fireworks 3...

Страница 21: ...setting 3 2 16 Time Lapse Duration The duration for the time lapse setting is determined in the menu The option chosen here will record for the chosen duration 1 In Photo Mode press the MENU button 2...

Страница 22: ...ing and exit the submenu 3 3 2 Power Frequency This function sets the frequency of the camcorder from 50Hz to 60Hz Please check the frequency of your location and set accordingly 1 In Setup Mode use t...

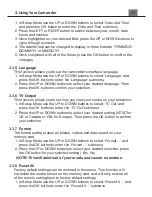
Страница 23: ...allows you to set how you view your media on your television 1 In Setup Mode use the UP or DOWN buttons to select TV Out and press the OK button to enter the TV Out submenu 2 Press the UP or DOWN but...

Страница 24: ...ages on the screen at once use the UP DOWN LEFT or RIGHT buttons to navigate and press the OK button on the selected image to view that image on the full screen In Playback Mode the following options...

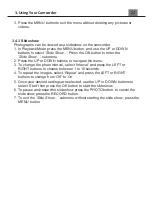
Страница 25: ...igate the menu 3 To change the photo interval select Interval and press the LEFT or RIGHT buttons to choose between 1 to 10 seconds 4 To repeat the images select Repeat and press the LEFT or RIGHT but...

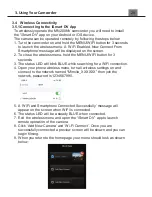
Страница 26: ...ton for 3 seconds 3 The status LED will blink BLUE while searching for a WiFi connection 4 Open your phone wireless menu turn all wireless settings on and connect to the network named Minolta_XXXXXX t...

Страница 27: ...tely 1 To start recording a video press the record button at the bottom of your smartphone screen While a video is recording remotely the operating indicator light at the back of the camcorder will fl...

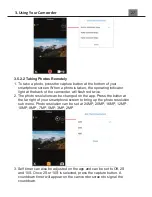
Страница 28: ...e 2 The photo resolution can be changed on the app Press the button at the far right of your smartphone screen to bring up the photo resolution sub menu Photo resolution can be set at 24MP 20MP 16MP 1...

Страница 29: ...on in the bottom left corner of the screen All media on the camcorder will load in two sections photos and videos Tap the photo or video file you wish to view From this screen media can be saved to yo...

Страница 30: ...rder Settings on the App Camcorder settings can also be changed on the app Click the icon in the top right hand corner of the screen to launch the settings menu From here a number of settings includin...

Страница 31: ...0 100 200 400 LCD Monitor 262k 3 0 Inch 16 9 Wide LCD Screen WiFi Connection Yes Assistive Light Infrared LED for shooting in dark scenery Power Saving Mode OFF 1 Minutes 3 Minutes 5 Minutes White Bal...

Страница 32: ...Street 61st Floor New York NY 10005 USA Tel 800 441 1100 www minoltadigital com www elitebrands com Copyright 2020 Elite Brands Inc If you re having difficulties with your camera or would like furthe...

Страница 33: ......

Отзывы: