3. Using Your Camcorder
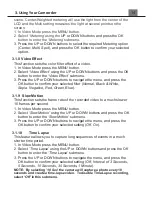
1. In Photo Mode, press the MENU button.
2.
Select ‘
Time Lapse
’
using the UP or DOWN buttons and press the OK
button to enter the ‘
Time Lapse
’
submenu.
3. Press the UP or DOWN buttons to navigate the menu, and press the
OK button to confirm your selected option (
Off, 3 Seconds, 5 Seconds,
10 Seconds, 30 Seconds, 1 Minute
). For example, by selecting 10 Sec
the camera will capture a photo every 10 seconds for a determined time
period as selected in the Time Lapse Duration setting (see next setting).
3.2.16 Time
Lapse
Duration
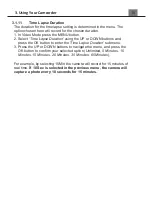
The duration for the time lapse setting is determined in the menu. The
option chosen here will record for the chosen duration.
1. In Photo Mode press the MENU button.
2. Select
‘
Time Lapse Duration
’
using the UP or DOWN buttons and
press the OK button to enter the
‘
Time Lapse Duration
’
submenu.
3. Press the UP or DOWN buttons to navigate the menu, and press the
OK button to confirm your selected option (
Unlimited, 5 Minutes, 10
Minutes, 15 Minutes, 20 Minutes, 30 Minutes, 60 Minutes
).
For example, by selecting 15 Min, the camera will record for 15 minutes
of real time.
If 10 Sec is selected in the previous menu, the camera
will capture a photo every 10 seconds for 15 minutes.
Содержание MN200NV
Страница 1: ......
Страница 5: ...z 1 1 Camcorder Interface Top View Bottom View Side View Front View Rear View...
Страница 33: ......

