– 84 –
SCAN SETTINGS WINDOW
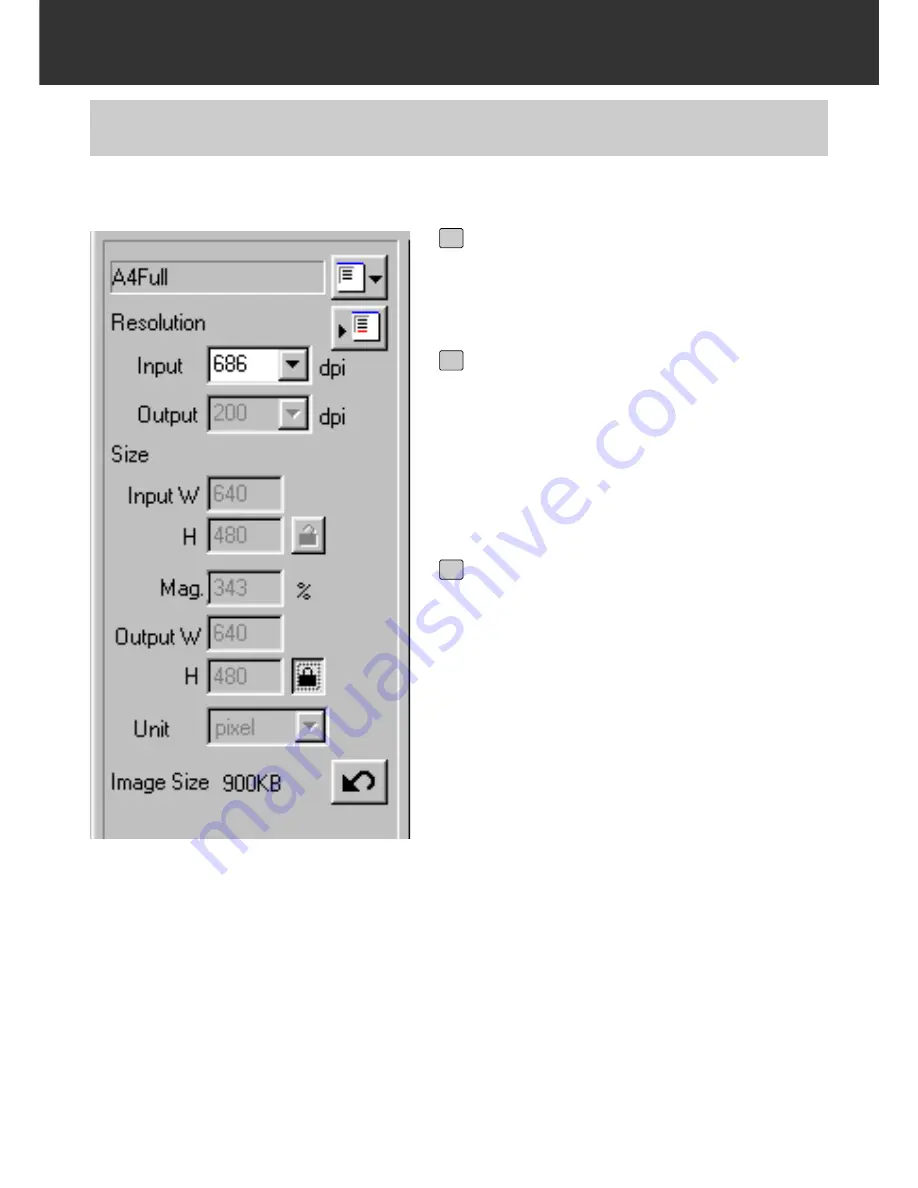
EXAMPLE OF THE SCAN SETTING – WHEN DISPLAYING IN A MONITOR
Select “Pixel” from the Unit list box.
• The Output Resolution list box and the Input
W and H size text boxes are not available.
1
Input “640” and “480” in the Output W
and H size text boxes respectively
and click on the Output size lock but-
ton.
• The Output size is locked so that the size
cannot be changed.
2
Drag the cropping frame to determine
the cropping area.
• While the cropping area is changed, the input
resolution is also changed accordingly.
*The scan settings are complete.
3
This explains how to display in a 13 inch monitor (640 x 480) as an example.
Содержание Dimage Scan Multi II
Страница 1: ...Software Instruction Man Software Instruction Manual ual...
Страница 107: ...107 JOB FILE LIST 35 MM...
Страница 109: ...109 JOB FILE LIST 6 X 4 5...
Страница 111: ...111 JOB FILE LIST 6 X 6...
Страница 113: ...113 JOB FILE LIST 6 X 7...
Страница 115: ...115 JOB FILE LIST 6 X 8...
Страница 117: ...117 JOB FILE LIST 6 X 9...
Страница 119: ...119 JOB FILE LIST APS...
Страница 121: ...121 JOB FILE LIST 16 MM...
Страница 123: ...123...
Страница 125: ......


