MHG Heating Ltd ©
MHG Heating Ltd. Unit 4 Epsom Downs Metro Centre, Waterfield Tadworth Surrey KT20 5LR
P: 08456 448802 F: 08456 448803 E:[email protected] W:
www.mhgheating.co.uk
01/01/10
50
Installing another collector
There is only one mounting frame between two collectors, which supports
both collectors.
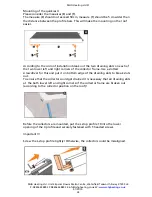
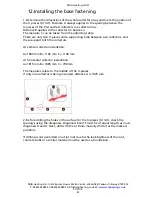
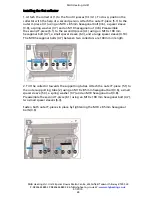
3. Attach the collector (1) to the front U-pieces.
To do so, position the collector with the help of a second person. First attach a
small spacer sleeve (6.3) to the preassembled M10 x 100 mm hexagonal bolt
between the collectors, then attach the collector with a T-piece (6.1) and then a
spring washer (4.8) and hexagonal nut (4.9).
Preassemble the second T-piece to the second U-piece using an M10 x 100 mm
hexagonal bolt (4.7), a small spacer sleeve (6.3), and a large spacer sleeve (4.10).
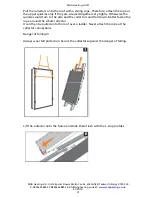
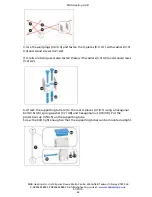
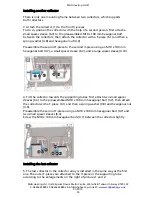
4. Tilt the collector towards the supporting tubes. First attach two small spacer
sleeves (6.3) to the preassembled M10 x 100 mm hexagonal bolt (4.7), then attach
the collector with a T-piece (6.1) and then a spring washer (4.8) and hexagonal nut
(4.9).
Preassemble the second T-piece using an M10 x 100 mm hexagonal bolt (4.7) and
two small spacer sleeves (6.3).
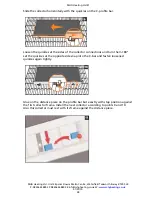
Screw the M10 x 100 mm hexagonal bolts (4.7) between the collectors tightly.
Installing the last collector
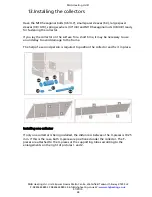
5. The last collector in the collector array is installed in the same way as the first
one. The outer T-pieces are attached to the U-piece or the supporting tube
according to the enlargements on the right of pictures 1 and 2.

