38
14. Replacement of X-Y Carriage
EP 1B Technical Manual
Melco Embroidery Systems
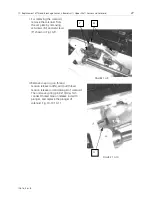
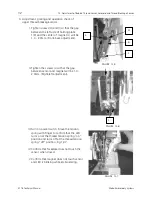
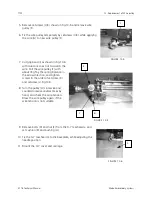
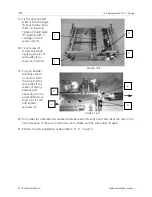
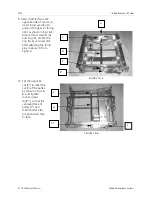
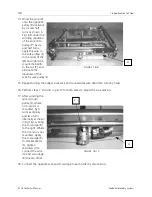
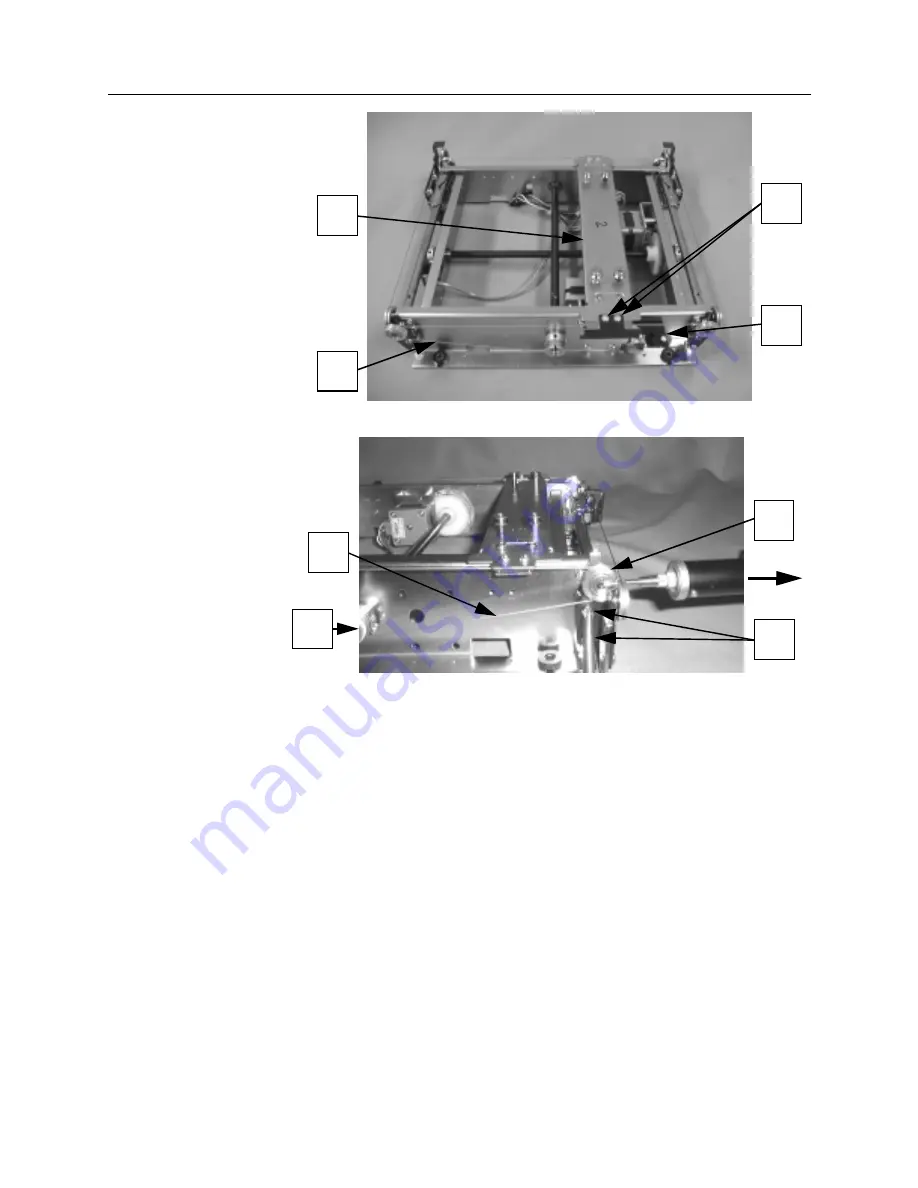
17. Fix the right and left
wires (I) and Y-carriage
(F) by setscrews (H) as
shown in Fig.14-8.
Tighten Y-shield plate
(F) together with Y-
carriage on the Y-
sensor side (V).
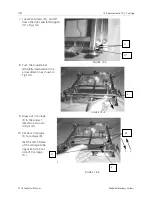
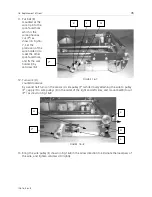
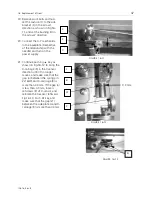
18. Fix setscrew (D)
temporarily while
applying wire (C) to
wire pulley (E) as
shown in Fig.14-9.
19. Cut grip band(B)
with due care so
as not to scratch
the wire. Pull the
wire pulley (E) by
means of spring
balance with
about 7Kgf in the
arrow direction as
shown in Fig.14-9,
and tighten
setscrew (D).
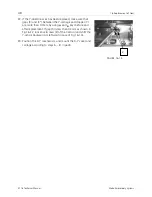
20. Turn pulley (A) clockwise and counterclockwise several times by hand, and check the wire (C) for
normal tension. If the wire (C) tension is not suitable, pull the wire pulley (E) again.
21. Perform the same operation as described in 9.- 11. in par.13.
FIGURE 14-8
H
V
F
I
FIGURE 14-9
A
C
D
E

