


22
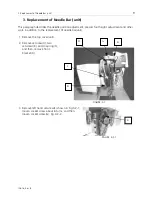
8. Replacement of X-Y Mechanism
EP 1B Technical Manual
Melco Embroidery Systems
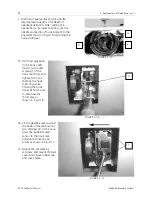
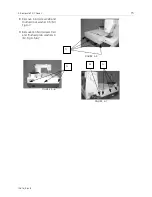
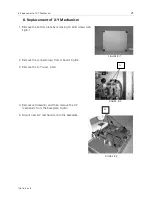
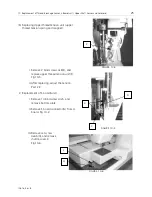
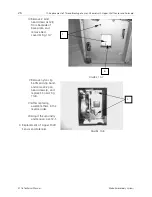
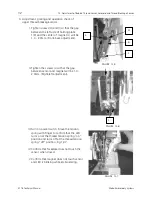
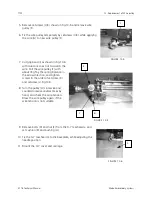
6. Tighten the X-Y mechanism by setscrews(B) lightly. In this
case, tighten the leaf spring to part(C) shown in Fig.8-4
together.
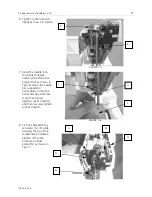
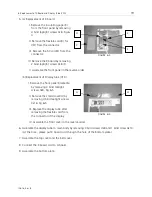
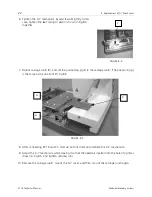
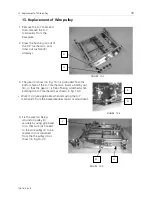
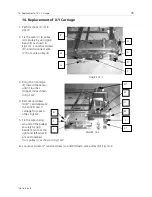
7. Mount carriage (unit) (D), and set the positioning jig (E) to the carriage (unit). (The positioning jig
is the same as the one for EP1) Fig.8-5
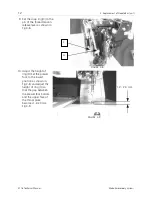
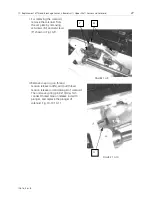
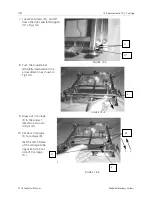
8. After connecting EP 1B and PC, start up both of them and initialize the X-Y mechanism.
9. Adjust the X-Y mechanism while moving it so that the needle is inserted into the hole of jig (E) as
shown in Fig.8-5, and tighten setscrews (B).
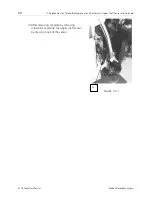
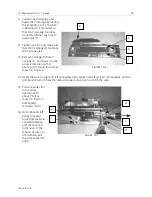
10. Remove the carriage (unit), mount the X-Y cover, and then, mount the carriage (unit) again.
FIGURE 8-4
C
FIGURE 8-5
E
D
B