Care
Point:
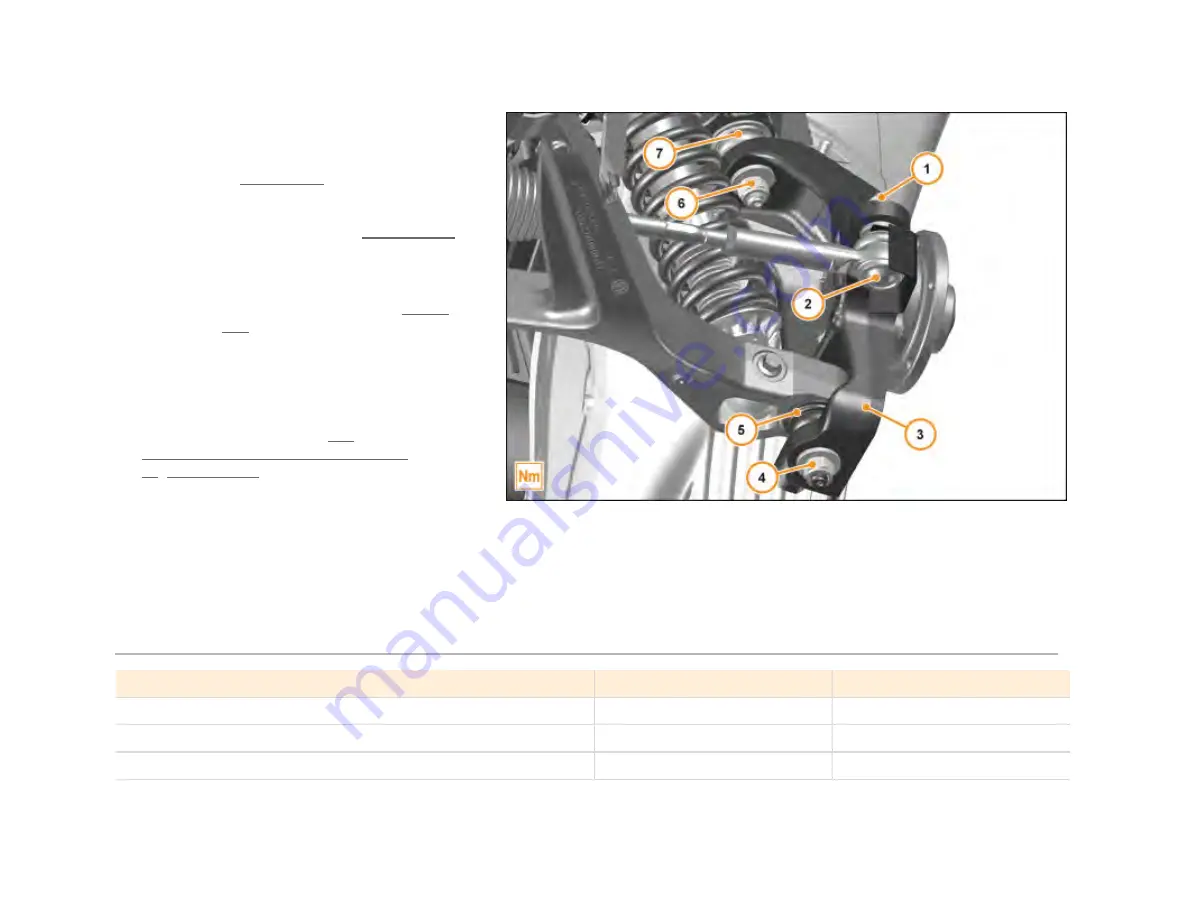
Use a plain M14 half nut and wind
onto the upper and lower ball joint
threads. Torque these nuts (5, 6)
to M14 60 Nm . Once torque has
been achieved, remove slave nuts
and fit specified nuts (5, 6). Torque
these nuts (5, 6) to M14 100 Nm
.
Care
Point:
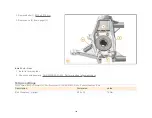
If refitting or renewing camber
tophat in upright, ensure Loctite
222 is used on the position fixing
and a torque value of 1.2 Nm is
applied.
1.
Install components in reverse order.
2.
Check chassis geometry. AA-
RM-03B03-01-002 - Perform a wheel
alignment check
Care
Point:
Once vehicle is on ground.
3.
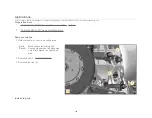
Apply pressure to top of wheel towards
vehicle. If excessive inward movement of
wheel is present, the upper ball joint has
failed. The wishbone will require replacing.
Torque settings
FG03 Chassis / B01 Front Suspension / Front Suspension LH / AA-RM-03B01-02-004 - Remove/install upright - Front
Description
Dimension
Value
Nut Track rod - Upright
M12
70 Nm
Half Nut wishbone - Upright
M14
60 Nm
Nut wishbone - Upright
M14
100 Nm
127
Содержание MP4-12C
Страница 1: ......
Страница 33: ...3 Disc Cross Drilled Hole Chip on used disc Renew disc 1 4 Disc Edge Chip on disc Do not renew disc 1 32 ...
Страница 34: ...4 Disc Edge Chip on disc Do not renew disc 1 5 Disc Cross Drilled Hole Chip on disc Do not renew disc 1 33 ...
Страница 35: ...5 Disc Cross Drilled Hole Chip on disc Do not renew disc 1 34 ...
Страница 52: ...2 Detach union nut 2 M10 17 Nm 3 Loosen nut 3 4 Remove front brake hose 4 51 ...
Страница 69: ...2 Detach union nut 2 M10 17 Nm 3 Loosen nut 3 4 Remove rear brake hose 4 68 ...
Страница 98: ...Description Dimension Value Bolt Floor panel tunnel M6 x 16 10 Nm 97 ...
Страница 104: ...1 Remove bolts 1 M6 x 20 4 Nm 2 Remove tyre spoilers 2 Remove front guide vanes 103 ...
Страница 105: ...1 Remove screws 1 M6 x 16 6 Nm 2 Remove front guide vanes 2 Remove rear guide vanes 104 ...
Страница 125: ...Description Dimension Value Track rod steering rack M14 30 Nm 124 ...
Страница 159: ...Bolt Oil drain pipe Turbo charger engine M6 x 16 10 Nm Bolt Oil drain pipe Turbo charger engine M6 x 16 10 Nm 158 ...
Страница 193: ...1 Open door 2 Use tape to prevent paint damage arrows 3 Prise out cover door shut 1 4 Remove bolts 2 M6 x 20 8 Nm 192 ...
Страница 194: ...4 Remove bolts 2 M6 x 20 8 Nm 5 Remove bolts 3 M6 x 16 8 Nm 193 ...
Страница 195: ...5 Remove bolts 3 M6 x 16 8 Nm 6 Remove bolts 4 M6 x 16 8 Nm 194 ...
Страница 196: ...6 Remove bolts 4 M6 x 16 8 Nm 7 Remove bodyside lower rear arrows 195 ...
Страница 197: ...7 Remove bodyside lower rear arrows Install bodyside lower Rear 1 Install components in reverse order 196 ...
Страница 203: ...Description Dimension Value Clamp ISG to Throttle M6 5 Nm 202 ...


