30
How to Adjust Loudspeaker Time Delay
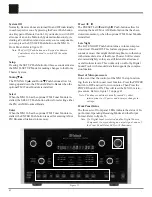
The following Time Delay Adjustments will electronically
compensate for different Loudspeaker distances from the
Listening/Viewing Area. Refer to figure 9. Time delay is
measured in feet. The delays can be adjusted from 1 foot to
20 feet in one foot increments for each Loudspeaker.
Note: Before performing the TIME DELAY adjustments,
you must first have completed the SPEAKER SIZE
adjustments.
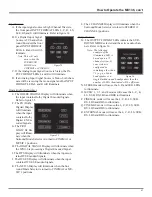
1. Press and hold the Front Panel SETUP Push-button for
approximately three seconds to enter the Setup Mode.
The word SETUP will appear on the MX136 Front
Panel Display and the MAIN SYSTEM SETUP Menu
will appear on the Monitor/TV screen. Refer to figure 6
on page 26.
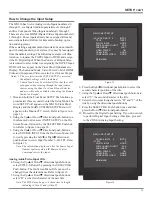
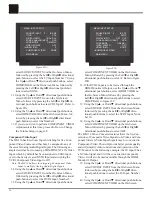
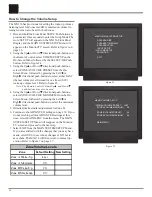
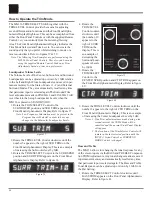
2. Using the Up
or Down
directional push-buttons,
select SPEAKER TIME DELAY on the On-Screen
Menu, followed by the SELECT/OK Push-button on
the Remote Control. Refer to figure 10.
Note: The very first time the SPEAKER TIME DELAY
MENU is accessed, the factory default settings will
be indicated.
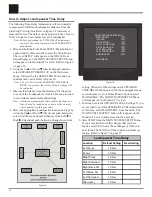
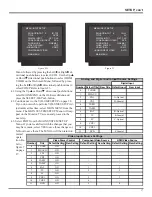
3. Measure the distance from the Listening/Viewing Area
to each of the Loudspeakers. A table has been provided
to record the measurements and settings.
Note: A distance measurement that contains fractions of a
foot, should be rounded up or down to the nearest
whole number for this procedure.
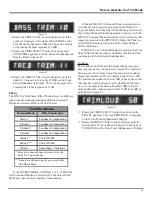
4. Select the appropriate Loudspeaker location and type by
using the Up
or Down
directional push-buttons to
select first the menu item and then press the Left or
Right directional push-buttons to change the current
setting. When all of the settings on the SPEAKER
TIME DELAY Menu agree with the Loudspeaker mea-
sured distances in your Home Theater System, select
MAIN MENU. The MAIN SYSTEM SETUP Menu
will reappear on the Monitor/TV screen.
5. Continue next to the SPEAKER LEVEL Settings. If you
do not wish to perform SPEAKER LEVEL Adjustments
at this time, select MAIN MENU from the menu. The
MAIN SYSTEM SETUP Menu will reappear on the
Monitor/TV screen and proceed to the next step.
6. Select EXIT from the MAIN SYSTEM SETUP Menu.
If you are satisfied with the changes that you have
made, select YES to save those changes or NO not to
save them. The MX136 will then return to normal op-
eration. Refer to figure 7 on page 27.
Figure 9
Location
Default Setting
New Setting
Left Front
10 feet
Center
10 feet
Right Front
10 feet
Right Surround
10 feet
Right Back Sur
10 feet
Left Back Sur
10 feet
Left Surround
10 feet
Subwoofer
10 feet
Loudspeaker Time Delay
Figure 10
MENU: SPEAKER TIME DELAY
Æ
LEFT FRONT
10FT
CENTER
10FT
RIGHT FRONT
10FT
RIGHT SURROUND
10FT
RIGHT BACK SUR
10FT
LEFT BACK SUR
10FT
LEFT SURROUND
10FT
SUBWOOFER
10FT
MAIN MENU
Содержание MX136
Страница 23: ...23 Notes ...

