14
Setting
Use up and
down to select
Options
Use left and right to
select
GUI
English, French or Spanish
Video Format
NTSC or PAL
4K Format
Standard or Enhanced
LED Channel Status Indicators
The yellow LEDs, in the center of the MX123 front
panel, provide a visual display of the status of the
main zone’s signal for either Input or Output.
The Left Column Displays:
• DOLBY
• DTS
• AUDYSSEY
• IN OUT
Either IN or OUT will be lit depending on what has
been chosen in Setup for the Front Display setting.
(See “Front Display” under “General Setup”” on
page 2425.) Other features will be lit if currently
enabled for the current Input.
The middle section shows speaker channels that are
active. Here are the channel abbreviations used:
• FL- Front Left
• C- Center
• FR- Front Right
• SL- Surround Left
•
LFE- Low Frequency Effects
• SR- Surround Right
• SBL- Surround Back Left
• S- Surround (RS + LS)
• SBR- Surround Back Right
Channels currently used will be lit.
The right display has the following information:
• ANALOG SIGNAL
• DIGITAL SIGNAL
• HDMI SIGNAL
• MULTIZONE
The Main Zone’s signal type will be lit. If Zone2
and/or 3 is active, the MULTIZONE will light.
Pushing the INFO button on the MX123 Remote
Control will show the following information on an
attached monitor:
• SOURCE
• SOUND
• SIGNAL
• INPUT SIGNAL (CHANNELS)
• ACTIVE SPEAKERS
The indicators for Input SIGNAL include the
speaker channels listed above plus:
• FHL- Front Height Left
• FHR- Front Height Right
• FWL- Front Wide Left
• FWR- Front Wide Right
• EXT- extension channel
The extension channel will light when a channel
other than the listed ones is part of the Input.
Setup
Pushing the SETUP button will bring up the Setup
Menu on an attached monitor. When in setup mode,
the Display will show the current level and option
(See Figure 11). You can navigate using the Display,
but an attached monitor is easier.
To exit setup mode, push the SETUP button again.
*SETUP MENU
Audio
Figure 11– Display in Setup Mode
The Setup Menu
The factory default settings will allow you to use
the MX123 as soon as you properly connect your
components. However, sooner or later, you may
wish to fine tune your system. You can utilize the
MX123’s robust setup program for customization and
optimization of your Audio Visual environment.
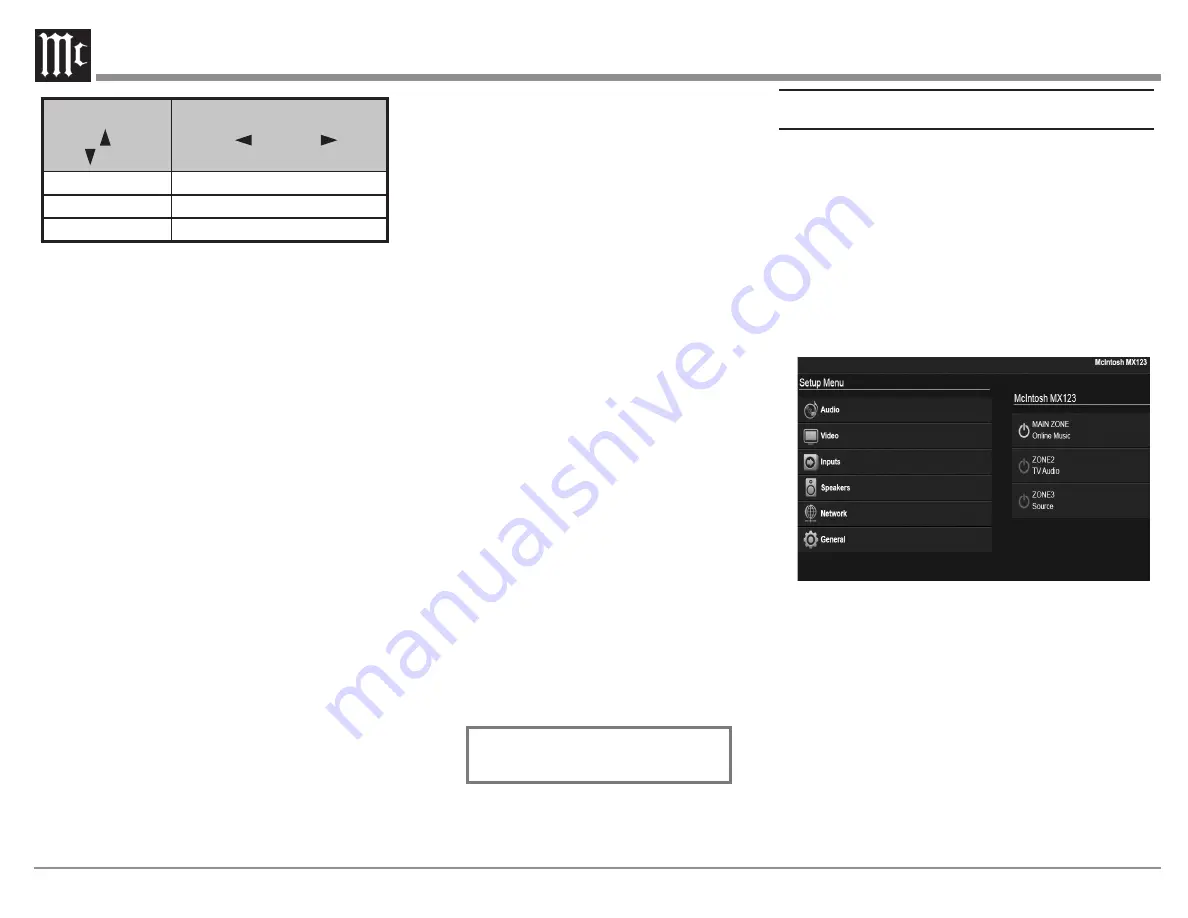
MX123 setup can be performed by using either the
SETUP button on the Front Panel or the Remote
Control and using an attached monitor (local setup),
or through a web browser on a computer if the MX123
is connected to your network. See Figure 12.
Figure 12– Browser Setup Menu
The procedures and screens are essentially the same
for all methods. The availability of a mouse and a
keyboard in the browser method may be easier to
navigate than using the arrow buttons on the Front
Panel or Remote Control that are used for local setup.
You can choose to use the Front Panel Display to
navigate setup, but the limited screen size would make
this the least desirable setup method.
To use a browser to navigate setup, type the IP
address for the MX123 in the address bar of your
browser. You can find the IP address under the
Information submenu under the Network section of


