


40
GB-40
Prepar
ation
Connec
tions
Initial
Setup
U
sing
the
Fea
tur
es
H
in
ts
and
Tips
and
Specifica
tion
DVR
(Dig
ital
Video
Rec
or
der)
U
sing
the
Fea
tur
es
via
USB
por
t
U
sing
the
DVD
Fea
tur
es
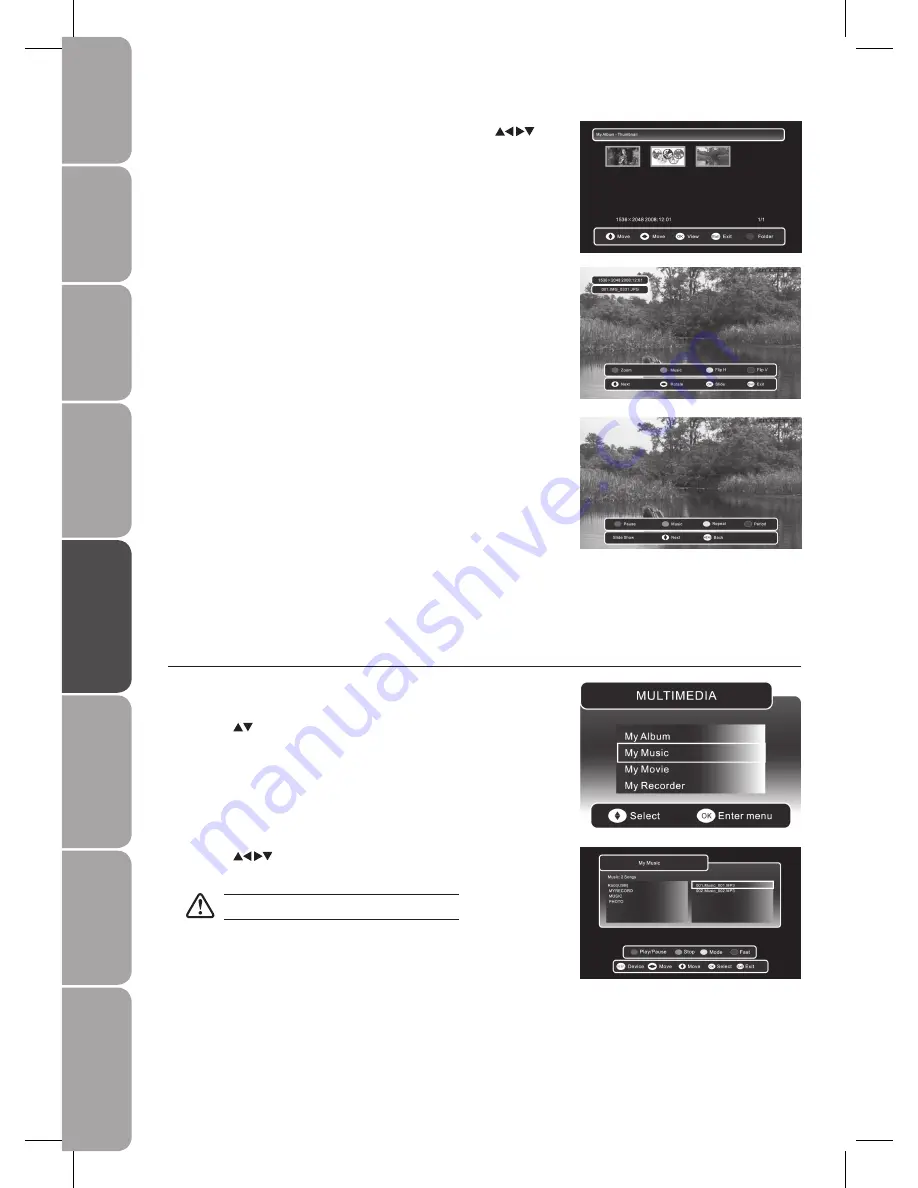
During slideshow, press the
6.
RED button to make a pause and press again to
resume the slideshow.
During slideshow, press the GREEN button to display the music folder, so
you can play music at the same time.
During slideshow, press the YELLOW button to set repeat mode of the
slideshow.
During slideshow, press the BLUE button to select the transition speed of
the slideshow.
Press the
7.
MENU / MEDIA button to save the settings and return to the
previous menu.
Press the
8.
EXIT button to exit the menu.
Press the
5.
MEDIA button to return to Thumbnail view. Press the
buttons to navigate in the thumbnail view. Press the OK button to select the
photo you want to view.
Press the DISPLAY button, then press the RED button to zoom in the
picture.
Press the GREEN button to display the music folder, so you can play music at
the same time.
Press the YELLOW button to flip the photo horizontally.
Press the BLUE button to flip the photo vertically.
Press the OK button to start the slideshow.
My Music
Press the
1.
SOURCE button and select DTV mode, then press the MEDIA
button.
Press the
2.
buttons and the OK button to select My Music.
Press the
3.
buttons to navigate in the music folder. Select the music
you want to play and press the OK button to play it.
Some audio files formats will not be supported.


