


Program features
70
Xciter user manual
Scene time determines how long the scene (in a cue list) or step (in a sequence) remains on before
switching to the next. The scene time is only relevant when transition between scenes or steps is automatic
(sequences and cue lists).
When we come to talk about fade time, there are two important channel modes: Fade and Snap. When a
channel is in fade mode, the fade time determines the time it takes for that channel to ramp up or down to
its end value. When a channel is in snap mode, it will instantly go to its end value, totally ignoring the fade
time. If you do not remember how to set the channel mode, refer to ‘The programmer’ on page 64.
Example: In most cases you want the color wheel to go to its end position immediately instead of scrolling
through all the colors. However, the dimmer needs to fade in. When creating the look, you simply set the
DIM channel to fade (< >) and COLW1 to snap ([ ]).
When you start from scratch, the Xciter uses default timing (ST = 1.0 sec, FT = 1.0 sec). The first time you
activate a channel in the programmer, you may notice that channel getting its default mode from the fixture
definition.
1.
Press {ST: 1.0 S} to change the scene time.
2.
Use the top right jog wheel to increment/decrement the value. Or press [CLEAR] until the value reads 0 and
input a new value using general purpose number keys 1-10.
3.
Press [ENT] to confirm, [ESC] to cancel and return to the previous value.
4.
Press {FT: 1.0 S} to change the fade time.
5.
Use the top right jog wheel to increment/decrement the value. Or press [CLEAR] until the value reads 0 and
input a new value using general purpose number keys 1-10.
6.
Press [ENT] to confirm, [ESC] to cancel and return to the previous value.
Note that when you select a timing parameter, a G appears in front of the parameter to indicate that you
are changing global timing. The global timing gives the same timing to all steps. Beware: if you change
global timing, local timings are overwritten.
You can also set local timing for each step in the editor. Do this by holding down [SHIFT] while you select
the timing parameter. Note that an L appears in front of the parameter to indicate that you are changing
local timing of the current scene.
9.7.4
Fade curve
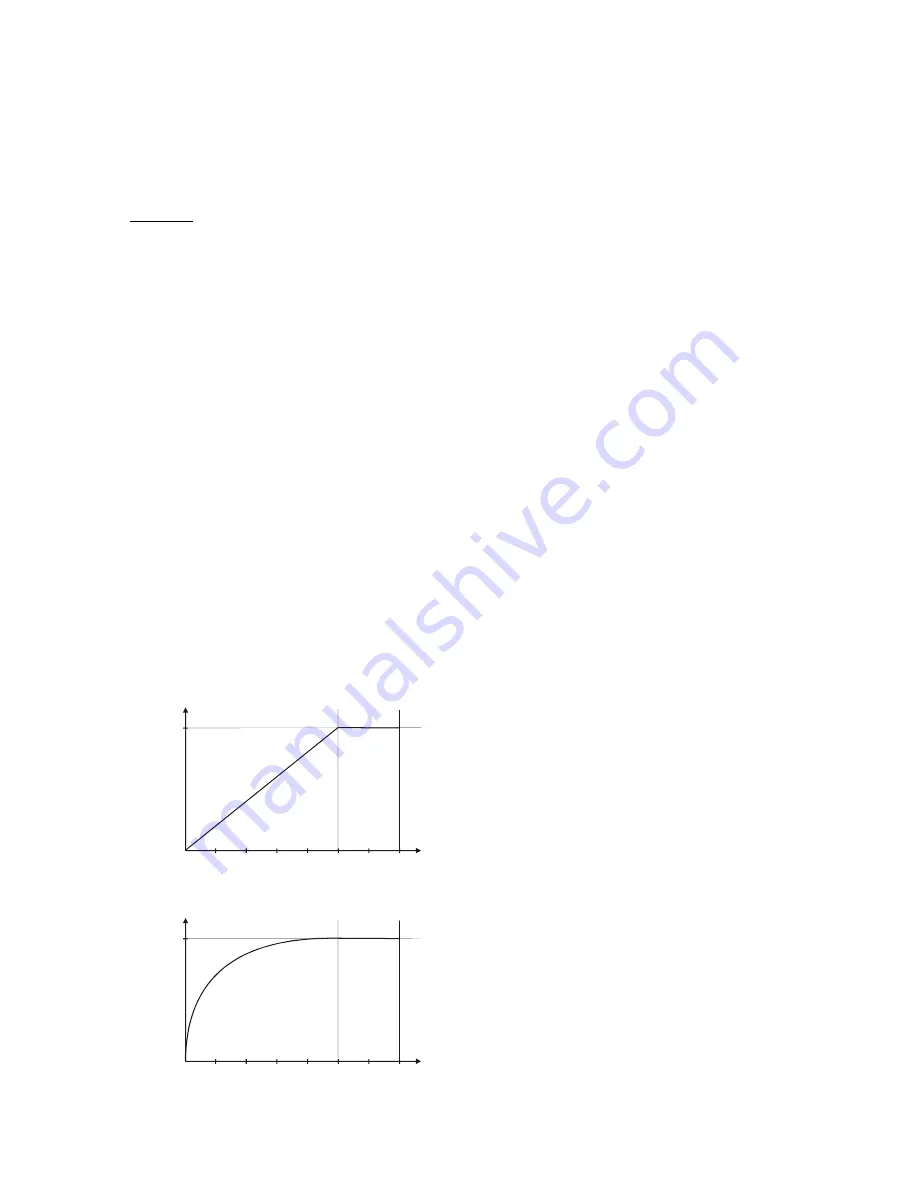
Xciter can fade between scenes in three ways:
•
Linear
cha
nne
l value
[0-
255
]
time [sec]
1
2
3
4
5
6
7
255
0
•
Logarithmic
ch
an
n
el va
lu
e
[0
-2
55
]
time [sec]
1
2
3
4
5
6
7
255
0


