


Patch
42
Xciter user manual
4.
Press [ENT] to confirm the DMX address. Xciter then patches the fixtures sequentially under the selected
number keys starting from the specified DMX address. Xciter will also take into account the order of
selection.
The Dipswitch settings on the fader LCD are useful for addressing your fixtures in the lighting rig. You can
even rotate the Dipswitch display by pressing the bump button under the Dipswitch settings.
If you cannot find the necessary fixture type in Xciter’s library, you will either have to use the library editor
to create one on the fly, or use the PC application to download one via USB.
5.
Depending on the orientation of the patched fixture on the rig, you can inverse the pan, inverse the tilt and
swap pan and tilt. This is a global setting for the fixture to make pan/tilt control with the joystick easier. As
you will see later in this manual, you can still invert channels for your show in the programmer.
Press the softkeys next to the options to toggle them on/off.
TILT inverse
PAN inverse
PAN/TILT swap
6.
You can choose to exclude a device from master and/or blackout. Exclude from master means the dimmer
or shutter of the fixture is not affected by the master fader. Exclude from blackout means the blackout button
does not affect the dimmer or shutter of the fixture. Press the softkey next to the options to toggle them
on/off.
You can see the status of every option by looking at the square next to it. A filled square means on, an
empty one off.
7.
Repeat these steps 1-5 until you have patched all fixtures on your rig.
8.
Press STORE to store your changes. If Xciter has detected changes, it will report that it has stored them
and asks you to press any key to continue.
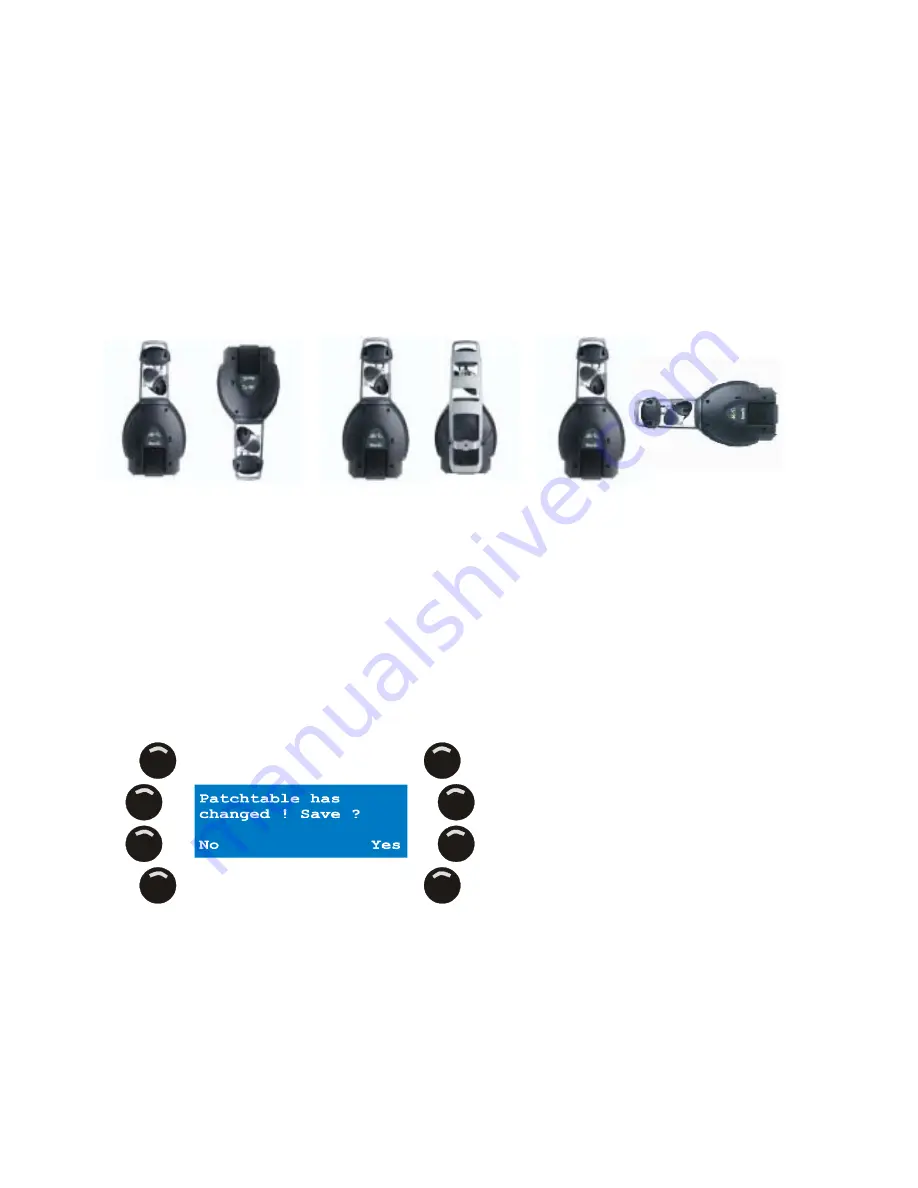
9.
Press [ESC] to leave the fixture patch. If Xciter detects changes to the patch that you have not stored, it will
report this and asks you whether you wish to store those changes. Press {Yes} to store and exit, {no} to exit
without storing changes.
8.2.4.2
Edit a patched fixture number
1.
Use the general-purpose number keys to select a fixture that is already patched.
Example: fixture number 4.
The LED under key 4 starts blinking to indicate that fixture number 4 is selected.
Xciter shows the patch data.


