CONFIDENTAL. DO NOT DUPLICATE OR REDISTRIBUTE
6
Pre-Install Guide_2.0.0 | September 11, 2018
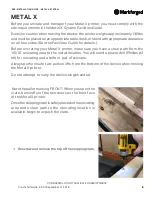
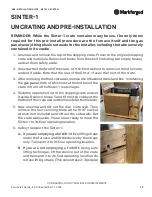
4. Remove the three pieces of shipping foam from the
print chamber.
5. Remove the accessory kit from the print chamber
and set it aside.
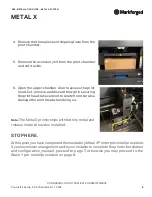
6. Open the upper chamber door to access the print
head. Cut, remove, and discard the zip tie securing
the print head; take care not to scratch or otherwise
damage the print head when doing so.
Note:
The Metal X printer ships with both its metal and
release material nozzles installed.
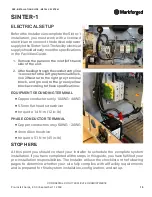
STOP HERE.
At this point you have completed the mandatory Metal X Printer pre-install procedure.
If you have made arrangements with your Installer to complete the printer installation
and configuration yourself, proceed to page 7; otherwise you may proceed to the
Wash-1 pre-install procedure on page 8.
PRE-INSTALLATION GUIDE : METAL X SYSTEM
METAL X


