CONFIDENTAL. DO NOT DUPLICATE OR REDISTRIBUTE
Pre-Install Guide_2.0.0 | September 11, 2018
2
OVERVIEW
PRE-INSTALLATION GUIDE : METAL X SYSTEM
This guide will assist with preliminary setup of your Markforged Metal X system.
When you have completed the steps in this guide, you will be ready to contact your
Markforged reseller (hereafter the “Installer”) to proceed with the bulk of the install
process.
This document assumes that you are familiar with the Metal X System Facilities
Guide and have met all facilities requirements.
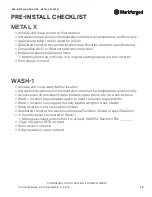
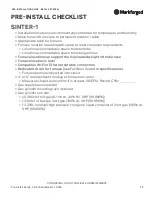
You should review the Pre-Installation Checklist at the end of this document before
proceeding.
The Installer will not carry out the full installation
until the entire
checklist is complete.
Before receiving and uncrating your Metal X devices, you should consult with your
Markforged Installer and decide together whether you or the Installer will configure
your Metal X printer and print your initial test part. This document details the steps
necessary to prepare your site for the Installer and refers you to the Markforged
support website (support.markforged.com) for any additional steps.
You should retain all original packing materials for your Metal X system.
SPACE AND MATERIALS
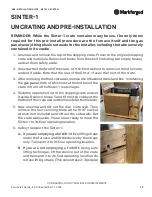
You should clear a space at least 10’x10’ for uncrating each of your Metal X system
components, with a clear path from the uncrating area to the final operating locations.
You will need a
power drill, scissors,
and an
optional pry bar
during the uncrating
process. We recommend that you take photos of your Metal X System devices before
removing them from their crates in order to document any damage that might have
occurred during shipping.


