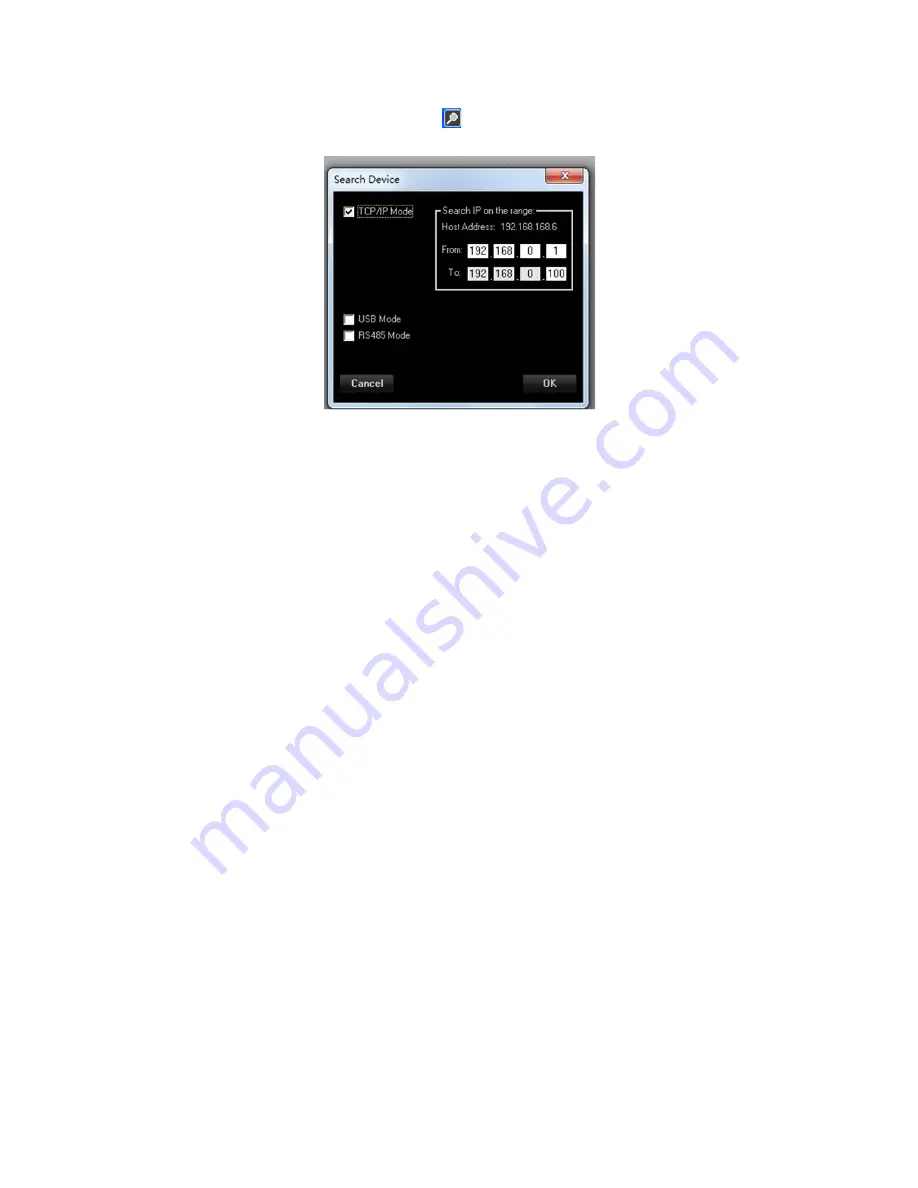
* If the
TCP/IP
is selected, the User can click the icon, and select “TCP/IP Mode” in the checkbox as
below image suggests, and input the device IP address range:
In order to use the TCP/IP connection for remotely controlling the LPP260A, need first set on the unit
the communication interface as TCP/IP and assign an IP address to the unit, if not used DHCP mode. t
To set the TCP/IP interface on the LPP260A the following steps have to be done:
1. press the “PM3/UTILITY” button on the front panel, for entering the “UTILITY MENU”
2. use the “PM1/ENTER” encoder for selecting the “Interface Utility” field
3. press the “PM1/ENTER” button, for entering the “Interface Setup” field
4. use the “PM2/ESC” encoder, for selecting the TCP/IP interface
5. use the “PM3/UTILITY” encoder, for selecting the DHCP mode On/Off
6. if set the DHCP mode OFF, press the “PM1/ENTER” button fo entering the field for the IP
address assignment
7. after operated the selection, press the “PM2/ESC” button the necessary times for moving back
on the several fields up to the default screen, showing “LPP260A” and the current loaded
preset
Once decided the Interfacing Connection and set the necessary parameters there where required,
from the all USB. RS485 and TCP/IP windows, press the button “OK” and the system will start to check
the device(s).
When found the connected device(s) the Sw will show a list of the devices found (if no device are
found then is possible to continue in demo mode “Off-line”) on the window “Device List”.
If no devices found, the Sw will ask if the user want to continue in demo mode for evaluating the
available process of the
LPP260A
.
to edit the device, double click on the name of the device present on the “List ID”


