


31
S
ETTING THE
R
EMOTE
C
ONTROL TO
O
PERATE
A
CCESSORY
D
EVICES
POWER
SLEEP
A/CH
STATUS/EXIT
CC
CLOCK
RECORD
TV
VCR
ACC
SMART
MENU
SURF
VOL
CH
MUTE
1
2
3
4
5
6
7
8
9
0
TV/VCR
06
07
08
09
06
07
08
09
07
08
09
SMART
SOUND
PICTURE
2
1
4
3
3
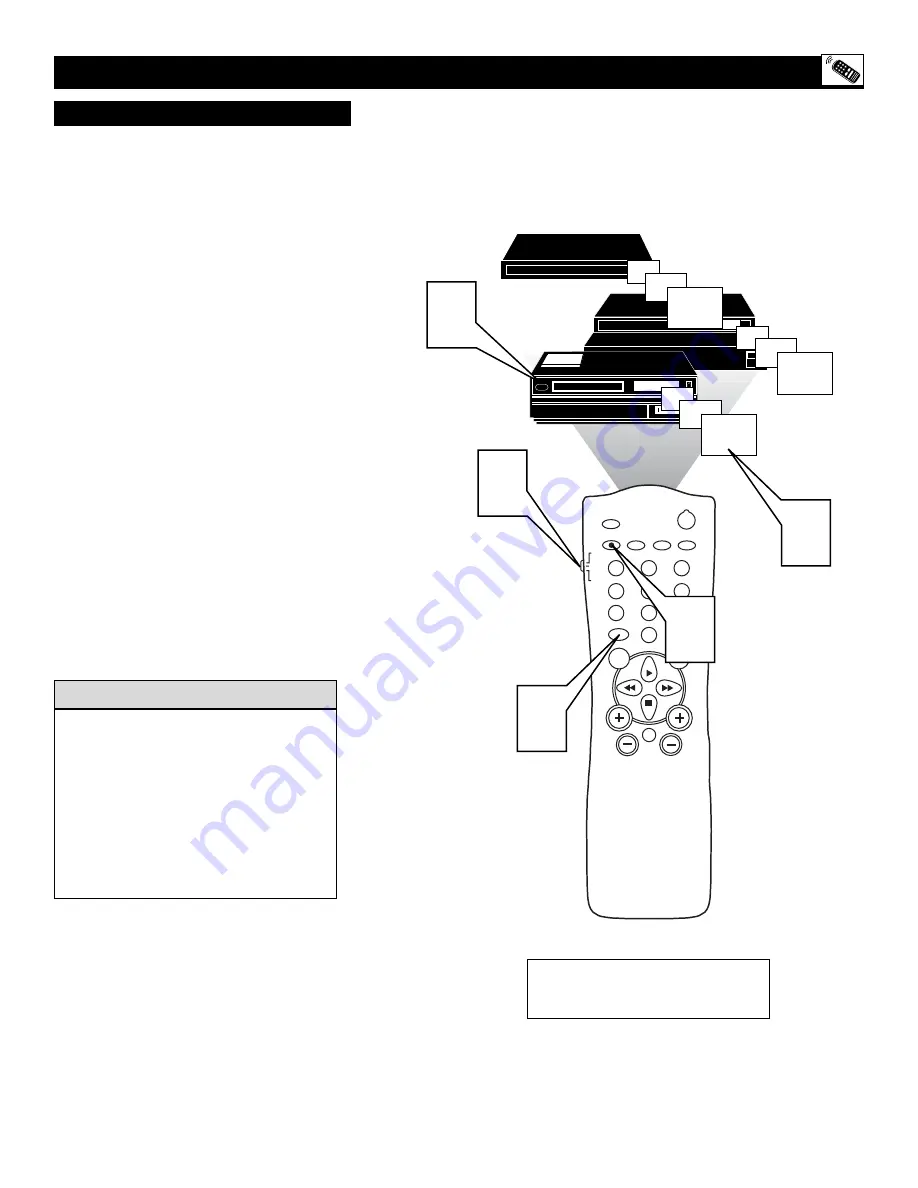
Cable Converter
Satellite Receiver
VCR
NOTE:
The remote is for use with exter-
nal accessory devices only and not for
use with other brands of TVs.
Y
our TV remote can be set to work various
external devices such as VCRs, Cable
Boxes, Satellite Receivers, DBS, DVD
Players, etc., by using the search method of
remote control programming.
If the Code Entry method shown on the previ-
ous page did not set your remote to work your
external device, then follow the easy steps
listed below.
Please read steps 1-4 before beginning.
1
Press the POWER button
on the
accessory device to turn it ON.
2
Place the TV/VCR/ACC Mode
Switch
in the proper position for the
device you want to operate.
3
Press and hold the A/CH • RECORD
and SMART SOUND buttons simul-
taneously.
4
The device will begin to change chan-
nels after the remote identifies the cor-
rect code.
When the channels start to
change, release the A/CH •
RECORD and SMART SOUND but-
tons.
The remote should be ready to
operate the device.
This method can take up to two minutes to
perform.
Don’t let the device scan up more than five
channels. If you do, the remote may pass up
the right code and another two minute
search cycle will have to be repeated.
If no channel change happens within two
minutes, repeat steps 1-4. Should a channel
change still not occur, the remote will not
work the desired device.
H
ELPFUL
H
INT
S
EARCH
M
ETHOD
Содержание 27MS5402/17
Страница 39: ...39 NOTES...


