


Basic Setup (LHV2000 Series)
6
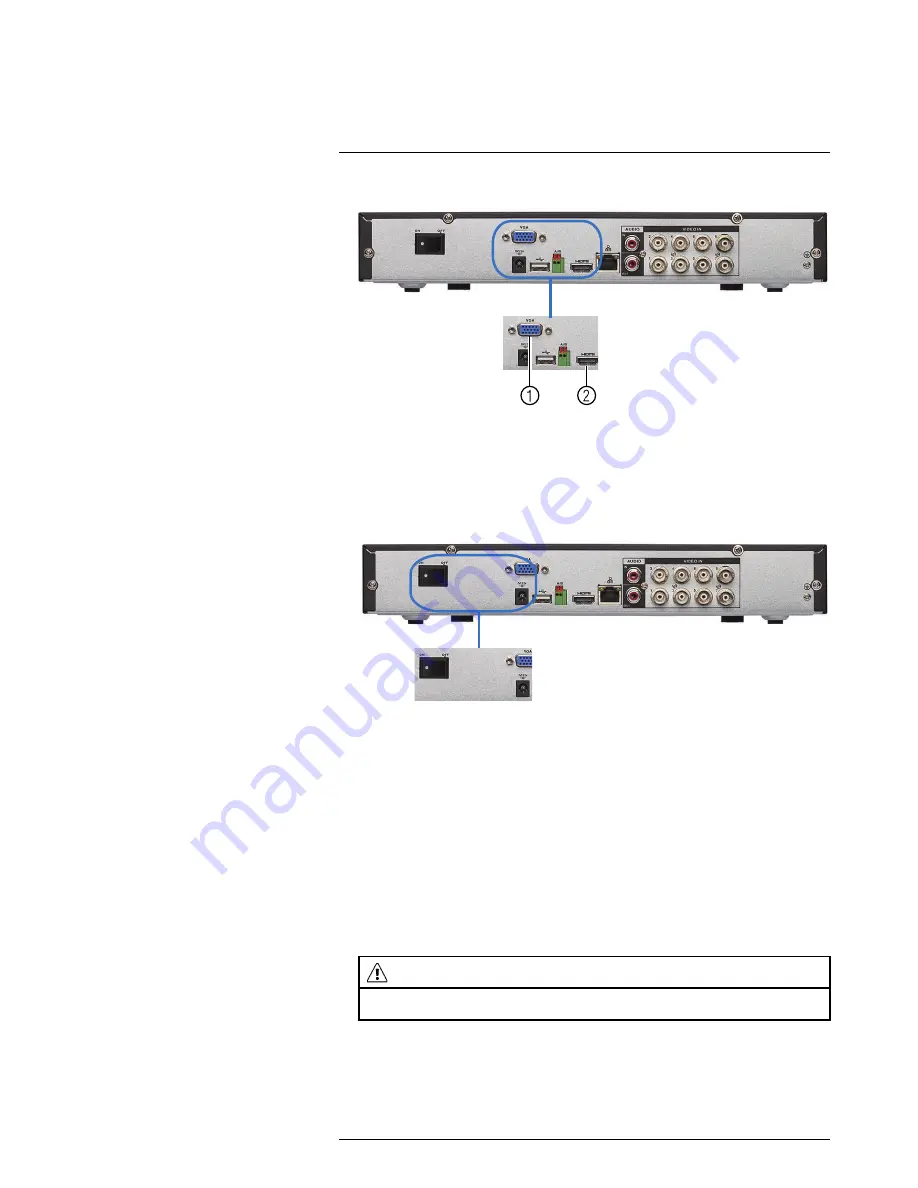
• Connect a VGA cable (not included) from the
VGA
port to the monitor.
1. VGA port.
2. HDMI port.
6.5
Step 5: Connect the Power Adapter and Power on the DVR
1. Connect the included power adapter to the
DC 12V
port. Connect the end of the
power adapter to a wall socket or a surge protector.
2. Turn the power switch to
ON
to turn on the DVR.
At startup, the system performs a basic system check and runs an initial loading se-
quence. After a few moments, the system loads a live display view.
6.6
Step 6: Upgrade Firmware to Latest Version (if Available)
If a firmware upgrade is available, you will be asked to install it once the system starts up.
It is required to upgrade your system firmware and client software or mobile apps to the
latest version to enable remote connection to the system.
If a firmware upgrade is available:
1. After startup, a notification will appear asking you to upgrade the firmware. Click
OK
to upgrade.
2. Enter the system user name (default:
admin
) and password (default:
000000
) and
click
OK
. Wait for the firmware update to complete. The system will restart once the
firmware has been upgraded.
WARNING
DO NOT POWER OFF THE SYSTEM OR DISCONNECT THE POWER CABLE DURING FIRM-
WARE INSTALLATION
6.7
Step 7: Verify Camera Image
• Power on the cameras, and then verify the camera video quality before mounting the
cameras to a permanent location.
#LX400060; r.30328/35049; en-US
11
Содержание LHV16212
Страница 1: ...Instruction Manual LHV2000 Series...
Страница 2: ......
Страница 3: ...Instruction Manual LHV2000 Series LX400060 r 30328 35049 en US iii...
Страница 10: ......
Страница 175: ......