


DDNS Setup (Advanced)
19
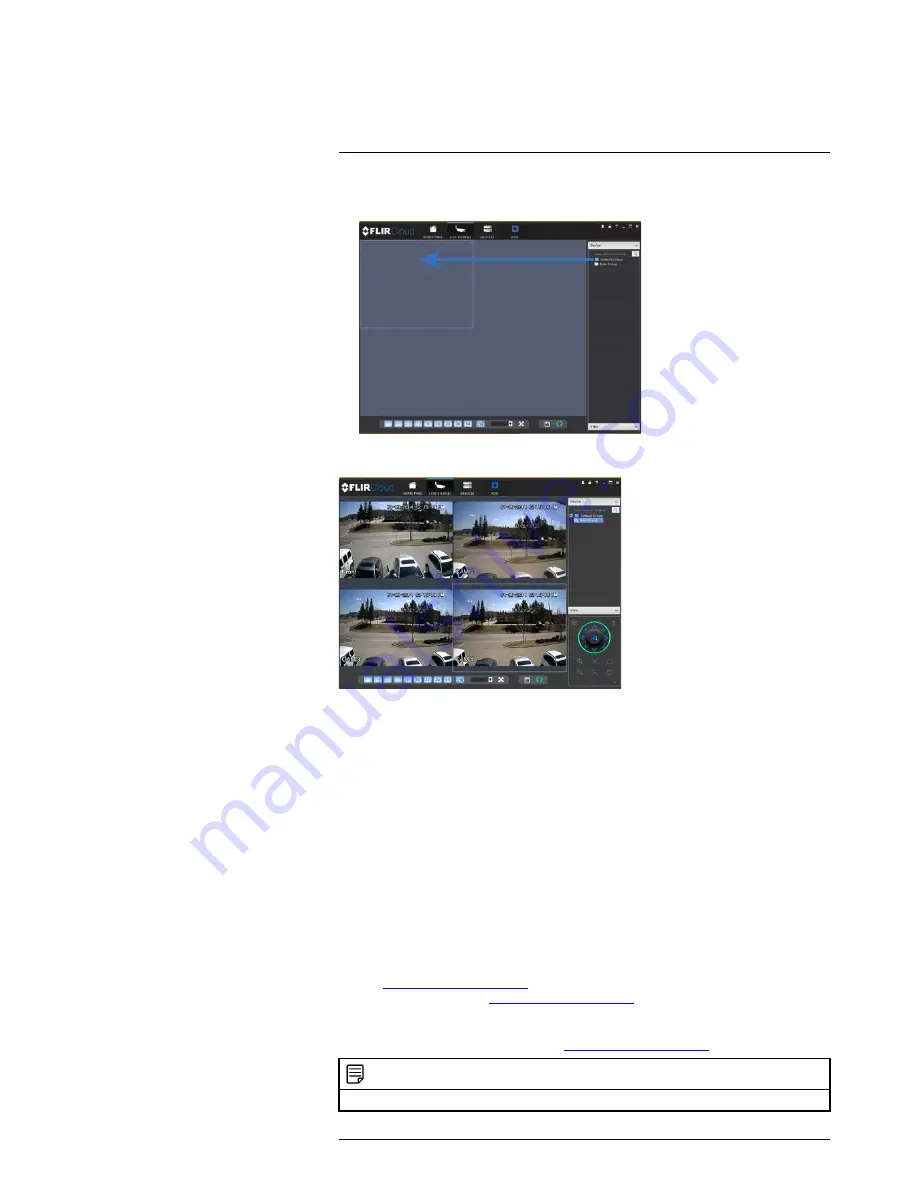
9. Click and drag
Default Group
to the display window to open your cameras in live
view.
Result
19.2
DDNS Setup—Access your System Remotely over the Internet
Setting up DDNS connectivity allows you to view your system from any computer or com-
patible mobile device with Internet access.
To set up remote connectivity with your system, you must:
1. Port forward the HTTP port (default:
80
) and Client port (default:
35000
) on your
router to your system’s IP address.
2. Create a DDNS account.
3. Enable DDNS on the system.
4. Test the remote connection by entering your DDNS address in the client software.
19.2.1
Step 1 of 4: Port Forwarding
You
must
port forward the HTTP port (default:
80
) and Client port (default:
35000
) on
your router to your system’s IP address before you can remotely connect to your system.
There are several methods to port forward your router:
• Use the
Auto Port Forwarding Wizard
(PC only) to port forward the required ports
(see
www.lorextechnology.com
for details). For instructions, see the Auto Port For-
ward Wizard manual on
www.lorextechnology.com
.
• Manually port forward the required ports on your router to your system’s IP address by
following your router manufacturer’s instructions. For more information on port for-
warding, see the reference guides on
www.lorextechnology.com
.
NOTE
If the above ports are not forwarded on your router, you will not be able to access your system remotely.
#LX400060; r.30328/35049; en-US
139
Содержание LHV16212
Страница 1: ...Instruction Manual LHV2000 Series...
Страница 2: ......
Страница 3: ...Instruction Manual LHV2000 Series LX400060 r 30328 35049 en US iii...
Страница 10: ......
Страница 175: ......