26
Playback
Playing VHS Tape
Turn on the television and select the appropriate video input on the
television to suit the connections for this VCR/DVD recorder.
Press [ POWER ] to turn on the unit.
Press to turn the unit on or off.
Lights up in red when the power is off.
Press [VHS] to switch the remote control mode to
VCR.
Make sure you press the button before performing any VCR
operations. When in VCR mode, the indicator beneath the
cassette loading slot’s [ EJECT ] button lights each time
you press the [VHS] button.
When the light is:
1.
Green:
the tape deck is in either “idle” or “playback” mode
and you can press valid keys for the tape deck to function.
2.
Orange:
the tape deck is in preparation mode and won’t
function when you press any keys.
3.
Red:
the tape deck is in “record” mode. Pressing
[
STOP] stops the recording.
Press [ EJECT ] to eject the cassette from the
cassette loading slot.
Press [ PLAY ] to start playback.
Press [
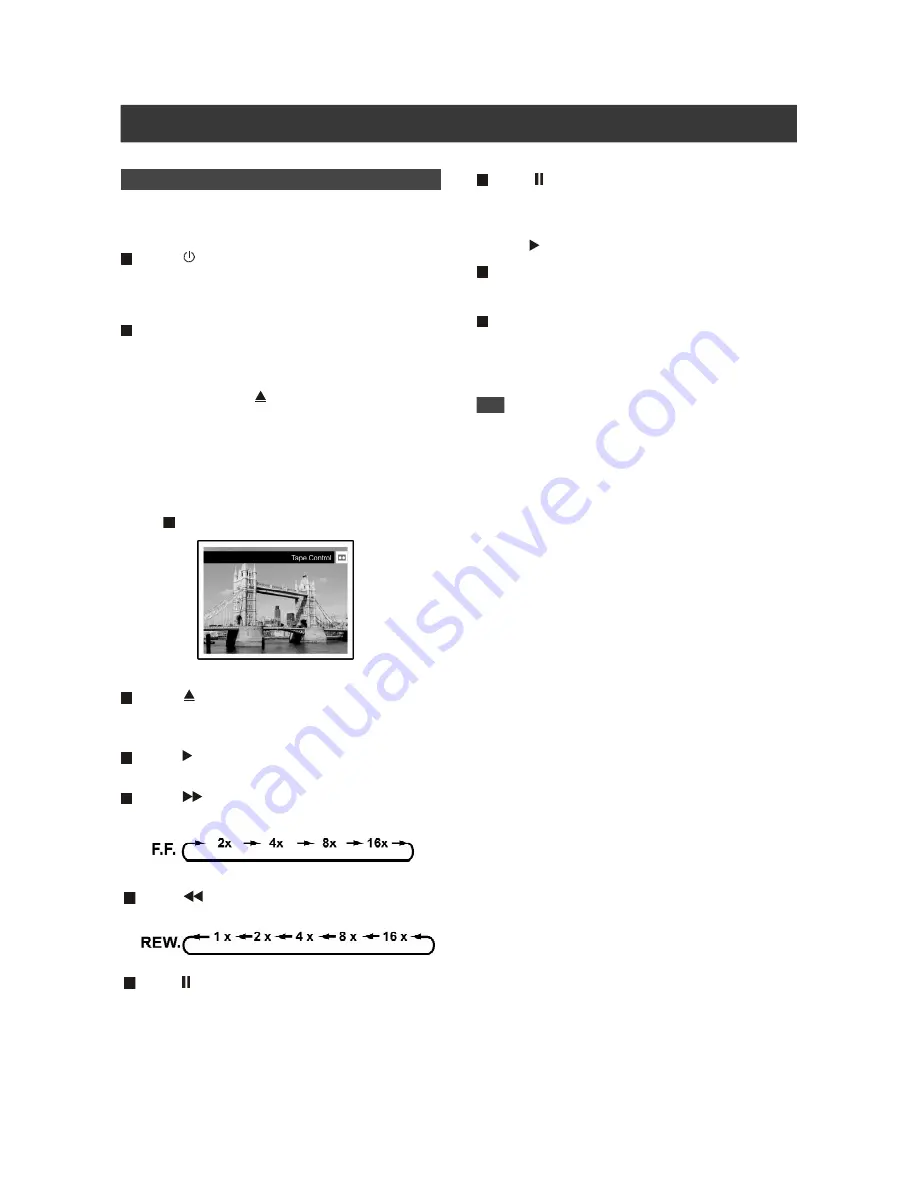
F.F. ] to perform fast forward scanning.
Press repeatedly to play the disc forward at 2x, 4x, 8x, 16x.
Press [
REW ] to perform fast reverse scanning.
Press repeatedly to play the disc reverse at 1x, 2x, 4x, 8x,16x.
Press [ PAUSE] to pause playback.
Press [ DISPLAY ] to display the information of the
video cassette, the unit and the tape counter.
Press [ TRACK +] or [TRACK -] to adjust the play-
back quality
If picture is distorted or there are noise lines on screen during
playback, press TRACK (+/-) to adjust playback quality till it is
acceptable.
Note:
In some cases, poor playback quality is likely to be resulted from
media conditions which may not be fully correctable.
Press [ PAUSE] again to start “frame by frame
mode”.
Press repeatedly to advance recordings frame by frame during
playback in pause mode.
Press [ PLAY] to restart normal playback .


