19
Recording
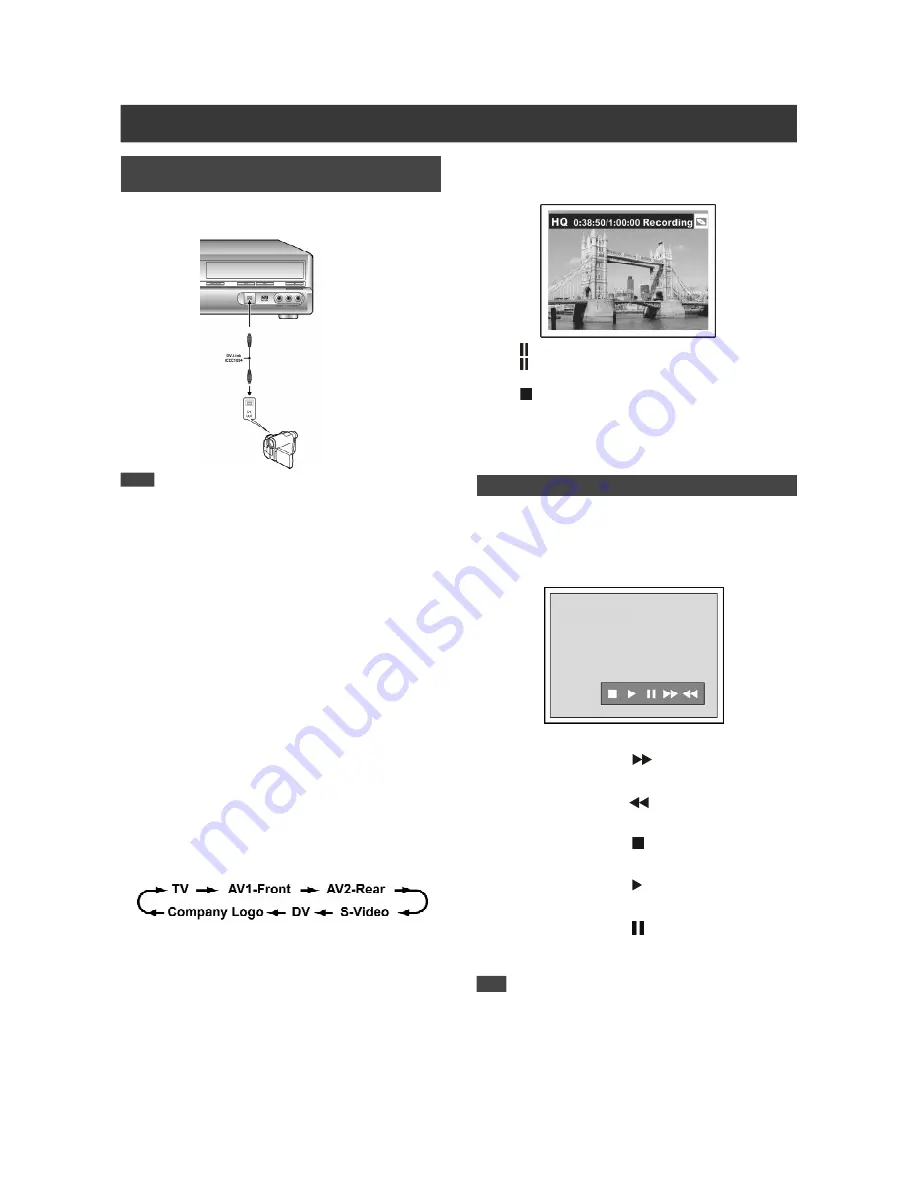
1. Connect the DV camcorder to the unit using an
IEEE-1394 4-pin cable.
Note:
1. The DV-Link input jack on this unit is for DV compatible
camcorders only.
2. Only DV signals can be input via the DV-Link jack to this VCR/
DVD recorder.
3. Do not connect a MICRO MV format video camcorder to this DV-
Link (IEEE-1394) jack.
4. You cannot connect more than two pieces of video input sources
at the same time to the front-panel connector of this unit.
5. Despite the technology endeavour with which this VCR/DVD
recorder is built, it is likely that your DV may not be fully
supported by the recorder. If you still experience problem using
the DV-Link for recording, please connect your DV via S-Video or
composite cables to this DVD recorder.
2. Turn on your TV and this unit.
3. Make sure that a recordable disc or a VHS tape
is inserted or loaded for recording.
When you insert a new recordable disc for recording, the recorder
will automatically start the disc preparation process.
4. Turn on the DV camcorder and initiate it in “Play-
back” mode. Pause playback on the DV camcorder at
the point where you want to start recording from.
5. Press [SOURCE] on the remote control to change
signal input source to “DV.”
AV1-Front:
For a device connected to the front Audio/Video Input.
AV2-Rear:
For a device connected to the rear Audio/Video Input.
S-Video:
For a device connected to the rear S-Video Input.
DV:
For a device (such as a digital camcorder) connected to the
front DV Input with a DV cable.
6. Press [DVD] to control the DVD recorder or [VHS] to
control the VCR deck.
7. Cue the DV camcorder and start playback at the
beginning of the scene you wish to record.
Recording from External Devices: DV
Camcorder
8. Resume playback of the DV camcorder and press
[RECORD] on the remote control to start
recording.
Press [ PAUSE ] to pause recording.
Press [ PAUSE ] again or [RECORD] to resume
recording.
Press [ STOP] to stop recording.
DV Control
This unit allows basic DV control functions with the remote control.
The unit is equipped with an on-screen DV control bar (Play, Stop,
FF or Reverse) feature when the DV is connected to the unit via the
DV Link connection. Move the screen cursor to the desired function
by pressing [
] [
] [
] [
] and press [ENTER].
1. Press [
] [
] to select (
) and press [ENTER] to
fast-forward the DV camcorder footages.
2. Press [
] [
] to select (
) and press [ENTER] to
rewind the DV camcorder footages.
3. Press [
] [
] to select ( ) and press [ENTER] to
stop the DV Camcorder playback.
4. Press [
] [
] to select ( ) and press [ENTER] to
start the DV Camcorder playback.
5. Press [
] [
] to select ( ) and press [ENTER] to
pause the DV Camcorder playback.
Note:
This unit will stay in “Pause” mode when no DV input signal is
detected.


