56
PRESETS
PRESET NUMBER
<PRESET MAP>
<EDIT POSITION>
<EDIT ID>
SCENE FILES
DWELL TIME
SPEED
CLR PRESET
BACK EXIT
2
OFF
0 sec
255 deg/sec
ABOVE NUM.
1
5
9
13
17
21
25
29
2
6
10
14
18
22
26
30
3
7
11
15
19
23
27
31
4
8
12
16
20
24
28
32
<33-64> <65-96> <97-128>
PRESET POSITION
BACK EXIT
Push joystick down to select <EDIT POSITION>, and then press
key into preset position
setting.
Push joystick left, right, up, or down to start position, and then press
,
,
,
,
,
to adjust zoom, focus, iris, then press
key to confirm.
3. Preset Position Setting
C.SET
CTRL1
FOCUS
FAR
FOCUS
NEAR
C.SET
CTRL1
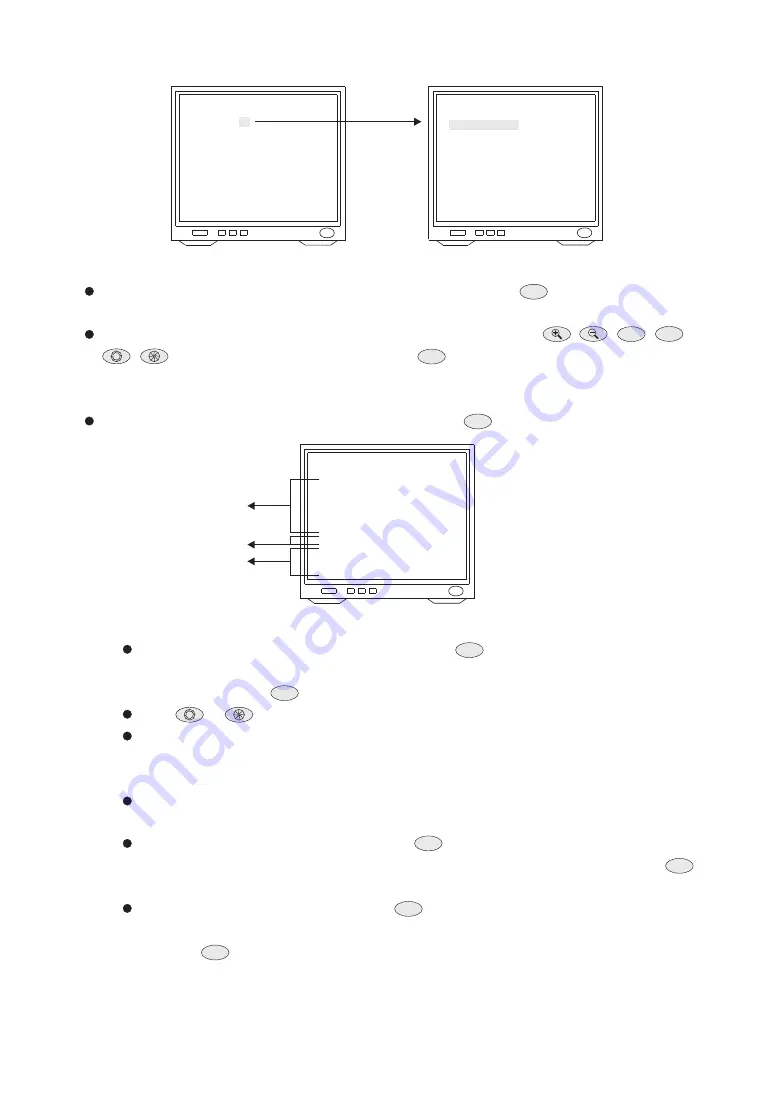
Push joystick down to select <EDIT ID>, and then press
key into preset ID setup.
4. Preset ID Setting
C.SET
CTRL1
0123456789
ABCDEFGHIJKLM
NOPQRSTUVWXYZ
abcdefghijklm
nopqrstuvwxyz
.,:'"/#*=()<>
----------
ID FOR PRESET NUM. 001
SPACE BACKSPACE
POSI COPY
OK CANCEL
PRESET
CHARACTER
EDIT AREA
COMMAND
(1) New Preset ID Editing
Push joystick down to select character, and press
key to confirm. The character
selected will be showed in edit area. If you need space, push joystick down to select
<SPACE> and press
key to confirm.
Press
or
to switch to next character list.
Repeat all steps to complete preset ID.
(2) Copy preset ID to Another Preset
Push joystick down to select <EDIT AREA>, and push joystick left or right to select first
copy of characters.
Push joystick down to <COPY>, and press
key to confirm. At this time first character
of preset ID will be copy to first character position of another preset ID, and press
key to do next copy.
Push joystick down to <OK>, and press
key for exit. Select another preset on the
preset menu, and get into preset ID setting. Then push joystick down to "EDIT AREA"
and press
key for copy. At this time edit area will show preset ID that was copied.
C.SET
CTRL1
C.SET
CTRL1
C.SET
CTRL1
C.SET
CTRL1
C.SET
CTRL1
C.SET
CTRL1


