background image


www.lifebreath.com


15


10


W

EATHERHOODS


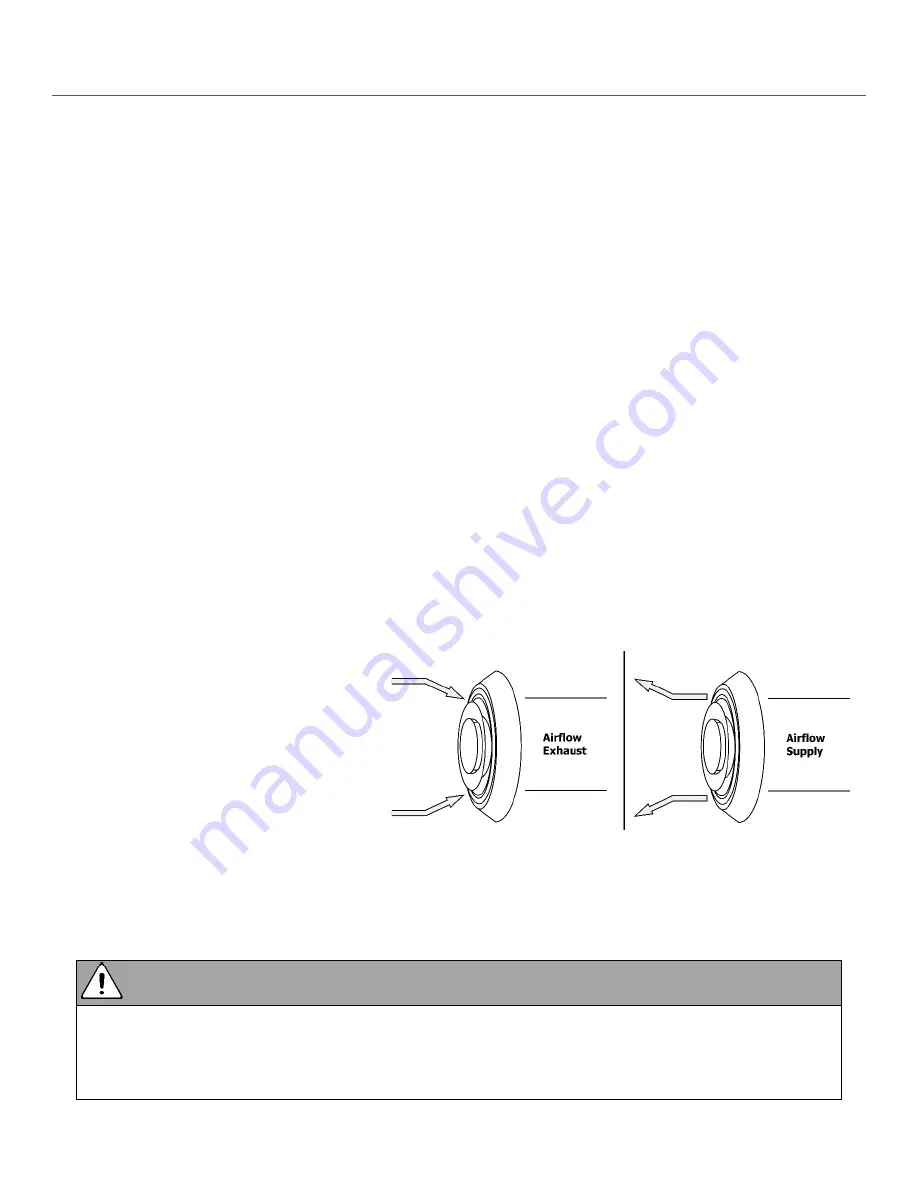
Outside Weatherhoods: 


The weatherhoods must have built-

in “bird” screen with 1/4 in (6.35 mm) minimum mesh to prevent 

birds and rodents from entering into the ductwork. 


Recommend: 

o


no less than 10 ft. (3 m) apart from each other 

o


at least 18 in (46 cm) above snow line or ground level 

o


away from sources of contaminants, such as automobile exhaust fumes, gas meters, garbage cans, 

containers, etc. 

o


not exposed to prevailing winds 

o


The outside perimeter of the weatherhood must be caulked to prevent leakage into the building. 

o


The design and size of the weatherhoods or louvers chosen by the installer must allow for adequate 

free area. Water and debris penetration of the system is minimized when the airflow does not 

exceed 1000 FPM (5.08 m/s) free area velocity. 


Ducting from the Weatherhoods: 


Galvanized sheet metal ducting with sufficient cross section with an integral single piece vapor barrier 

should be used to connect the ERV to the weatherhoods.


A minimum R value of insulation should be equal to 4 (RSI 0.75) 


A good bead of high quality caulking (preferably acoustical sealant) and taping with a high quality 

aluminum foil tape is recommended to seal the duct to both the ERV and the weatherhood. 


Techgrilles: 

The use of balancing dampers or adjustable grilles as supply air diffusers and air exhaust covers are 

recommended. TECHGRILLES™ are round, efficient, sound absorbing devices available


in 4”, 5”, 6” and 8” 

(100, 125, 150, and 200 mm) models. 

Part# 99-EAG4


4” diameter Techgrille


Part# 99-EAG5


5” diameter Techgrille


Part# 99-EAG6


6” diameter Techgrille


Part# 99-EAG8


8” diameter Techgrille


Attention


All ducting must meet UL Class 1 requirements 


Design and install the fresh air intake in an area where the hoods will gather the freshest air.


Do not use smaller mesh as it will be very susceptible to plugging up. Gravity dampers at the 

vents mu

st not be used as they will restrict air flow and often “seize up”

.


Содержание 350 DGS

Страница 1: ...A 120 V circuit Caution Before installation careful consideration must be given to how this system will operate if connected to any other piece of mechanical equipment i e a forced air furnace or air...

Страница 2: ...the balancing procedure found in this manual Never install a ventilator in a situation where its normal operation lack of operation or partial failure may result in the back drafting or improper func...

Страница 3: ...7 Location Notes 10 8 The Duct Work System 11 9 The Integrated HVAC System 12 9 Stale Air Return and Fresh Air Supply System 14 10 Weatherhoods 15 11 Drain Connections 16 12 Main Control Installation...

Страница 4: ...or humidity during the cooler winter months of the year by exchanging the humid indoor air with the dryer air from outside Automatically cycles through its defrost mode when temperatures drop below fr...

Страница 5: ...ou can use this ventilation mode at low speed for low household activity levels or when the home is unoccupied 4 10 Minutes On 50 Minutes Standby This mode of operation provides 10 minutes of ventilat...

Страница 6: ...revert to its previous setting The Dehumidistat function should be set to off for all seasons except the heating season because a dehumidifying effect occurs only when the outdoor air is dryer than t...

Страница 7: ...required by a remote timer if installed 20 40 60 High Speed Button Press the 20 40 60 High Speed Button to temporarily initiate HIGH Fan Speed for 20 40 or 60 minutes Press one time for 20 minutes Pre...

Страница 8: ...GH Fan speed operation in Venitilation mode until the indoor humidity has been reduced below the set point Reset Button The RESET Button will clear the current Fan Timer Mode and Dehumidistat settings...

Страница 9: ...ted When the battery in the timer needs to be replaced the red LED Battery Indicator will illuminate When paired to the digital wall control the wireless timer may be moved to a remote location in the...

Страница 10: ...RV is recommended to service the heat exchanger cores and the filters The HRV may be mounted on an equipment platform providing the drain hoses are clear and there is enough space to open the doors fo...

Страница 11: ...noise galvanized metal ducts properly sized are recommended Keep ducting as short as possible and use a minimum of elbows and tees Connecting sections and shorter runs may be flexible ducting one size...

Страница 12: ...oves stale room air eg from lunch room storage or copy area and returns to the space an equal amount of fresh outdoor air making the use of an economizer obsolete in conjunction with an HRV Warning At...

Страница 13: ...ctly from the return air plenum to the HRV as it is drawn back to the air handler Fresh air supplied by the HRV is then introduced directly into the return air plenum but at a location closer to the a...

Страница 14: ...he air handlers return system if the static pressure of the return in the air handler exceeds 0 1 to 0 15 in w g A damper located just prior to the HRV is required to balance the stale air exhausted w...

Страница 15: ...cient cross section with an integral single piece vapor barrier should be used to connect the ERV to the weatherhoods A minimum R value of insulation should be equal to 4 RSI 0 75 A good bead of high...

Страница 16: ...Hand tighten the nut 3 Construct a P trap using 1 2 in drain hose not included Ensure that the loop is large enough to avoid kinks Secure it with a zip tie 4 Pour a cup of water into the drain pan of...

Страница 17: ...hole for the wires in between the two screw holes figure B 5 Drill two holes for the screws and wall anchors and drill one hole for the wires in between the two screw holes figure B 6 Pull the 3 wire...

Страница 18: ...must be interlocked to the furnace air handler with a Simplified Installation Return Return Method The HRV should be interlocked to the furnace air handler with a Partially Dedicated System Installati...

Страница 19: ...tion when activated Adding Dry Contact Controls A jumper must be placed between 2 ON and 3 RED terminals on the HRV terminal block to activate the HRV for timers and or dry contact controls or if inst...

Страница 20: ...ical Timers 99 101 Installation The Mechanical Timer is a 2 wire dry contact timer Connect a jumper wire between the 2 ON and 3 RED terminals on the terminal block and connect the two timer wires to t...

Страница 21: ...tes HIGH fan speed ventilation pairing was successful If the HRV does not initiate HIGH fan speed ventilation pairing was not successful Un pair the timer and return to step 1 of the pairing procedure...

Страница 22: ...needs to be moved closer to the main wall control Pairing 1 Turn on the main control by pressing the ON OFF button 2 DXPL02 control Press the left and right buttons simultaneously on the main control...

Страница 23: ...more accurate balance of the unit 2 Drill a small hole in the duct about 3 16 three feet downstream of any elbows or bends and one foot upstream of any elbows or bends These are recommended distances...

Страница 24: ...ft2 128 cfm For your convenience the cross sectional areas of some common duct sizes are listed below DUCT DIAM inches CROSS SECTION AREA sq ft 5 127 mm 0 14 6 152 mm 0 20 7 178 mm 0 27 The accuracy o...

Страница 25: ...resistance when sliding out Avoid tilting the core as this will result in its edges catching the H channel and temporarily preventing its removal In most cases washing the core in a mild detergent an...

Страница 26: ...ce door and flush the pans with water Ensure that the pans drain completely and in a reasonable amount of time Note if the water does not drain right away check for blockage in the drain line also che...

Страница 27: ...ed to run continuously to distribute ventilation air comfortably Dehumidistat is not operating Outdoor temperature is above 15 C 59 F Improper low voltage connection External low voltage is shortened...

Страница 28: ...ed on cores before unit initiates defrost cycle functions Have HVAC contractor balance the HRV Ensure damper defrost is operating during self test Condensation or ice buildup in insulated duct to the...

Страница 29: ...www lifebreath com 29 19 WIRING DIAGRAM 350DCS...

Страница 30: ...e neglect improper care or other failure by the owner to provide reasonable and necessary maintenance of the product any attempt at repair by an unauthorized service representative or not in accordanc...

Отзывы: