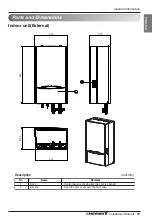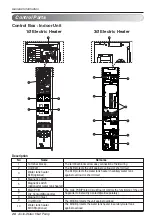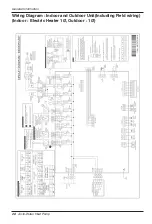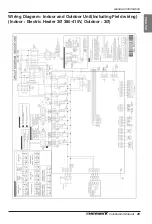
Installation of Indoor Unit
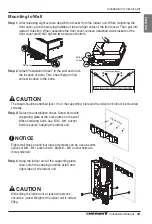
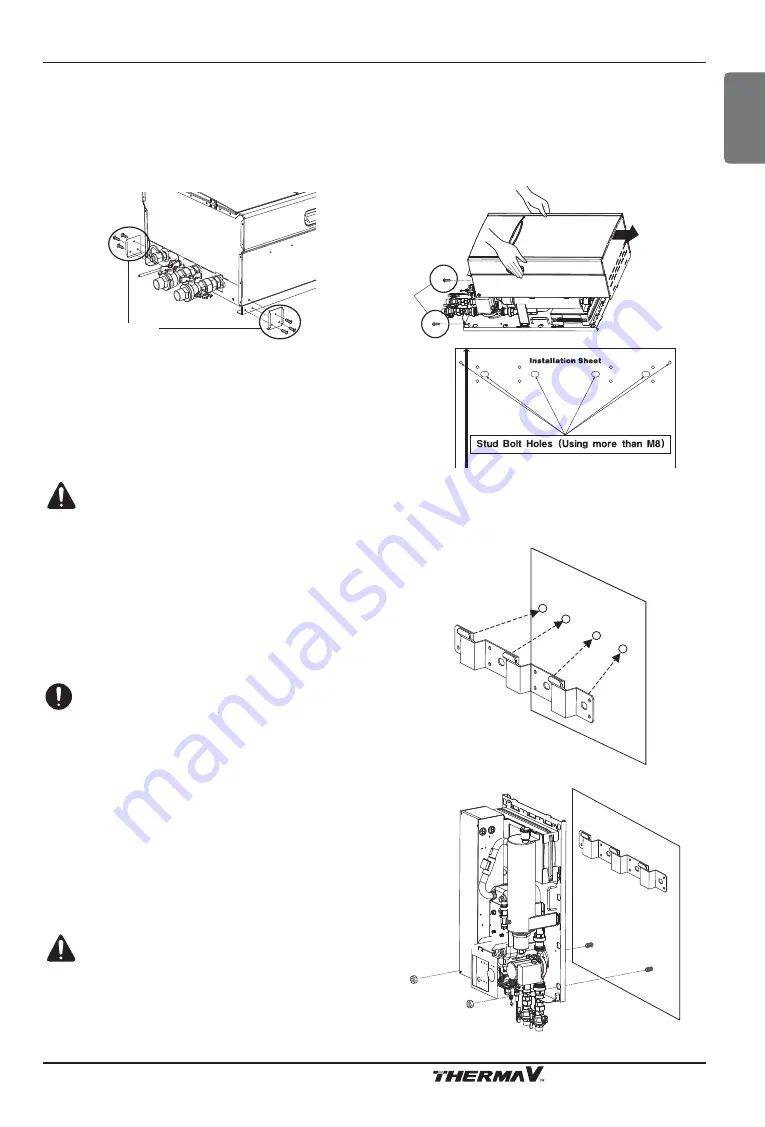
Mounting to Wall
Step 1.
After releasing eight screws, detach front cover from the indoor unit. While detaching the
front cover, grab the carrying handles at left and right sides of the front cover. Then pull into
upward direction. When assemble the front cover, remove detached side brackets of the
front cover and ONLY tighten two screws of bottom.
Step 2.
Attach "Installation Sheet" to the wall and mark
the location of bolts. This sheet helps to find
correct location to the bolts.
Step 3.
Detach the Installation sheet. Screw bolts with
supporting plate at the hole marks on the wall.
When screwing bolts, use M8 ~ M11 anchor
bolts to secure hanging the indoor unit.
Bottom
screws
Remove
(Hall marks)
The sheet should be attached level. If not, the supporting plate and the indoor unit will not be mounted
correctly.
CAUTION
Eight small holes around four large hole marks can be used as alter-
natives of M8 ~ M11 anchor bolts. But M8 ~ M11 anchor bolts are
more preferred.
NOTICE
Step 4.
Hang the indoor unit at the supporting plate.
Also, catch the carrying handles at left and
right sides of the indoor unit.
While lifting the indoor unit, at least two persons
should be joined. Weight of the indoor unit is almost
55kg.
CAUTION
Installation Manual
33
ENGLISH
Содержание Therma V AHUW096A2
Страница 97: ......


