– 23 –
Range Components and Replacement
WARNING:
Sharp edges may be exposed when
servicing. Use caution to avoid injury. Wear
Kevlar gloves or equivalent protection.
(
Continued next page
)
Oven Door Removal
To remove the door:
Open the door to the first stop at the near vertical
position. Firmly grasp the door at the top sides
and lift the door up and pull straight out.
To install the door:
Firmly grasp the door at the top sides. Approach
the range with the door angled in a near vertical
position. Guide the hinge arm into the door slots
and push the door in firmly. Close the oven door
and check for proper alignment, rubbing, etc.
Note:
If the door can not be fully closed, the door
is not fully seated on the hinge arms.
Range Removal
Caution:
Take the necessary precautions to
protect the floor from damage caused by moving
the range.
To remove the range:
Note:
It may be helpful to remove the door to
lighten the range for removal (See
Oven Door
.)
Lift the front of the range up while carefully
pulling the range from the installation.
Continue to pull the range out while lifting up
until the back of the range is accessible.
Note:
Make sure the anti-tip bracket is installed
correctly before pushing the range back into
place.
1.
2.
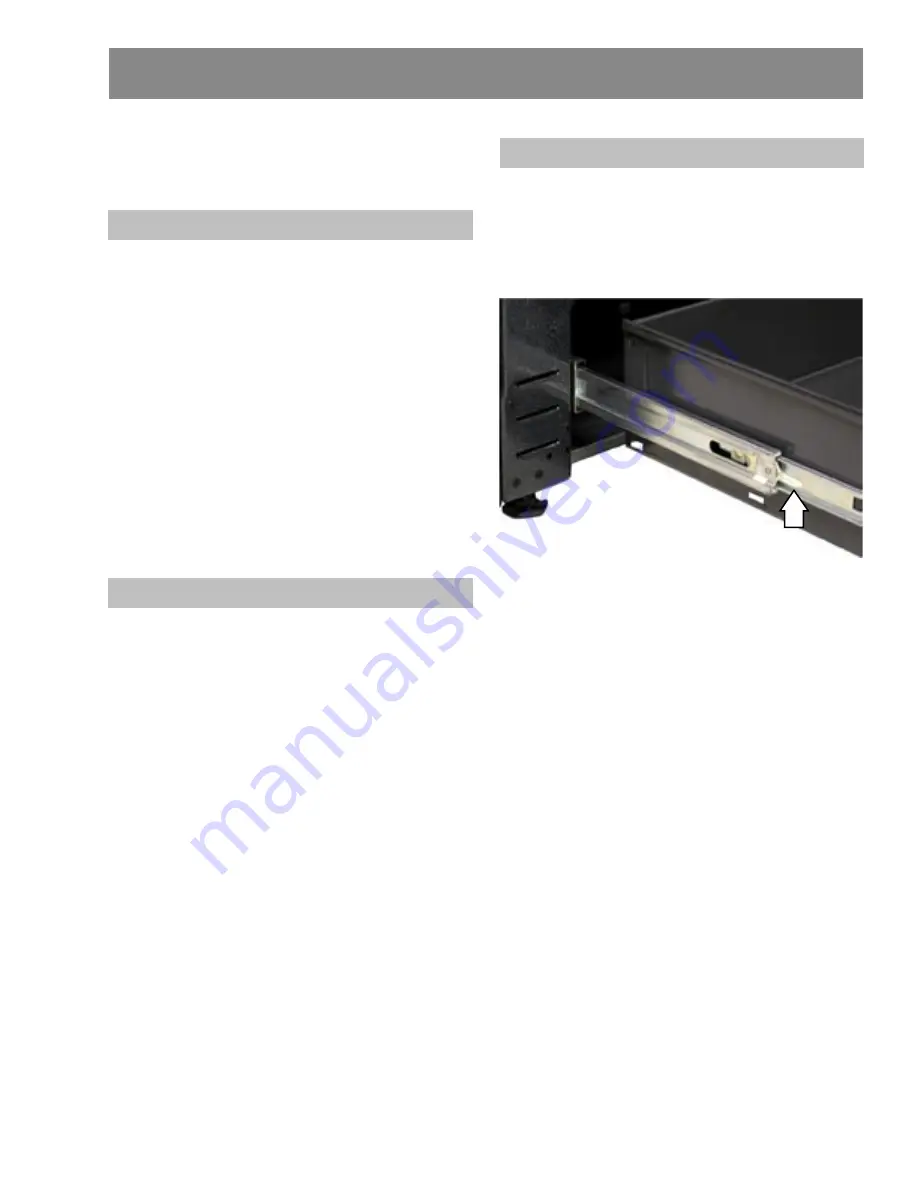
Warming Drawer Removal
To remove and replace the warming drawer:
Pull the drawer out until it stops. Lift the tab on
the left side and push down the tab on the right
side while pulling the drawer out.
To replace the warming drawer, place the drawer
rail in the guides and push the drawer in until it
stops.
Warming Drawer Gasket
The gasket forms a seal around the top and sides
of the warming drawer, and is located on the oven
side of the drawer’s inner panel. The warming
drawer can be removed to access the gasket.
(See
Warming Drawer Removal
.) The gasket is
attached with integral clips. Use needle nose
pliers to remove the clips and gasket from the
drawer’s inner panel.


