Web Viewer Program
39
4
W
eb View
er P
rogr
am
4
Web Viewer Program
Logging in the Web Viewer
1. Start the web browser. The recommended browser is Internet
Explorer 6.0 or later.
2. In the Address Box, enter “HTTP://” and the IP Address of the DVR.
You can use the Host Name that you entered in the DDNS setup
menu of the DVR.
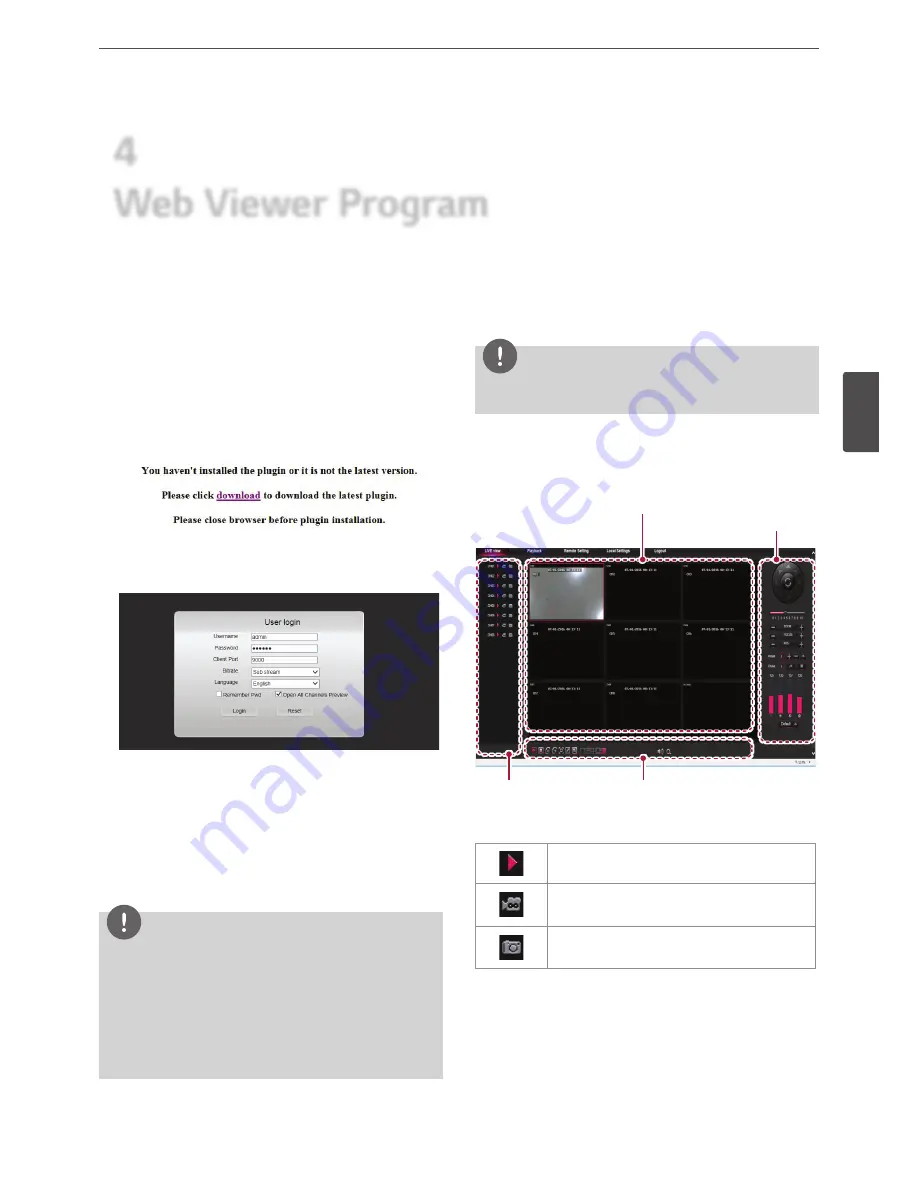
2. You have to install the "WebPlugin" when the first connection.
Click [download] to install the "WebPlugin whe the following
message appears.
3. Restart your Web browser when "Web Plugin" installation is
complete.
4. Run the Web viewer and the login window appears.
•
Username: Enter the User Name.
•
Password: Enter a password.
Initial password is ‘000000'.
•
Client Port: Enter the Client Port number.
•
Bitrate: Select [Mainstream] or [Substream].
•
Language: Select a language.
•
Select [Remember Pwd], [Open All Channels Preview] setting.
5. Select [Login].
Note
• If the Web Viewer is not displayed, check the TCP/IP
settings of the DVR.
•
If you connect the DVR for the first time, the Security
Warning window is displayed. You must click [Install] on
the Security Warning window to install the program for
use the Web Viewer. If you click [Don’t Install], the Web
Viewer program is not available.
Web Viewer Overview
You can control the live image using the Web Viewer.
Note
The setting of the Web Viewer must match with the setting of the
DVR system.
LIVE
The login is complete, the live screen appears.
Channels
Screen mode
WebViewer
Control
Live view
Channels
Uses it turn on or off the screen of selected channels.
Copy: Recorded data is automatically saved to the
specified location on your PC.
Snapshot: Snapshot data is automatically saved to
the specified location on your PC.
Содержание LRA3040N-NH
Страница 47: ......


