14
206-4232
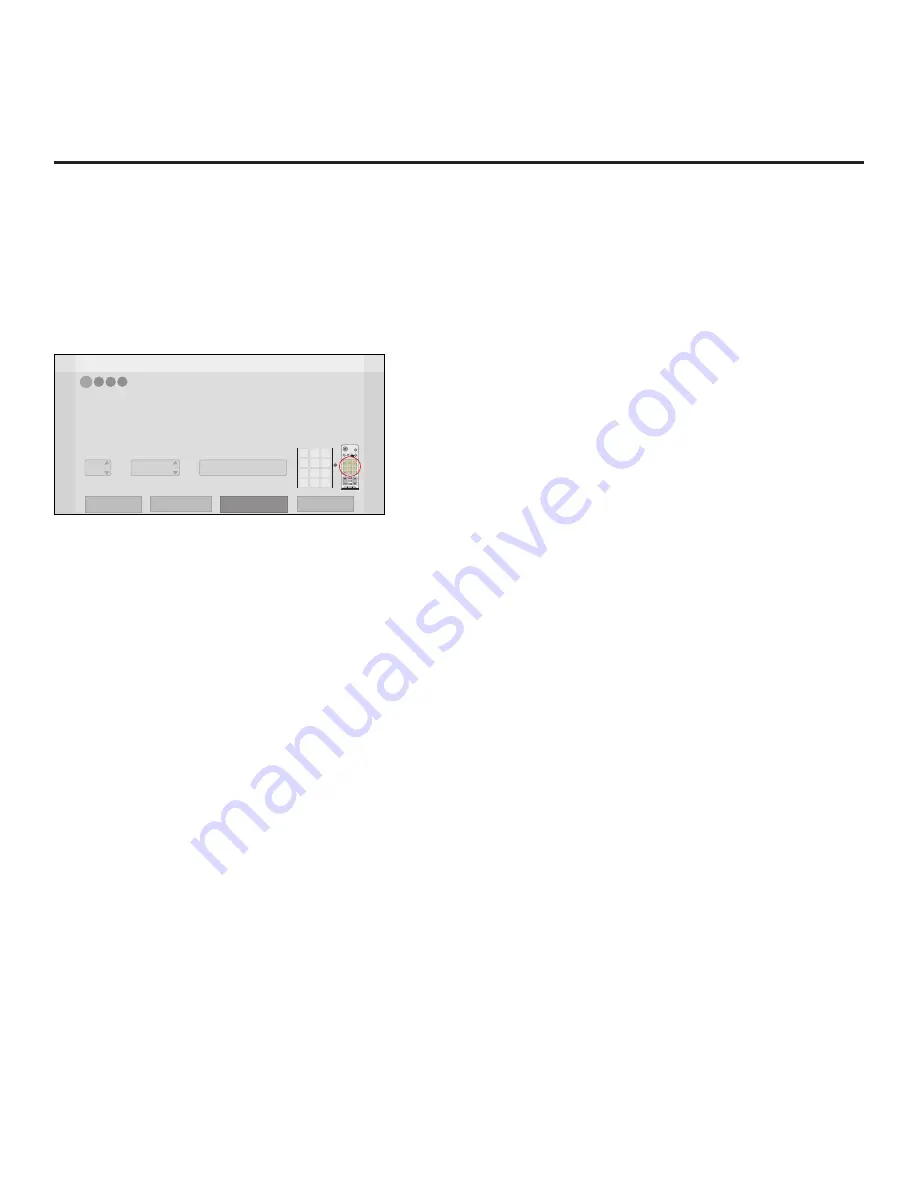
Zone and Room Number Assignments
You may complete one or more of the fields in the Zone, Label, and Room Number screen or
leave them blank, as desired; however, in order to use the Zoning feature on this TV, you MUST
set the TV Zone # as described below. See Reference section, “Using the TV Zoning Feature,” for
further information on Zone designations. Note that the Zoning feature is only applicable for TVs
that will be configured for FTG Mode via CPU (using an FTG Configuration [.tlx] file) or for TVs
that will be configured via “Teaching” (cloning) using a USB memory device / .tlx file.
Z
EZ-Manager Wizard
4
3
2
1
Zone, Label, and Room Number
CH
VOL
1 2 3
4 5 6
7 8
0
9
P
A
G
E
Q.MENU
CHAR/NUM
FLASHBK
EXIT
OK
ENTER
GUIDE
PORTAL
TV
DVD
INPUT
MARK
CC
TIMER
MUTE
INFO
PIP
PIPCH+ PIPCH-
SWAP
PIP INPUT
SAP
MENU
SETTINGS
abc
def
ghi
jkl
mno
pqrs
tuv
wxyz
.,;@
DELETE
1
2
3
4
5
6
7
8
0
9
DEL
CHAR/
NUM
Zone
Room Number
Label
0
-----
• If creating Zones for Installer Menu settings and/or Channel Mapping, select the appropriate Zone # (0-8)
based on the Zone in which this TV is installed. (See Commercial Mode Setup Guide for more information.)
• Select a Label and/or use the alphanumeric keypad on the remote to input the Room Number.
• When done, select ‘Next’ to continue.
Exit
Next
USB Configuration
Zone & Room Number
1. Complete the appropriate field(s) as described below. Use the Left/Right arrow keys on the
Installer Remote to navigate between each of the fields.
• Zone: Enables you to set a TV Zone # so that the TV can be configured with Installer Menu
and/or TV Setup Menu settings intended only for the assigned Zone. The Installer Menu
and/or TV Setup Menu settings may be provided in a .tlx file to be used either for Teaching
(cloning) or FTG Mode via CPU configuration. If the TV is being configured for FTG Mode via
CPU, the TV Zone # setting also allows the TV to omit channels that have been restricted in
the FTG Channel Map. To set a TV Zone, navigate to the Zone field at the left of the screen,
and use the Up/Down arrow keys to specify a TV Zone # (1–8).
• Label: Allows you to select a North, South, East, or West text label for this TV. In the Label
field, use the Up/Down arrow keys to select the applicable label.
• Room Number: Allows you to specify the number of the room in which the TV is located. In
the Room Number field, you can use the number keys on the Installer Remote to direct enter
a room number. Use the Dash key on the Installer Remote as necessary to toggle between
number and letter characters in the Room Number field. Also, you can use the Flashback key
on the Installer Remote to delete characters in this field.
2. When you are ready to continue, select the appropriate option, as follows:
• To proceed to the next EZ-Manager screen, use the arrow keys to select
Next
, and then
press
OK
on the Installer Remote. Continue to the “Configure Pro:Centric Settings” section
on the following page.
• If you wish to use a USB memory device in conjunction with the TV’s standard USB Down-
load Menu to complete the configuration, continue to “USB Configuration” on page 17.
• If you wish to use a USB memory device in conjunction with the LG Smart Install utility to
complete the configuration, see “LG Smart Install Utility” on pages 18 to 19.
EZ-Manager Wizard (Cont.)


