Faxing
Setting up the printer to fax
Notes:
•
The following connection methods are applicable only in some countries or regions.
•
During the initial printer setup, clear the fax function check box and any other function that you plan to
set up later, and then select
Continue
.
•
If the fax function is enabled and not fully set up, then the indicator light may blink red.
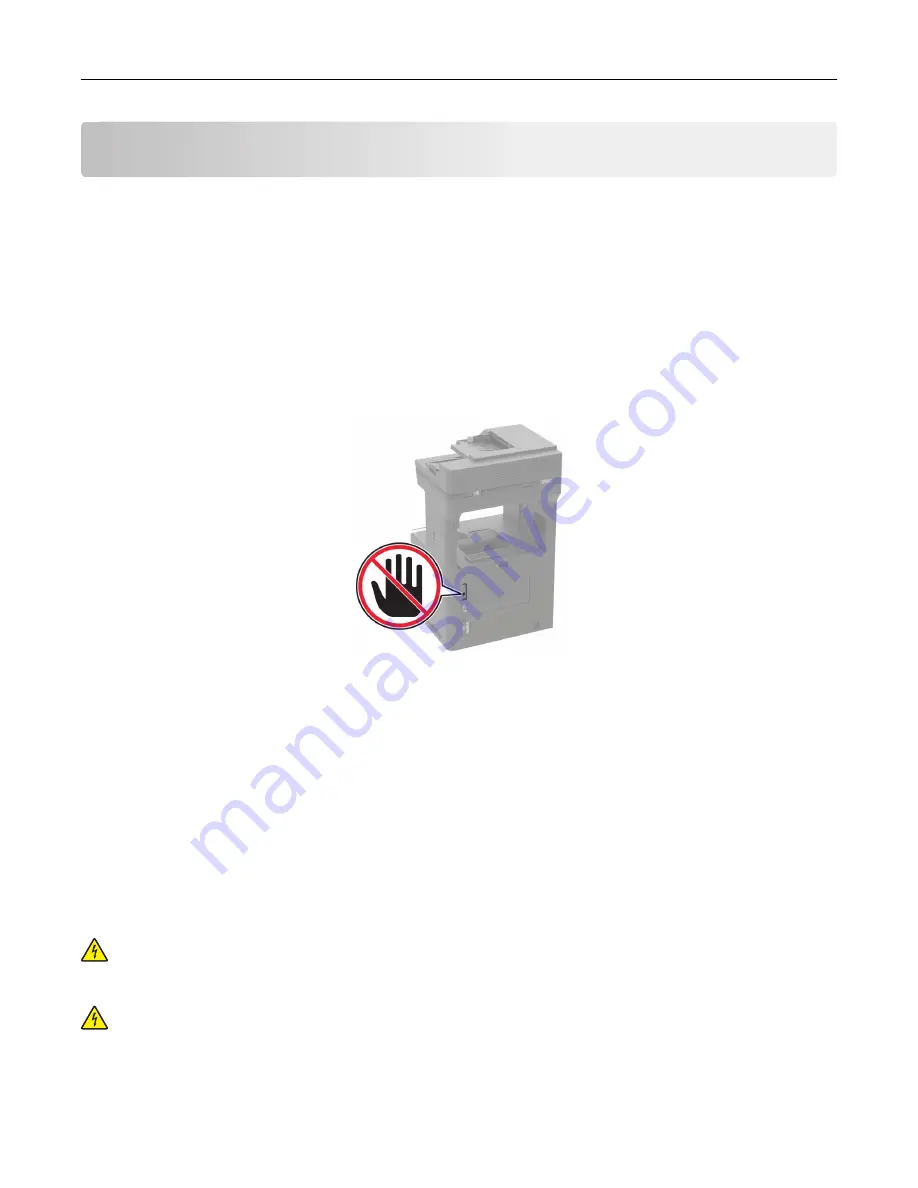
Warning—Potential Damage:
To avoid loss of data or printer malfunction, do not touch cables or the printer
in the area shown while actively sending or receiving a fax.
Setting up the fax function
1
From the home screen, touch
Settings
>
Device
>
Preferences
>
Run Initial Setup
.
2
Turn off the printer, wait for about 10 seconds, and then turn it back on.
3
From the Before You Begin screen, select
Change the Settings and Continue with the Wizard
.
4
From the Fax/Email Server Setup screen, enter the needed information.
5
Finish the setup.
Setting up fax using a standard telephone line
CAUTION—SHOCK HAZARD:
To avoid the risk of electrical shock, do not set up this product or make
any electrical or cabling connections, such as the power cord, fax feature, or telephone, during a
lightning storm.
CAUTION—SHOCK HAZARD:
To avoid the risk of electrical shock, do not use the fax feature during a
lightning storm.
Faxing
56
Содержание XM7355
Страница 53: ...3 From the Shortcut Type menu select Copy and then con gure the settings 4 Apply the changes Copying 53...
Страница 175: ...6 Insert the new ADF feed roller until it clicks into place Maintaining the printer 175...
Страница 203: ...Staple jam in the staple nisher 1 Open door F Clearing jams 203...
Страница 204: ...2 Remove the staple cartridge holder 3 Remove the loose staples Clearing jams 204...
Страница 208: ...5 Insert the staple cartridge holder until it clicks into place 6 Close the door Clearing jams 208...
Страница 270: ...Upgrading and migrating 270...


